Intégration de StackHawk avec Boost Security
StackHawk est un outil de Test de Sécurité des Applications Dynamiques (DAST) conçu pour les développeurs. Il exécute HawkScan — un scanner qui teste activement vos applications en cours d'exécution pour détecter de réelles vulnérabilités et fait remonter les résultats sur la plateforme StackHawk où ils peuvent être analysés et suivis jusqu'à résolution.
L'intégration de StackHawk avec Boost Security permet aux résultats de scan de HawkScan d'être transférés en temps réel vers Boost Security via des webhooks. Une fois connecté, les résultats de votre scan StackHawk apparaîtront aux côtés de vos autres données de scanner dans Boost Security, vous offrant une visibilité unifiée sur votre posture de sécurité applicative.
Prérequis
Avant de commencer l'intégration, assurez-vous que les conditions suivantes sont remplies :
- Vous disposez d'un compte StackHawk actif avec accès aux paramètres de votre organisation.
- Votre organisation StackHawk est sur un plan qui prend en charge l'Intégration par Webhook. Si vous avez des doutes, contactez l'assistance StackHawk pour confirmer ou l'activer.
- Vous avez des autorisations suffisantes dans StackHawk et Boost Security pour gérer les intégrations et créer des clés API.
Étapes d'Intégration
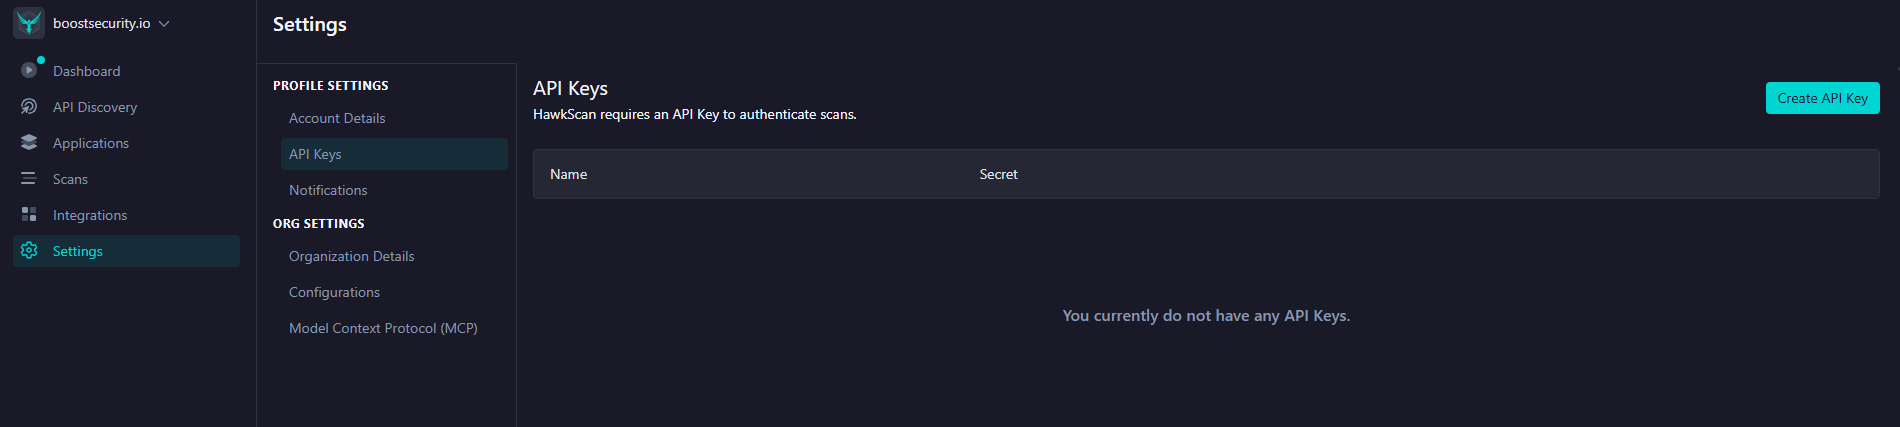
Étape 1 : Créer une clé API StackHawk
Boost Security utilise une clé API StackHawk pour s'authentifier avec votre compte StackHawk lors de la configuration de l'intégration. HawkScan nécessite également une clé API pour renvoyer les résultats des analyses à la plateforme StackHawk.
Pour créer une clé API :
- Connectez-vous à votre compte StackHawk et naviguez vers Paramètres > Clés API, ou allez directement à https://app.stackhawk.com/settings/apikeys.
-
Cliquez sur le bouton Créer une clé API dans le coin supérieur droit.
-
Donnez à la clé un nom descriptif (par exemple,
boost-security-integration) et confirmez la création. - Copiez la clé API générée et conservez-la en sécurité — elle ne sera plus affichée.
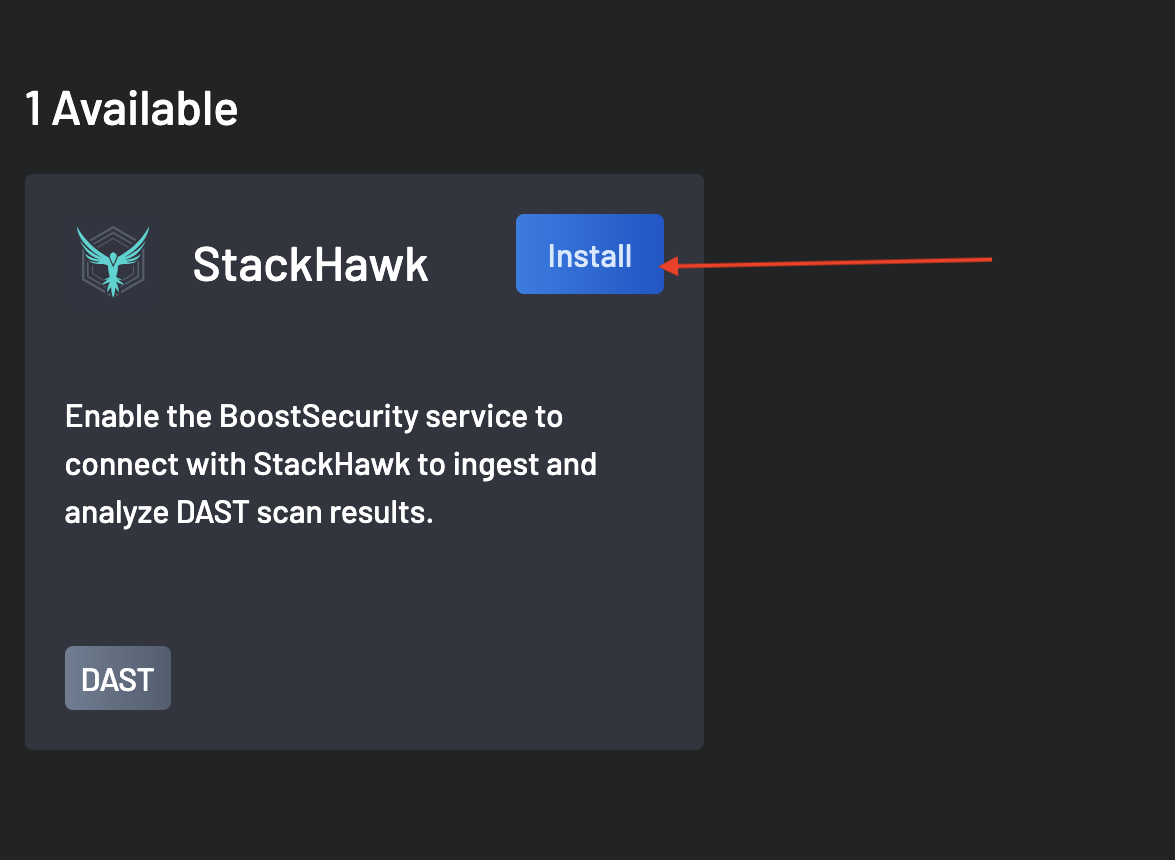
Étape 2 : Installer l'intégration StackHawk dans Boost Security
Avec votre clé API prête, vous pouvez maintenant connecter StackHawk à Boost Security.
- Dans Boost Security, allez à la page des Intégrations.
-
Localisez StackHawk dans la section Disponible et cliquez sur le bouton Installer à côté.
-
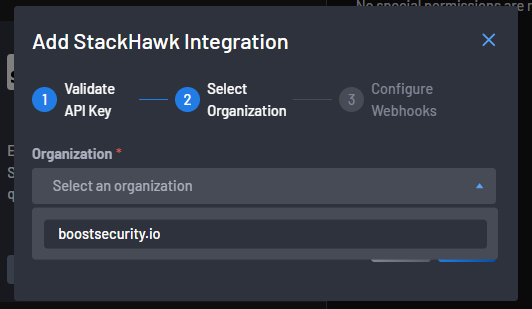
Dans la boîte de dialogue Ajouter l'intégration StackHawk qui apparaît, collez la clé API que vous avez créée à l'étape 1 dans le champ de saisie, puis cliquez sur Suivant pour la valider.
Si la clé est invalide ou n'a pas les autorisations suffisantes, une erreur sera affichée. Vérifiez que la clé a été copiée correctement et qu'elle appartient au bon compte StackHawk.
-
Une fois la clé API validée, vous serez invité à sélectionner votre organisation StackHawk. Choisissez l'organisation dont vous souhaitez ingérer les données de scan dans Boost Security et cliquez sur Suivant.
Étape 3 : Configurer le Webhook dans StackHawk
Pour recevoir des résultats de scan en temps réel de StackHawk, vous devez enregistrer Boost Security en tant que point de terminaison webhook dans votre compte StackHawk. Boost Security génère l'URL du webhook et le Token du webhook dont vous aurez besoin pour cette étape.
L'étape Configurer les Webhooks du dialogue d'intégration affiche les deux valeurs :
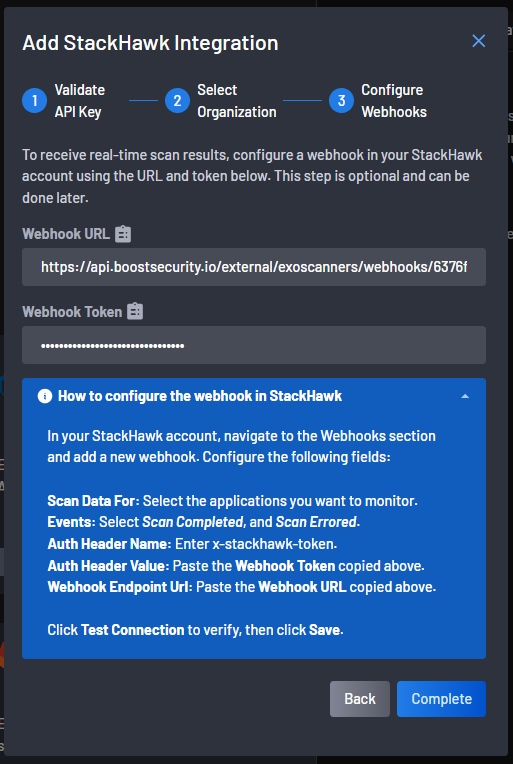
Copiez l'URL du Webhook et le Token du Webhook avant de continuer.
Enregistrement du Webhook dans StackHawk
- Dans StackHawk, naviguez vers Intégrations dans la navigation de gauche et cliquez sur Webhook Générique (ou allez directement à https://app.stackhawk.com/integrations).
- Cliquez sur Ajouter un Webhook. Un panneau de configuration s'ouvrira.
-
Remplissez les champs du webhook comme suit :
Champ Valeur Nom Un nom descriptif, par ex. Boost SecurityDonnées de Scan Pour Sélectionnez l(es) application(s) que vous souhaitez que Boost Security surveille, ou choisissez Sélectionner Tout pour toutes les applications Événements Sélectionnez Scan Terminé et Scan Avec Erreur Nom de l'En-tête d'Auth x-stackhawk-tokenValeur de l'En-tête d'Auth Collez le Token du Webhook copié depuis Boost Security URL de Point de Terminaison du Webhook Collez l'URL du Webhook copiée depuis Boost Security -
Cliquez sur Tester la Connexion pour vérifier que le point de terminaison du webhook est accessible et répond correctement. StackHawk enverra un payload de test et affichera la réponse pour le débogage.
-
Une fois le test réussi, cliquez sur Sauvegarder et assurez-vous que le webhook est activé.
Note
Les réponses des webhooks sauvegardées sont conservées dans StackHawk pour une révision ou un débogage ultérieur si nécessaire.
Étape 4 : Compléter l'intégration
Retournez dans Boost Security et cliquez sur le bouton Terminer dans la boîte de dialogue Ajouter l'intégration StackHawk pour finaliser la configuration.
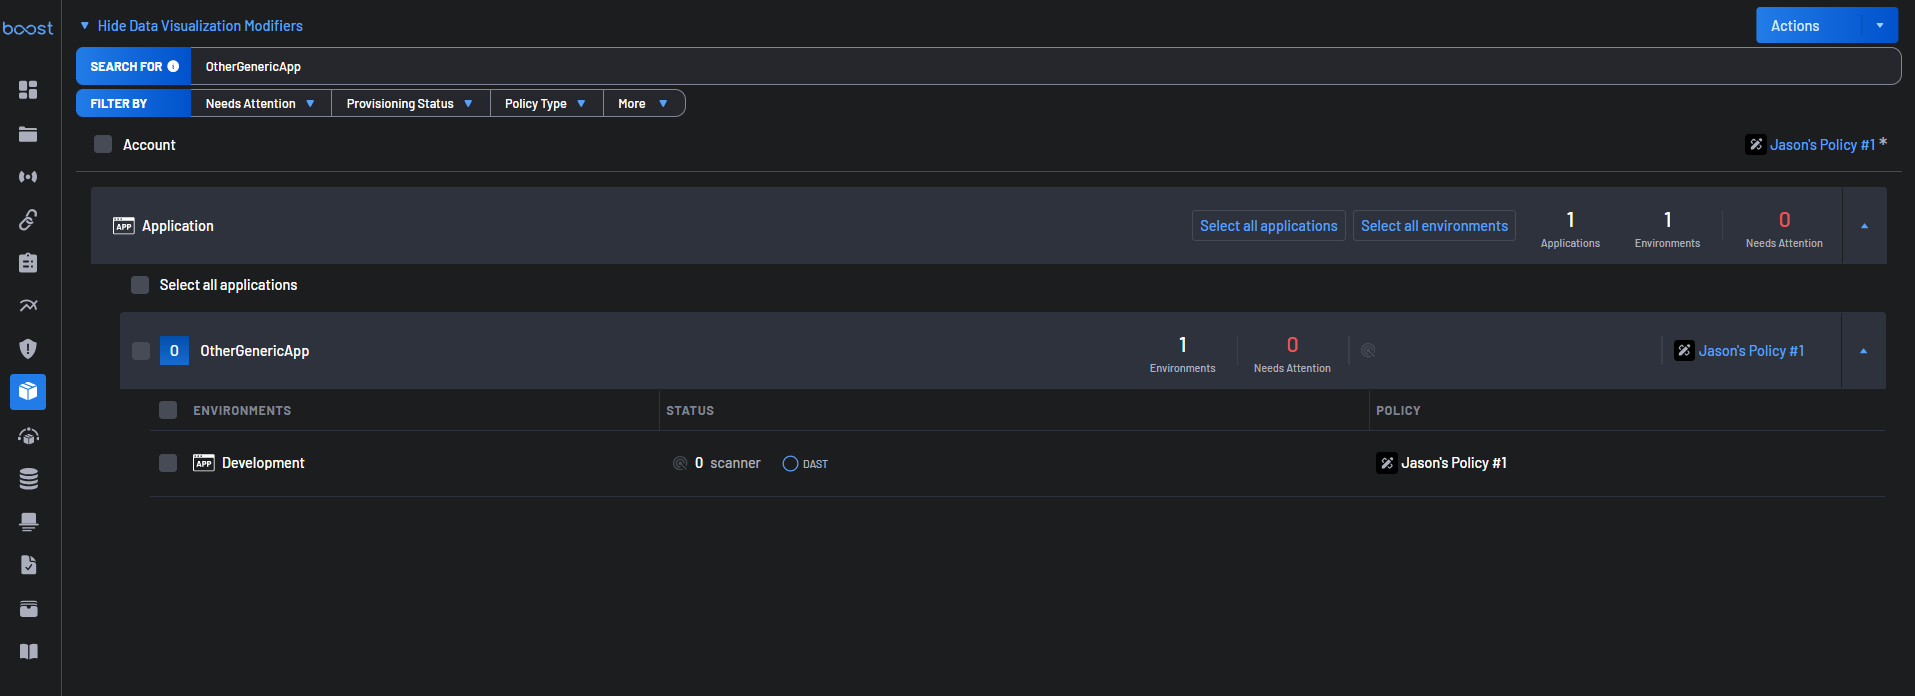
Une fois terminé, Boost Security commencera à recevoir des événements de scan de StackHawk chaque fois que HawkScan s'exécute sur vos applications configurées. Les résultats des scans apparaîtront dans la vue Scans, tandis que la vue Couverture des Scanners est l'endroit où le statut DAST de StackHawk est affiché aux côtés de tout autre scanner configuré.
Que se passe-t-il après l'intégration
Une fois l'intégration active :
- Chaque fois que HawkScan termine ou signale une erreur lors d'un scan sur une application surveillée, StackHawk envoie une charge utile JSON à Boost Security via le webhook configuré.
- La charge utile inclut des détails sur le lancement du scan — son statut, sa durée, les résultats par gravité et des liens vers le rapport de scan complet dans StackHawk.
- Boost Security traite et affiche ces données dans son application.
Note
Les données de scan ne circulent vers Boost Security que pour les événements déclenchés après l'activation du webhook. Les scans historiques réalisés avant la configuration de l'intégration ne sont pas intégrés.
Dépannage
-
La validation de la clé API échoue.
Assurez-vous d'avoir copié la clé complète sans aucun espace avant ou après. Vérifiez que la clé a été créée dans le bon compte StackHawk et qu'elle n'a pas été révoquée. -
Aucune donnée de scan n'apparaît dans Boost Security après l'intégration.
Confirmez que le webhook dans StackHawk est réglé sur Activé et que le champ Données de scan pour inclut au moins une application. Déclenchez une nouvelle exécution de HawkScan et vérifiez le journal des réponses du webhook de StackHawk pour confirmer que la charge utile a été envoyée et a reçu une réponse200 OK. -
Le test du webhook échoue dans StackHawk.
Vérifiez deux fois que l'URL de point de terminaison du webhook et la valeur de l'en-tête d'authentification ont été copiées exactement depuis la boîte de dialogue de Boost Security. Confirmez également qu'aucun pare-feu ou politique réseau ne bloque les requêtes sortantes de StackHawk vers l'API de Boost Security. -
L'organisation StackHawk n'est pas visible à l'étape 2.
Votre plan StackHawk peut ne pas inclure l'intégration du webhook. Contactez le support StackHawk pour vérifier votre plan et demander l'activation.