How to Integrate Boost Security to SonarQube
Boost Security enables the ingestion of security results from an existing SonarQube account. Once the connection is established, SonarQube findings are periodically ingested and processed through Boost Security workflow and policies.
Prerequisites
As a SonarQube organization admin user, generate a user access token to configure the SonarQube Connector. You can create a token from User > My Account > Security in SonarQube or refer to the SonarQube documentation.
Note
The integration will only be completed successfully for organizations for which you have admin privileges. Organizations for which you don't have the admin privileges will be ignored.
Integration Steps
The connection with SonarQube can be set up simply through the SonarQube integration card:
- Navigate to the Integrations page.
-
Scroll to the
Availablesection and select SonarQube Connector.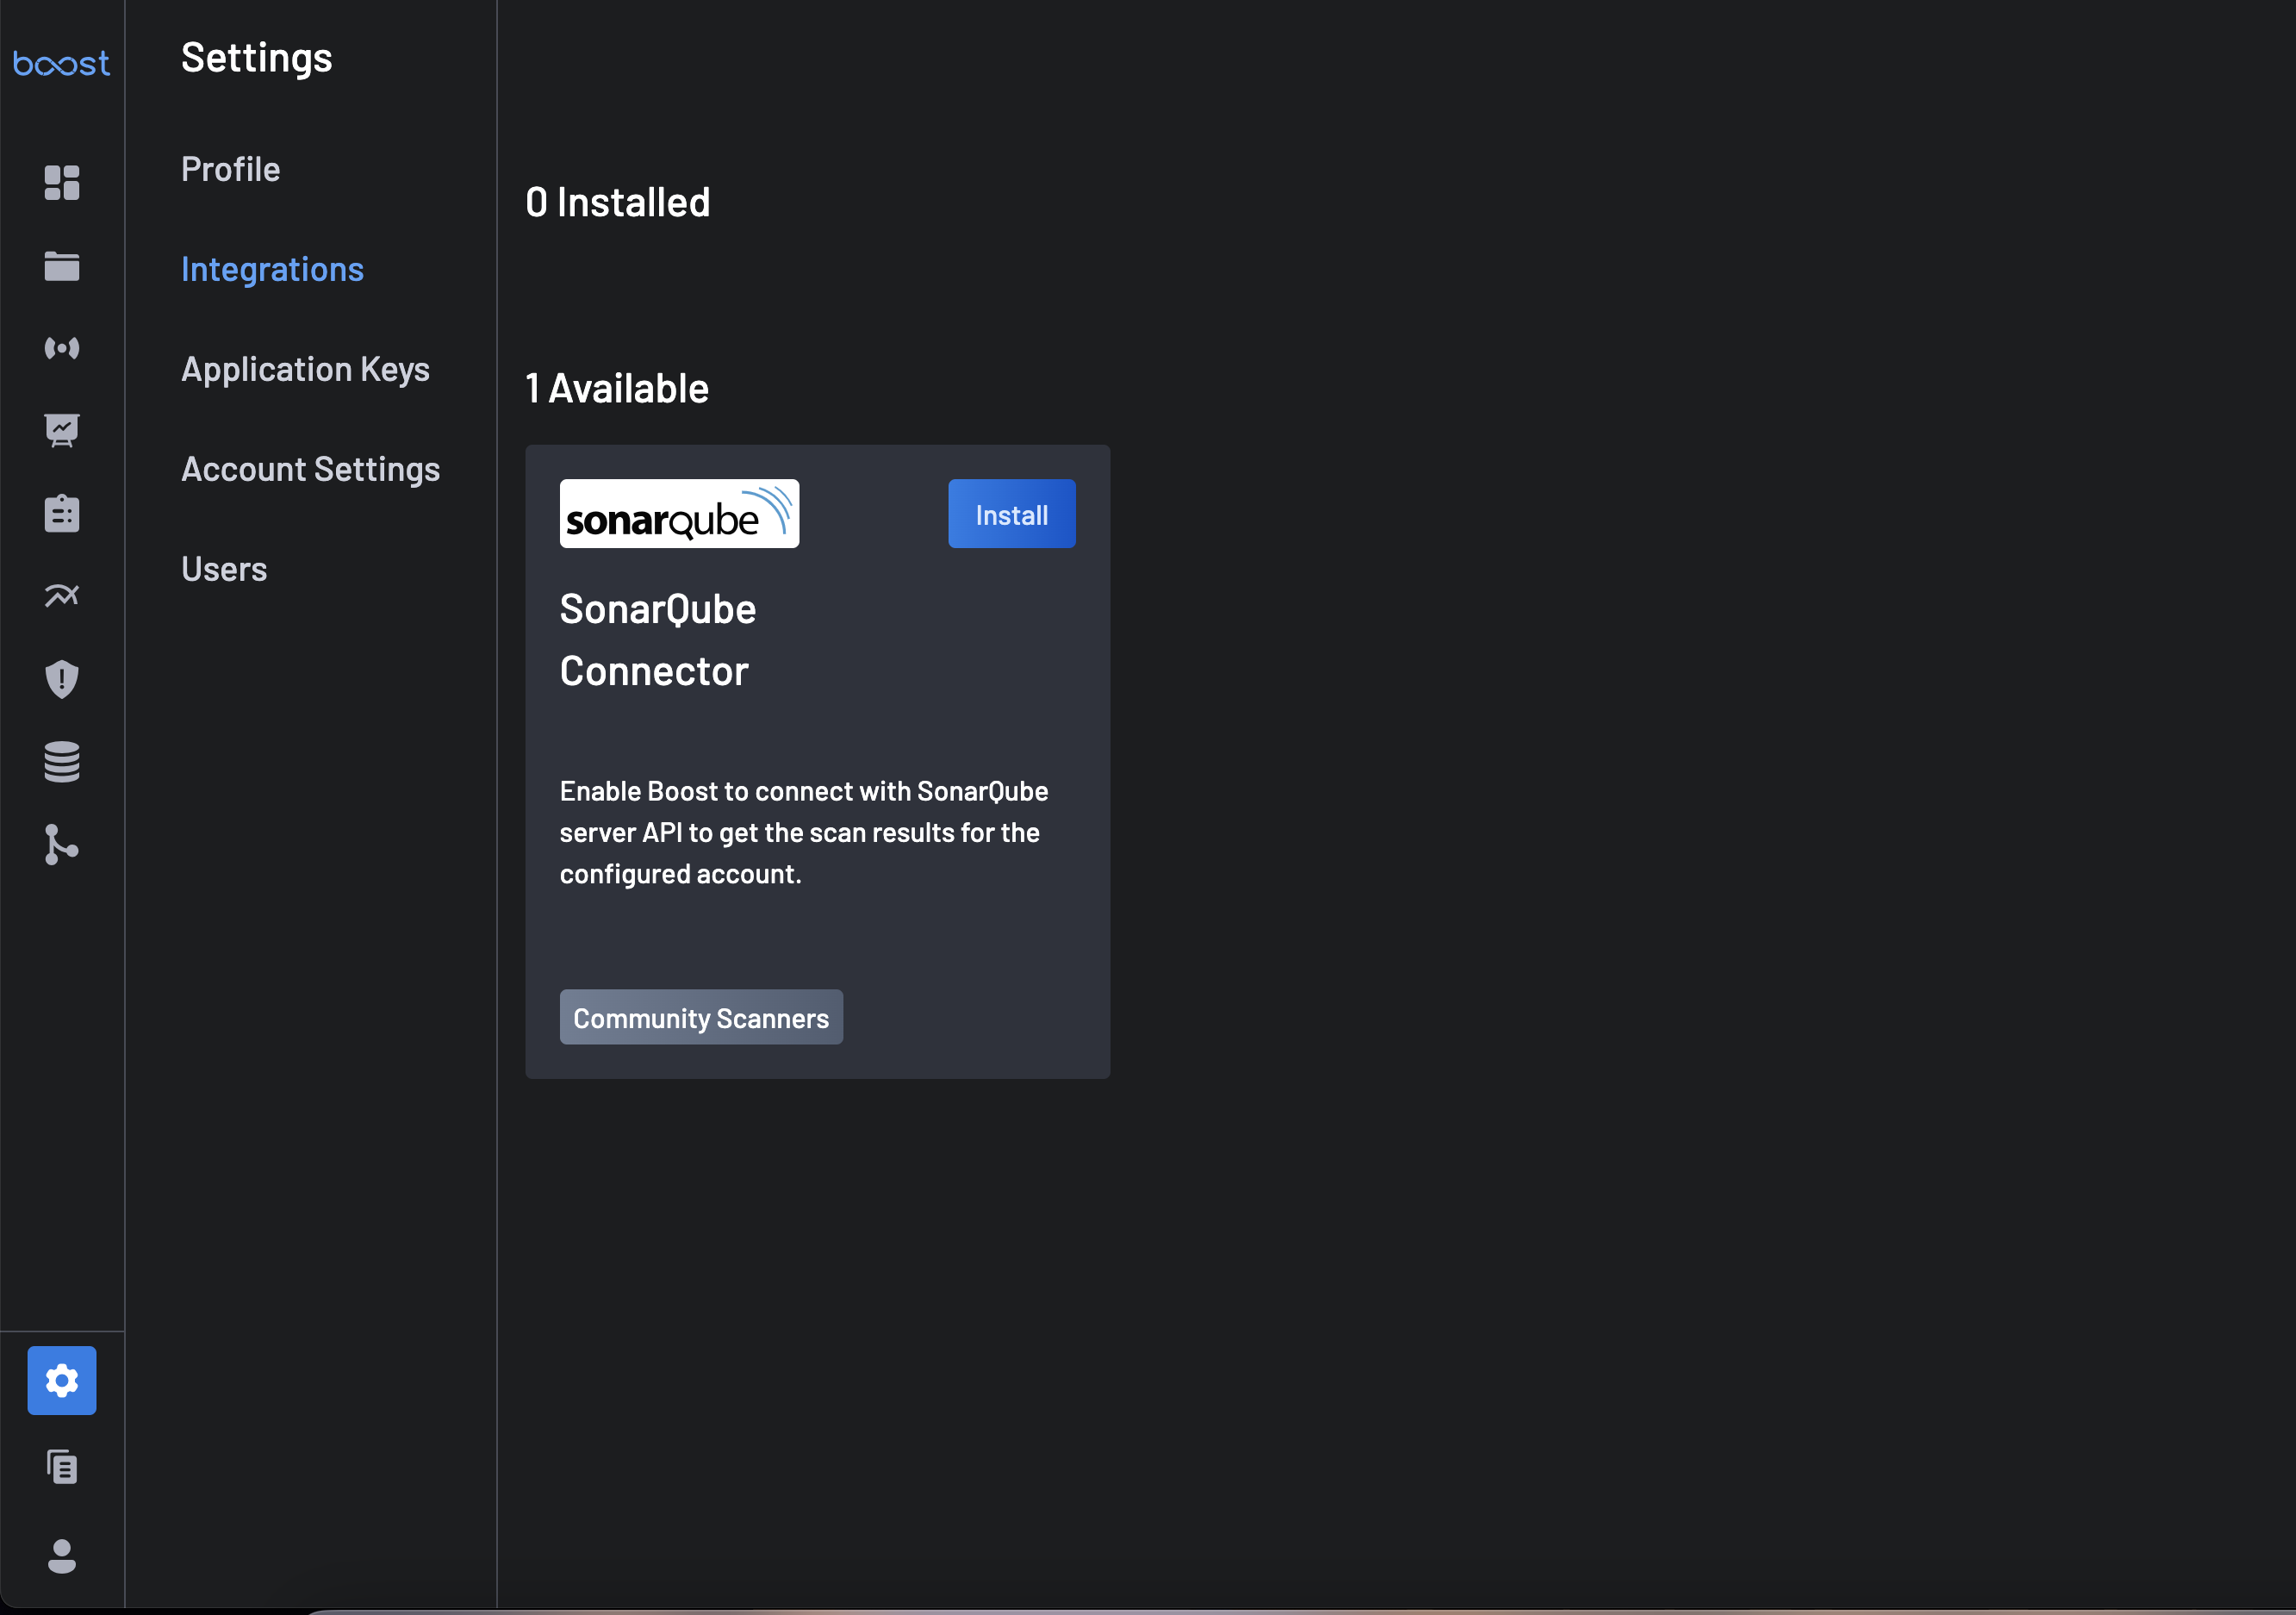
-
Click on the Install button.
- Fill in the following:
- Integration Name: A custom name uniquely identifying the integration.
- Access Token: Input the SonarQube token.
- Click on Install
- Ready!
Verifying the integration
In SonarQube:
- Go to the organizations list.
- Select one of the organizations for which you have the admin privilege and open the
Administration > Webhooks. - Acknowledge that there is a Webhook whose name starts with
boostsecurityioand whose URL begins withhttps://api.boostsecurity.io/.

Provisioning the scanner
After the integration is completed, the SonarQube scanner will be available on the Boost assets mapped to a corresponding SonarQube project. When using the SonarQube automatic project provisioning, the SonarQube projects should be mapped to an existing code repository in Boost that matches the organization and repository name.
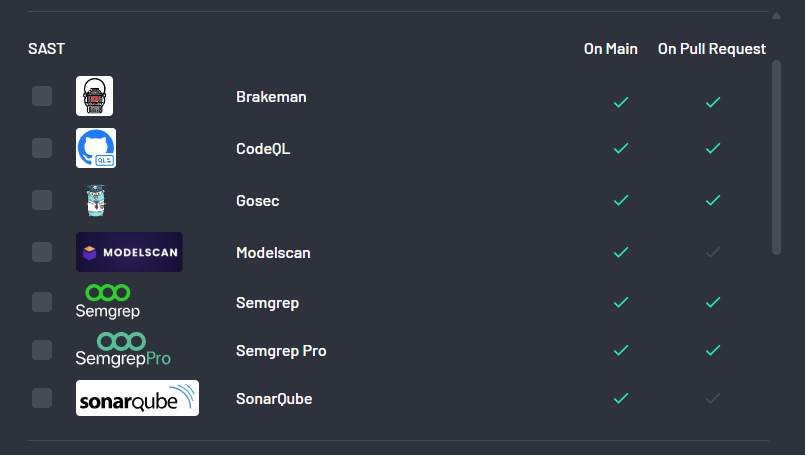
Selecting one of such code repositories in the scan coverage, one can proceed with the provisioning. Once the scanner provisioning modal is open, go to the advance provisioning tab. Under the SAST section, you should see the SonarQube scanner. Select it and press the complete button.
Once the scanner is provisioned, any time a SonarQube scan is triggered in your SonarQube instance, a new scan will appear in Boost, and the findings will be assessed against the policy assigned to the code repository.
Note
If the SonarQube scanner doesn't appear in the list of available scanners, it means that the current code repository is not mapped to a SonarQube project. If you are unsure which SonarQube project is mapped to which Boost code repository, copy the SonarQube project name and search for it in Boost scan coverage.