Scanning for Stored Secrets
Hardcoded secrets in your code are a very common source of code weakness. If your code is publicly hosted, attackers will find these credentials and use them to try to compromise your systems.
Even if your code is not hosted publicly, attackers who compromise your developers' machines and malicious developers will have access to these credentials. That's why it is important to create policies that address this weakness.
Boost allows you to scan your Git commit history for potential secrets. Although it’s beneficial to implement measures that prevent secrets from being introduced into code from the beginning, there are still valid reasons to review the code history for any existing secrets.
- Configuration on the developer workstation might change unexpectedly, preventing the scanning for stored secrets.
- The rules for scanning secrets during push events may be relaxed to avoid blocking too many of these events.
- The secret push protection mechanisms usually allow developers to skip the validation for a push (i.e., GitLab, GitHub).
- To ensure compliance with your application security, you need proof that secret scanning has been conducted and that any identified potential secrets are properly addressed.
Additionally, it is strongly recommended to train developers and enforce secure development practices to prevent secrets from being introduced into your Git history. Please refer to the Gitleaks documentation pre-commit scan section to have examples on how to minimize the chances of introducing a secret in the Git history.
Continuous scanning
To start scanning for secrets in code with Boost Security, select the Secrets coverage in the provisioning modal windows of the scan coverage.
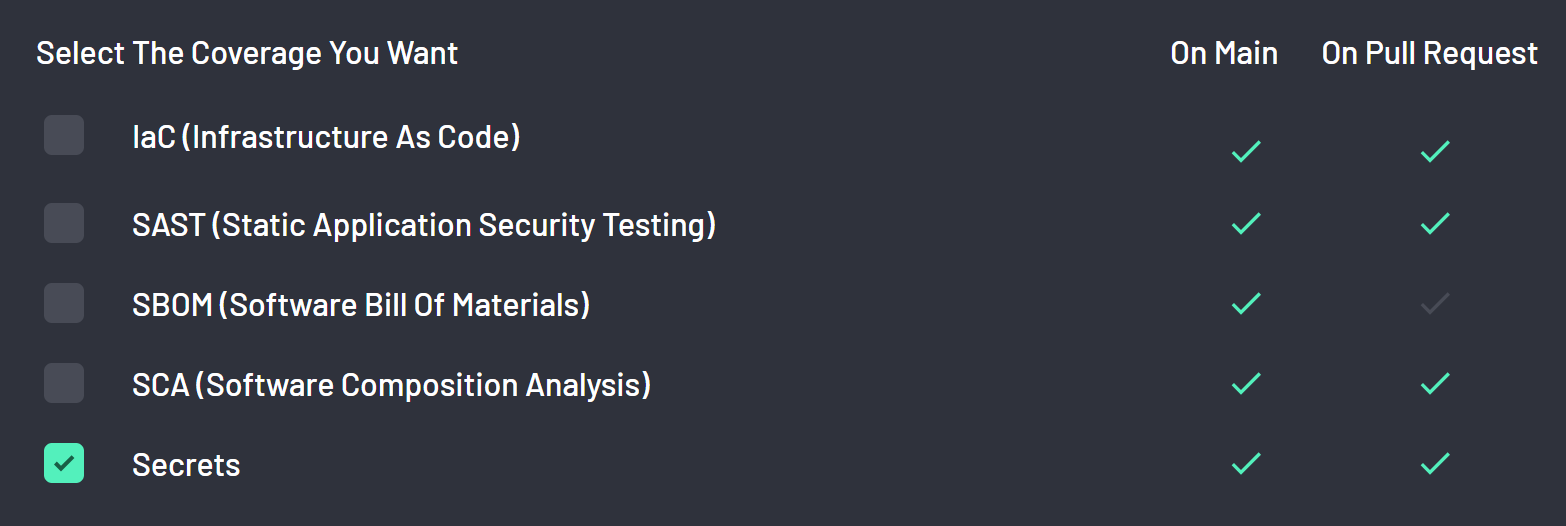
From now on, every new commit to your default branch, as well as any commits made in the context of a pull request, will be scanned for secrets.
Create a baseline
Ideally, you would have enabled secret scanning since the creation of a code repository, so that each commit is scanned for secrets. Unfortunately, in many situations, this is not the case. Therefore, when you first enable secret scanning on a code repository, it is strongly recommended to scan the entire git history to detect the presence of any potential hard-coded secrets.
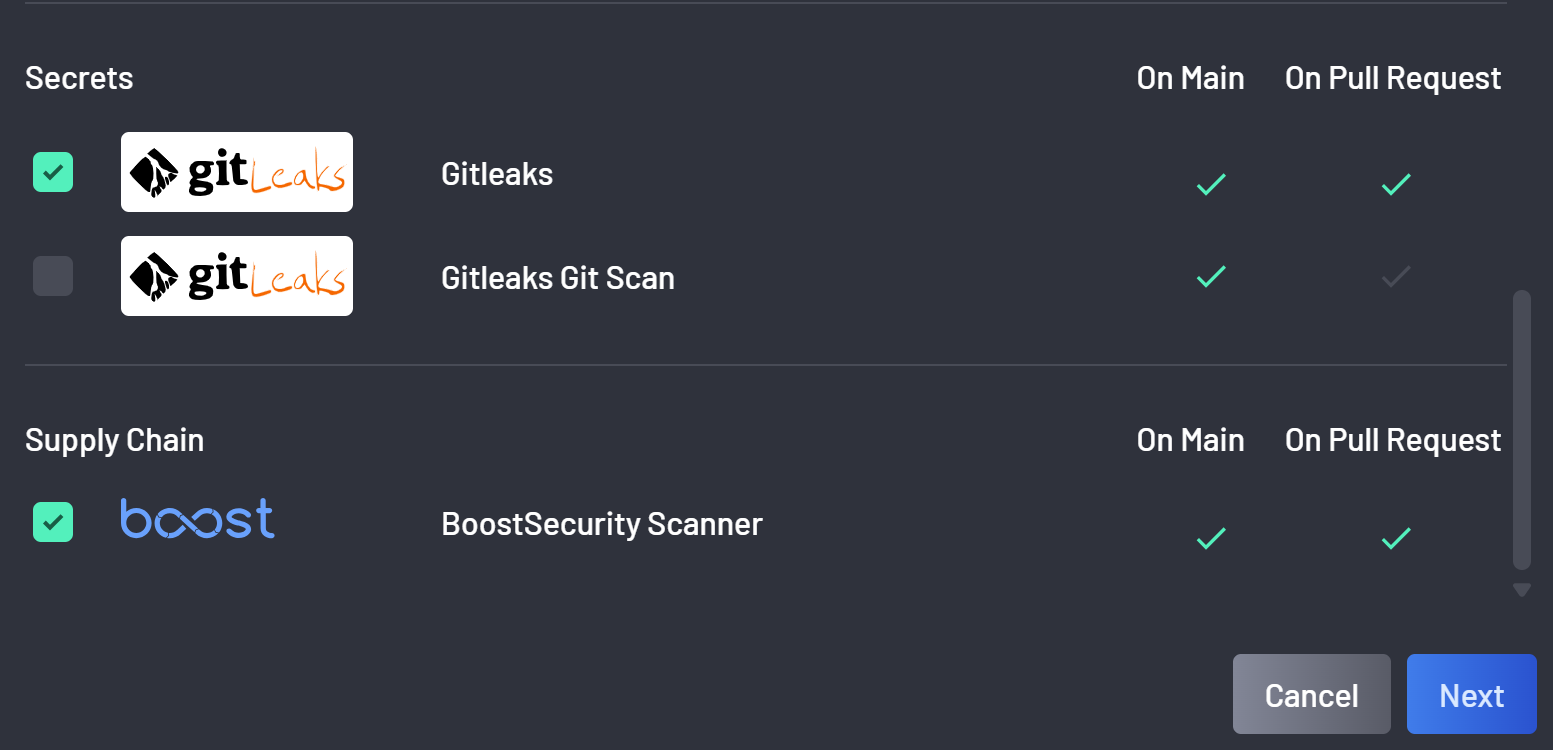
As scanning an entire commit history is time-consuming, it is recommended to only scan the entire history once to create a secret baseline. To scan the entire commit history of the default branch, in the advanced tab of the scanner provisioning modal, check the Gitleak Git Scan scanner.
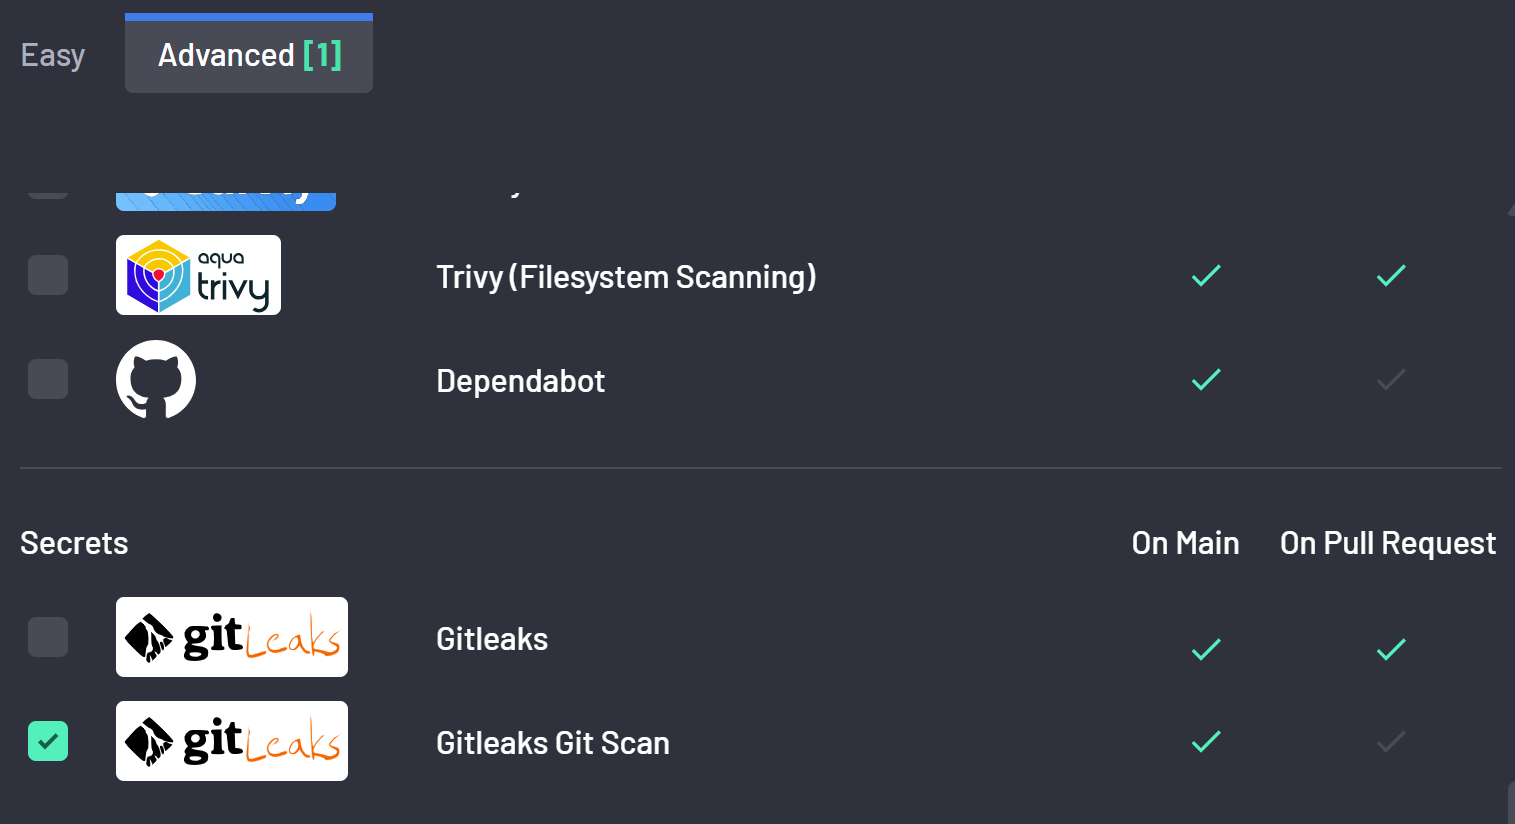
Upon provisioning, this will launch the execution of the scanner. Once the scanner completes, you are strongly advised to deprovision the GitLeak Git Scan scanner.
Note
Please avoid launching simultaneous commit history scans across multiple projects when creating a baseline. The time-consuming nature of these scans can create bottlenecks and delay other pipelines, depending on the availability of the CI/CD runner.
Understanding Boost Security Secret Validation
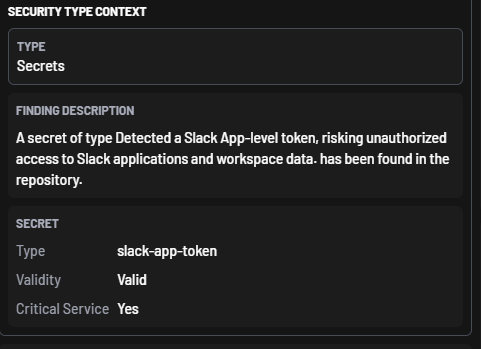
Scanning for secrets can yield a large number of findings that need to be triaged and prioritized. To help with that, Boost Security secrets scanning includes a secret validation feature.
When Boost Security detects that a secret might be linked to a well-known public service, it will try to reach out to the service to determine whether or not the secret is still valid. If so, the secret validity is set to Valid in Boost Security.
Then, using the Boost Security policy engine, one can create a rule to act promptly on valid secrets.
Customizing Secrets Detection
In addition to secret validity, Boost Security offers several mechanisms to help reduce the number of findings.
Gitleaks Rules Selection
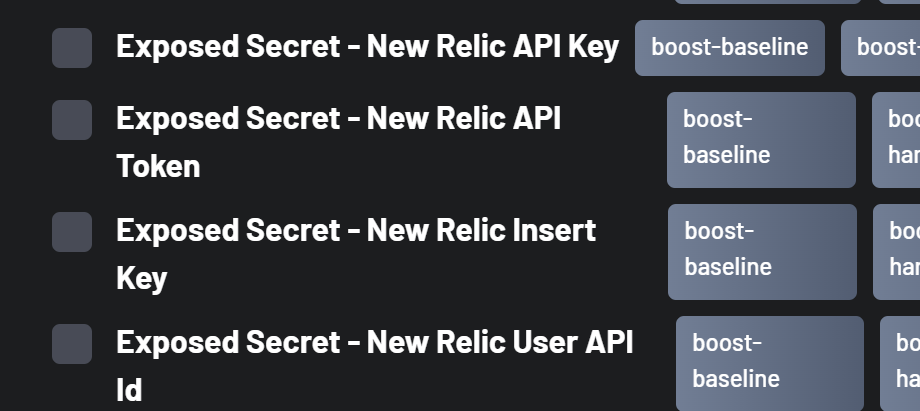
In the Boost Security policy engine, users can select which Gitleaks rules to enable or disable. By default, it is recommended to enable all rules. Then, for rules generating too many false positives, you can decide to disable the corresponding rule.
For example, suppose that you are getting false positives for New Relic secrets. In the scanners tab of a Boost Security policy, under the Gitleaks scanner and the Exposure of Secrets to Unauthorized Actors class, you can unselect all rules related to New Relic.
Custom Gitleaks Rules
It is also possible to customize Gitleaks rules definition, which are used to perform the analysis. This is particularly useful for two occasions:
- A rule generates too many false positives in your context, and you want to exclude some cases.
- A particular kind of secret is not detected, and you want to be able to detect it.
To use custom Gitleaks rules, you first need to create a Gitleaks scanner configuration.
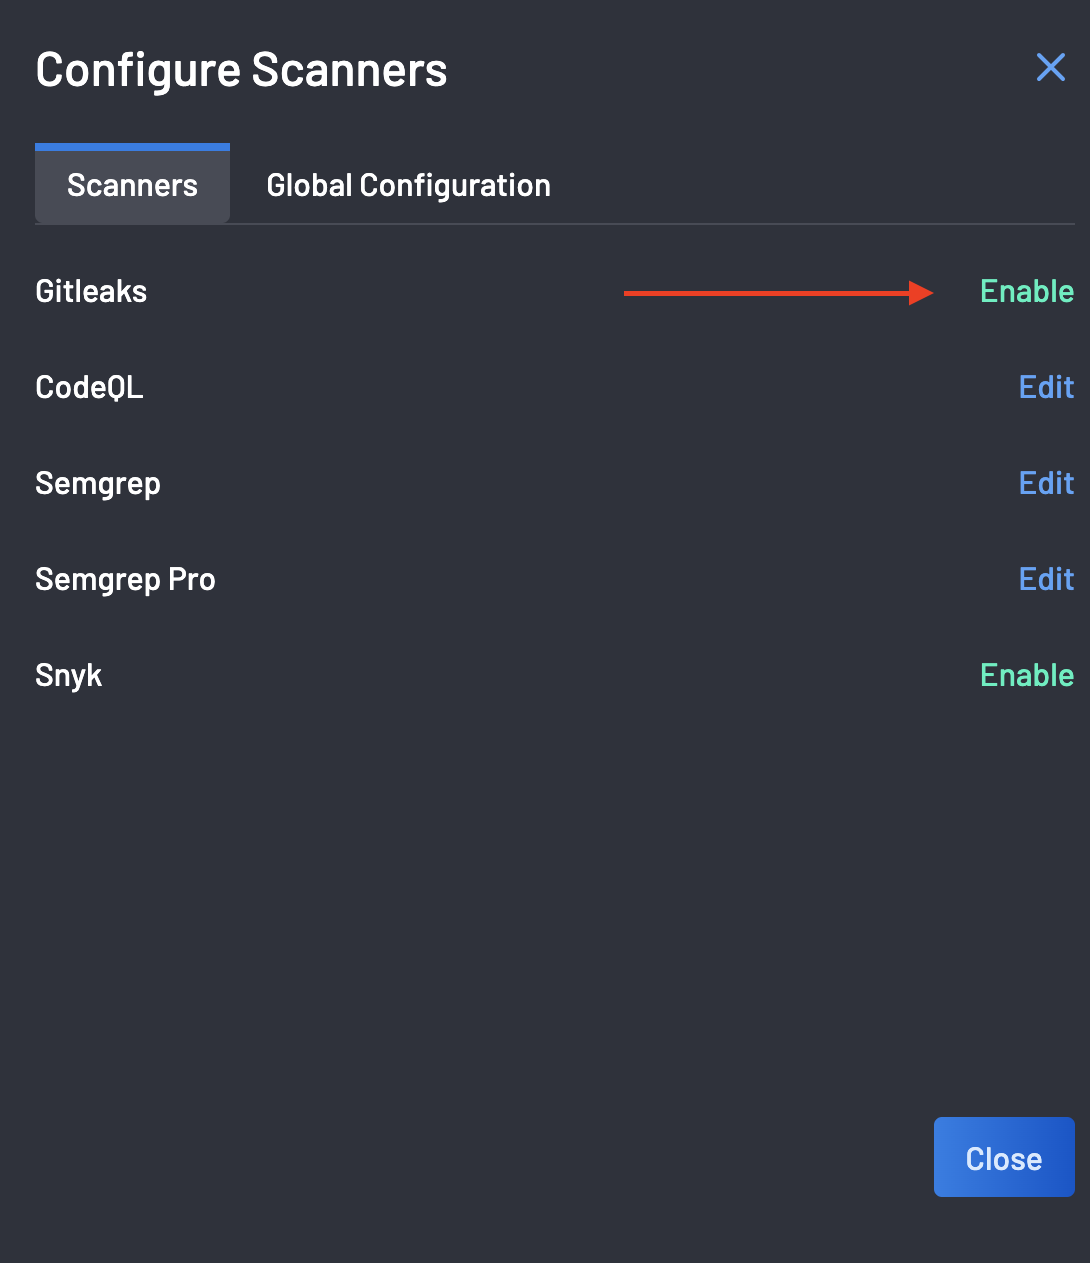
- Open the scanner configuration modal as described here
-
Select "Enable" for the Gitleaks scanner.
-
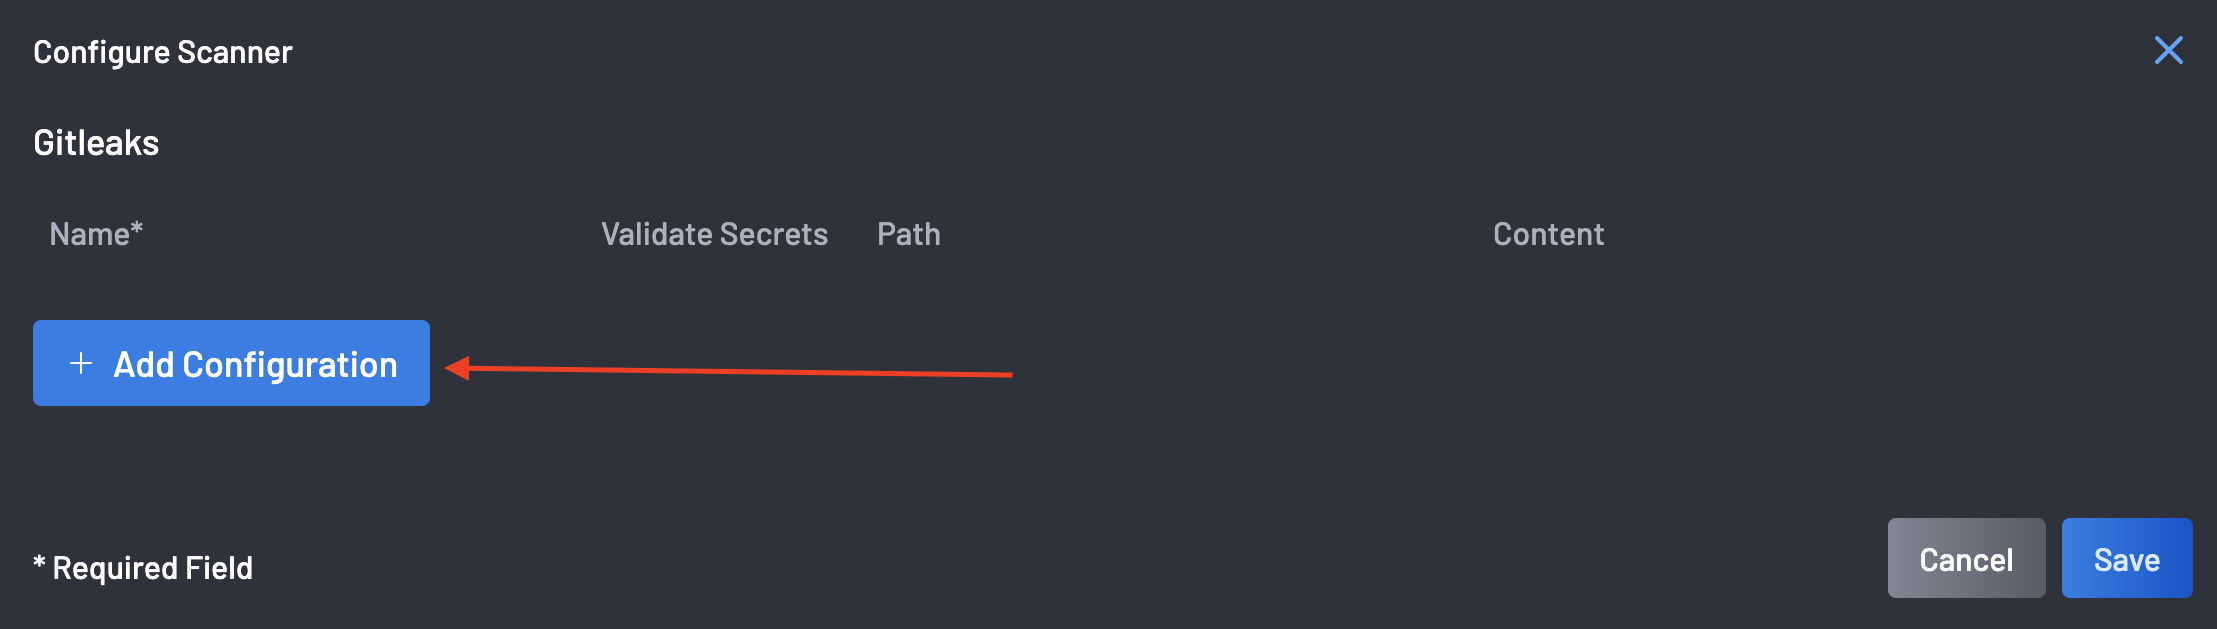
Click the Add Configuration button.
-
Add the Name, Path, and Content. The Validate Secrets checkbox is selected by default, and the content here is your .gitleaks.toml file. The path MUST end with a file having a
.tomlextension.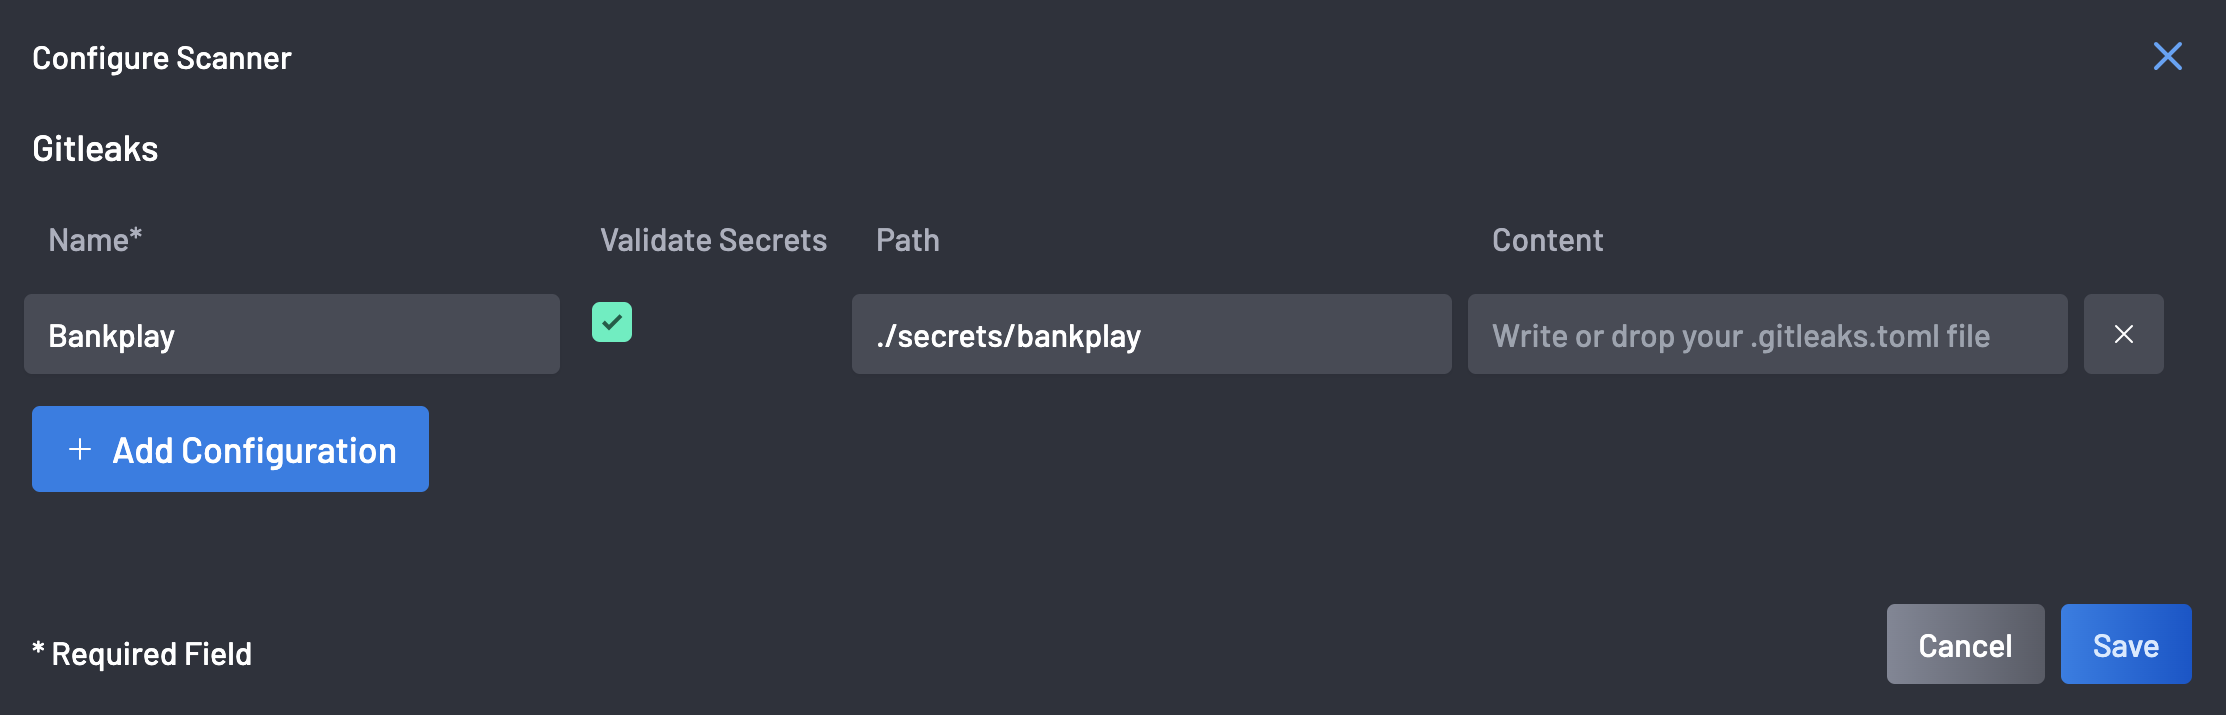
-
Click the Save button to save the configuration.
Once a GitLeak configuration has been created, you need to indicate to Boost Security on which code repositories you want to apply it.
-
In the advanced tab of the scanner provisioning modal, check the Gitleak Git scanner and click *Next.
-
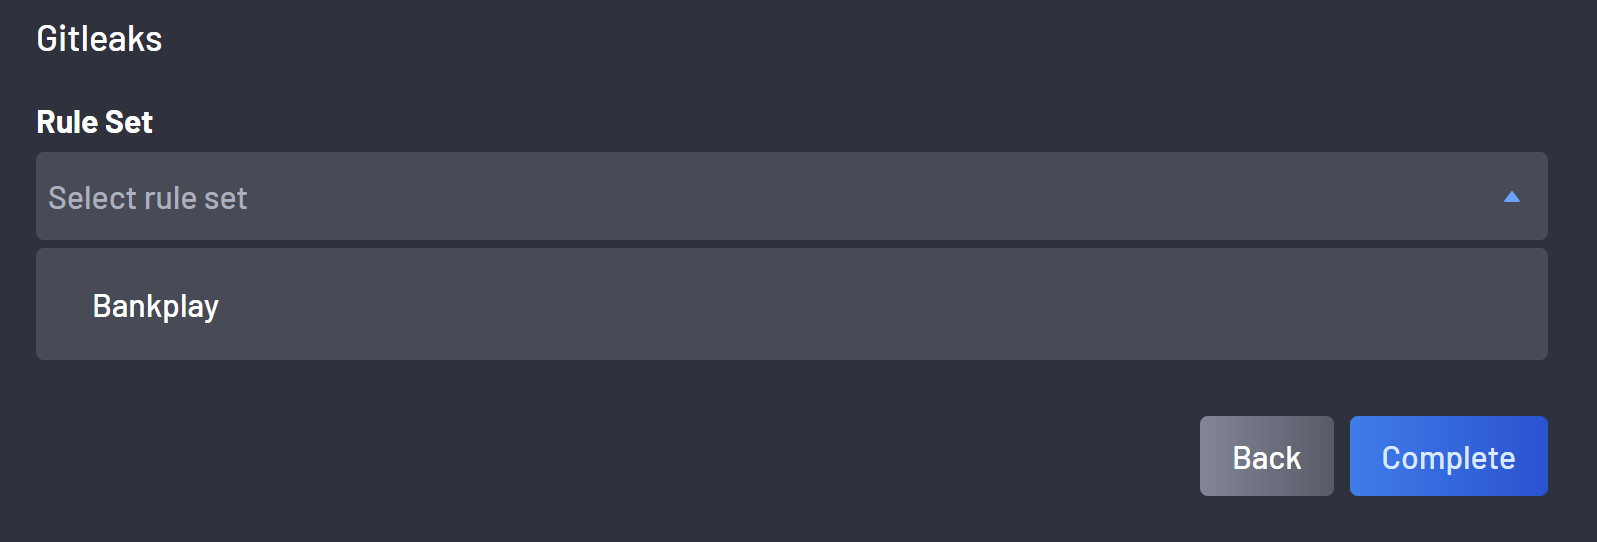
Select the appropriate Gitleaks rule set and click Complete
Note
Suppose the Gitleaks scanner was already provisioned on a code repository, and you want to apply a custom Gitleaks configuration to it. In that case, you first need to deprovision the Gitleaks scanner and then provision it while selecting the appropriate custom configuration as above.