Provision Scanners
The provisioning feature within the Scanner Coverage page enables users to efficiently provision scanners for repositories that lack adequate coverage. By identifying repositories without sufficient security measures and facilitating quick scanner provisioning, this feature strengthens security posture management within the software supply chain.
Scanner Provisioning Workflow
The Scanner Coverage page provides a structured workflow for provisioning scanners to repositories. Users can navigate through repositories that lack adequate coverage and initiate provisioning tasks directly within a centralized interface.
To provision a repository:
-
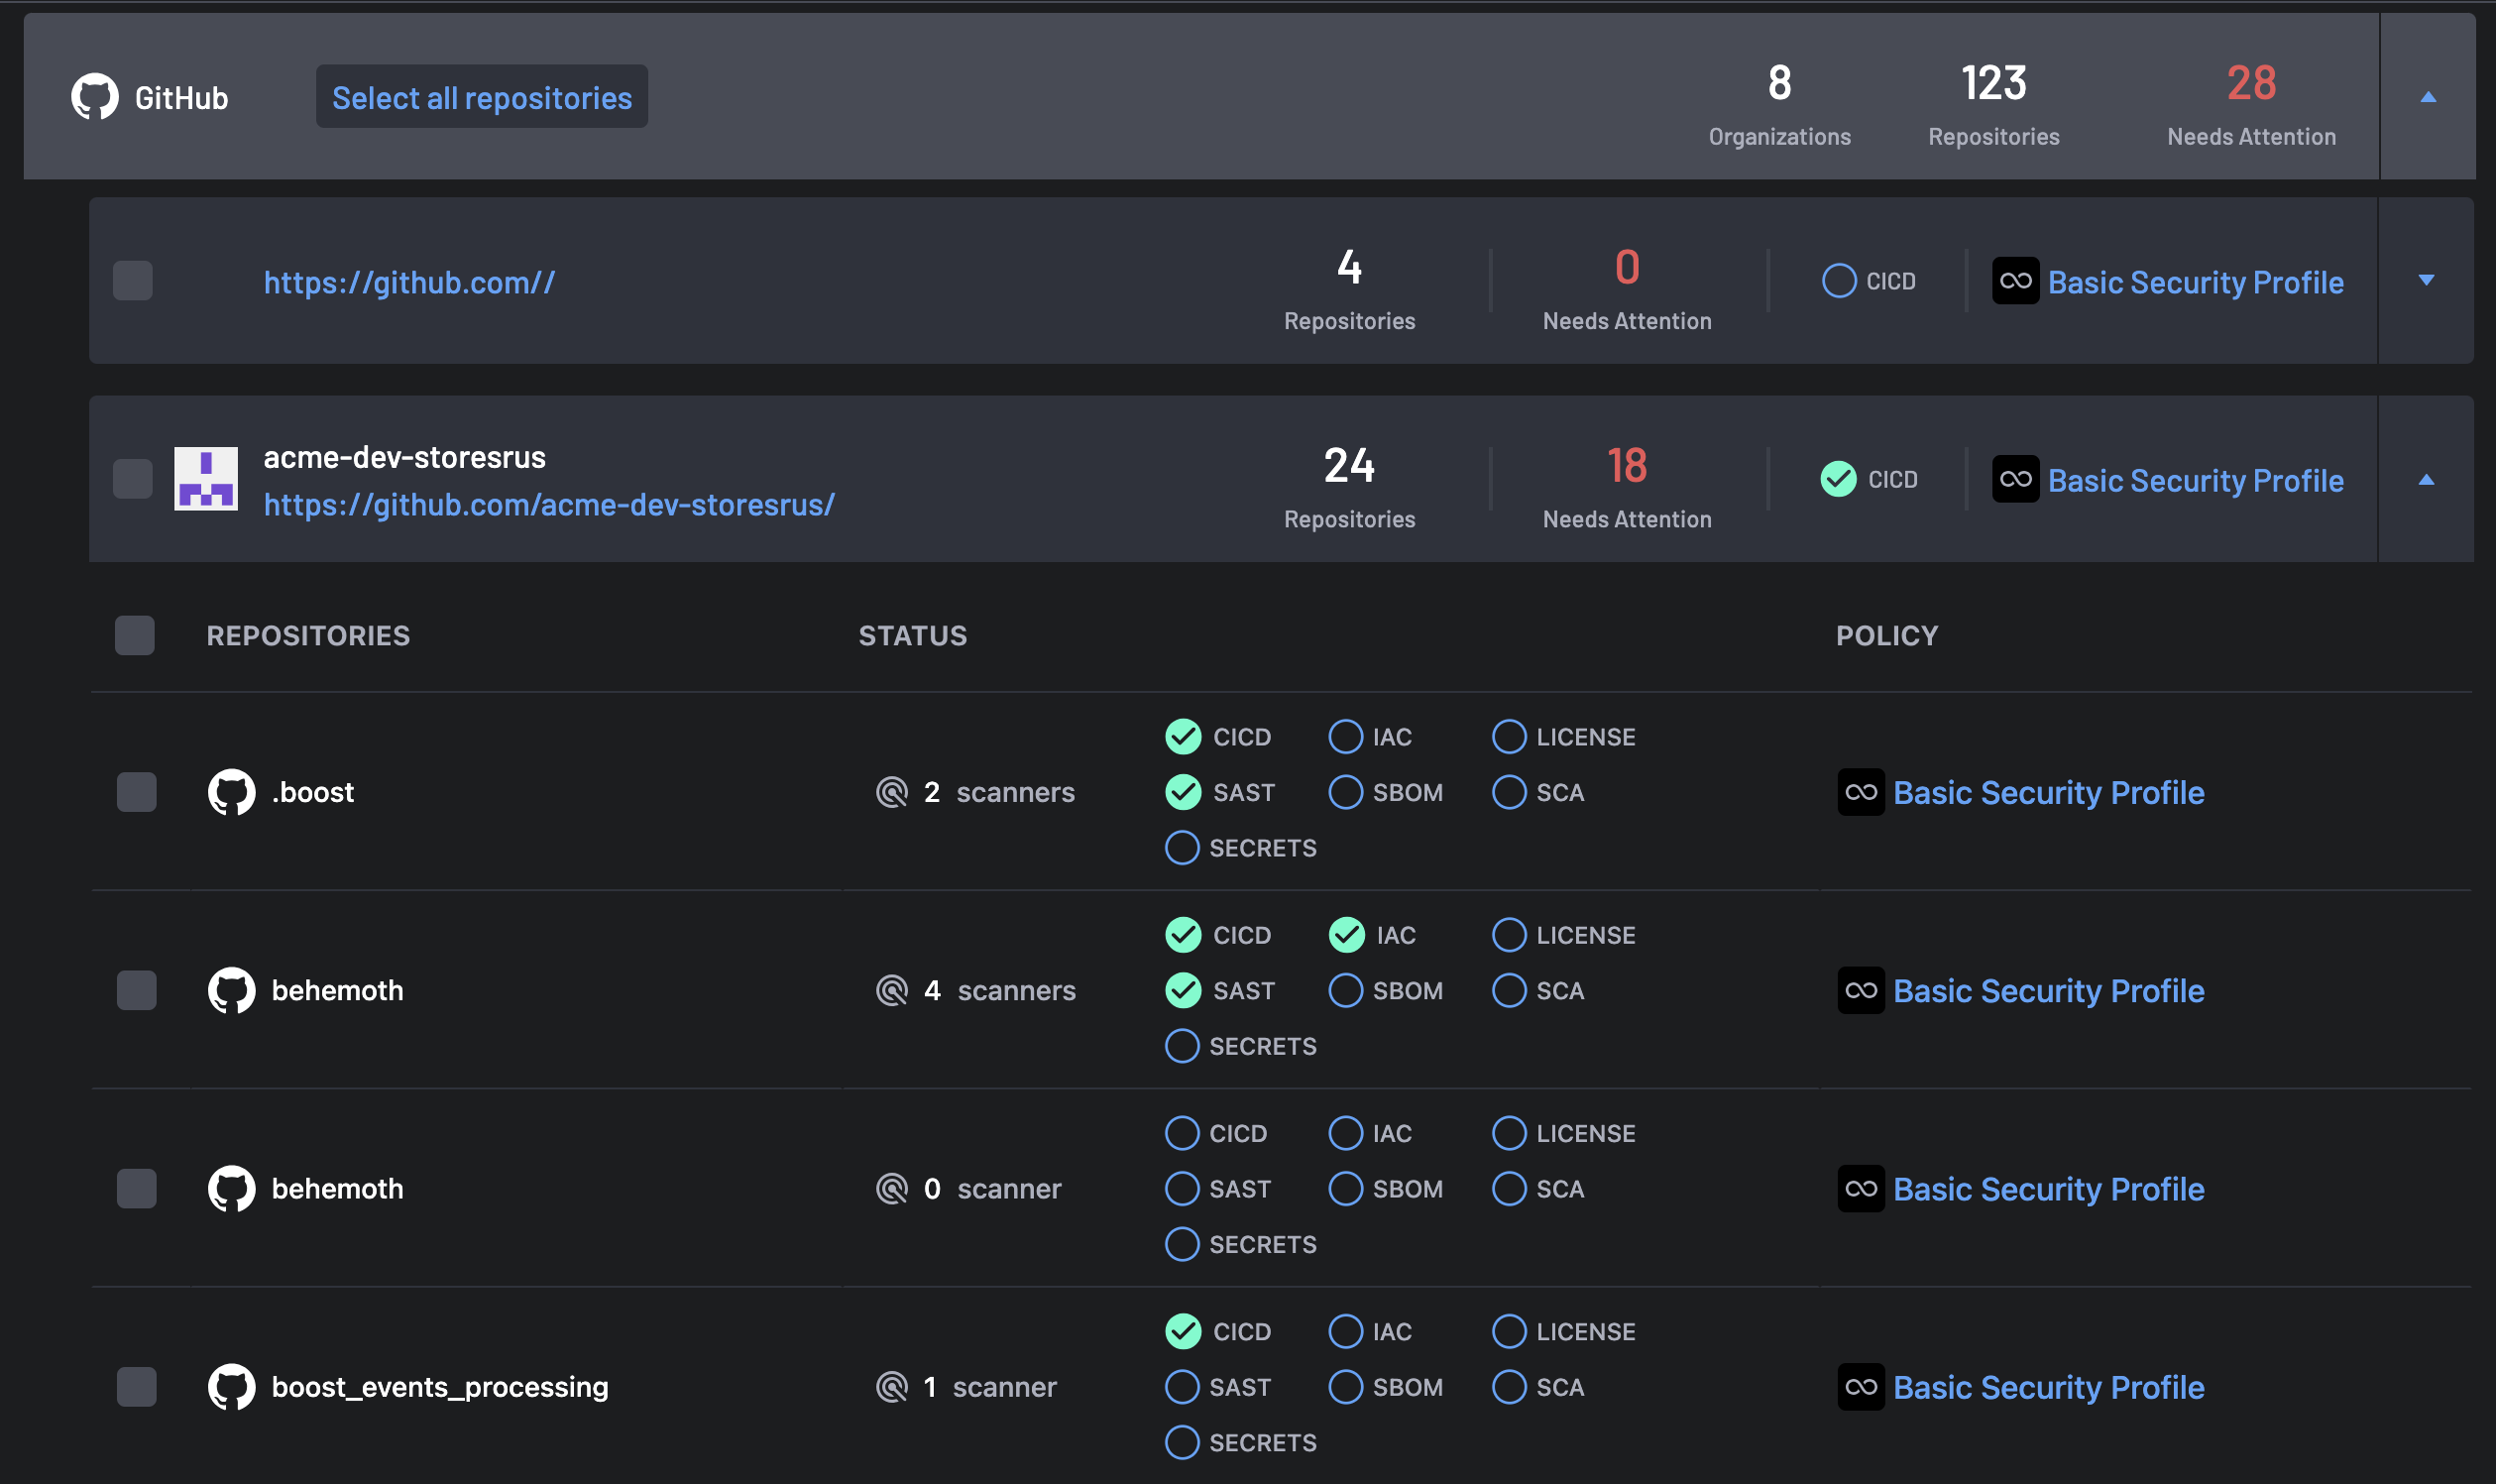
Select an organization to get a list of all its repositories.
-
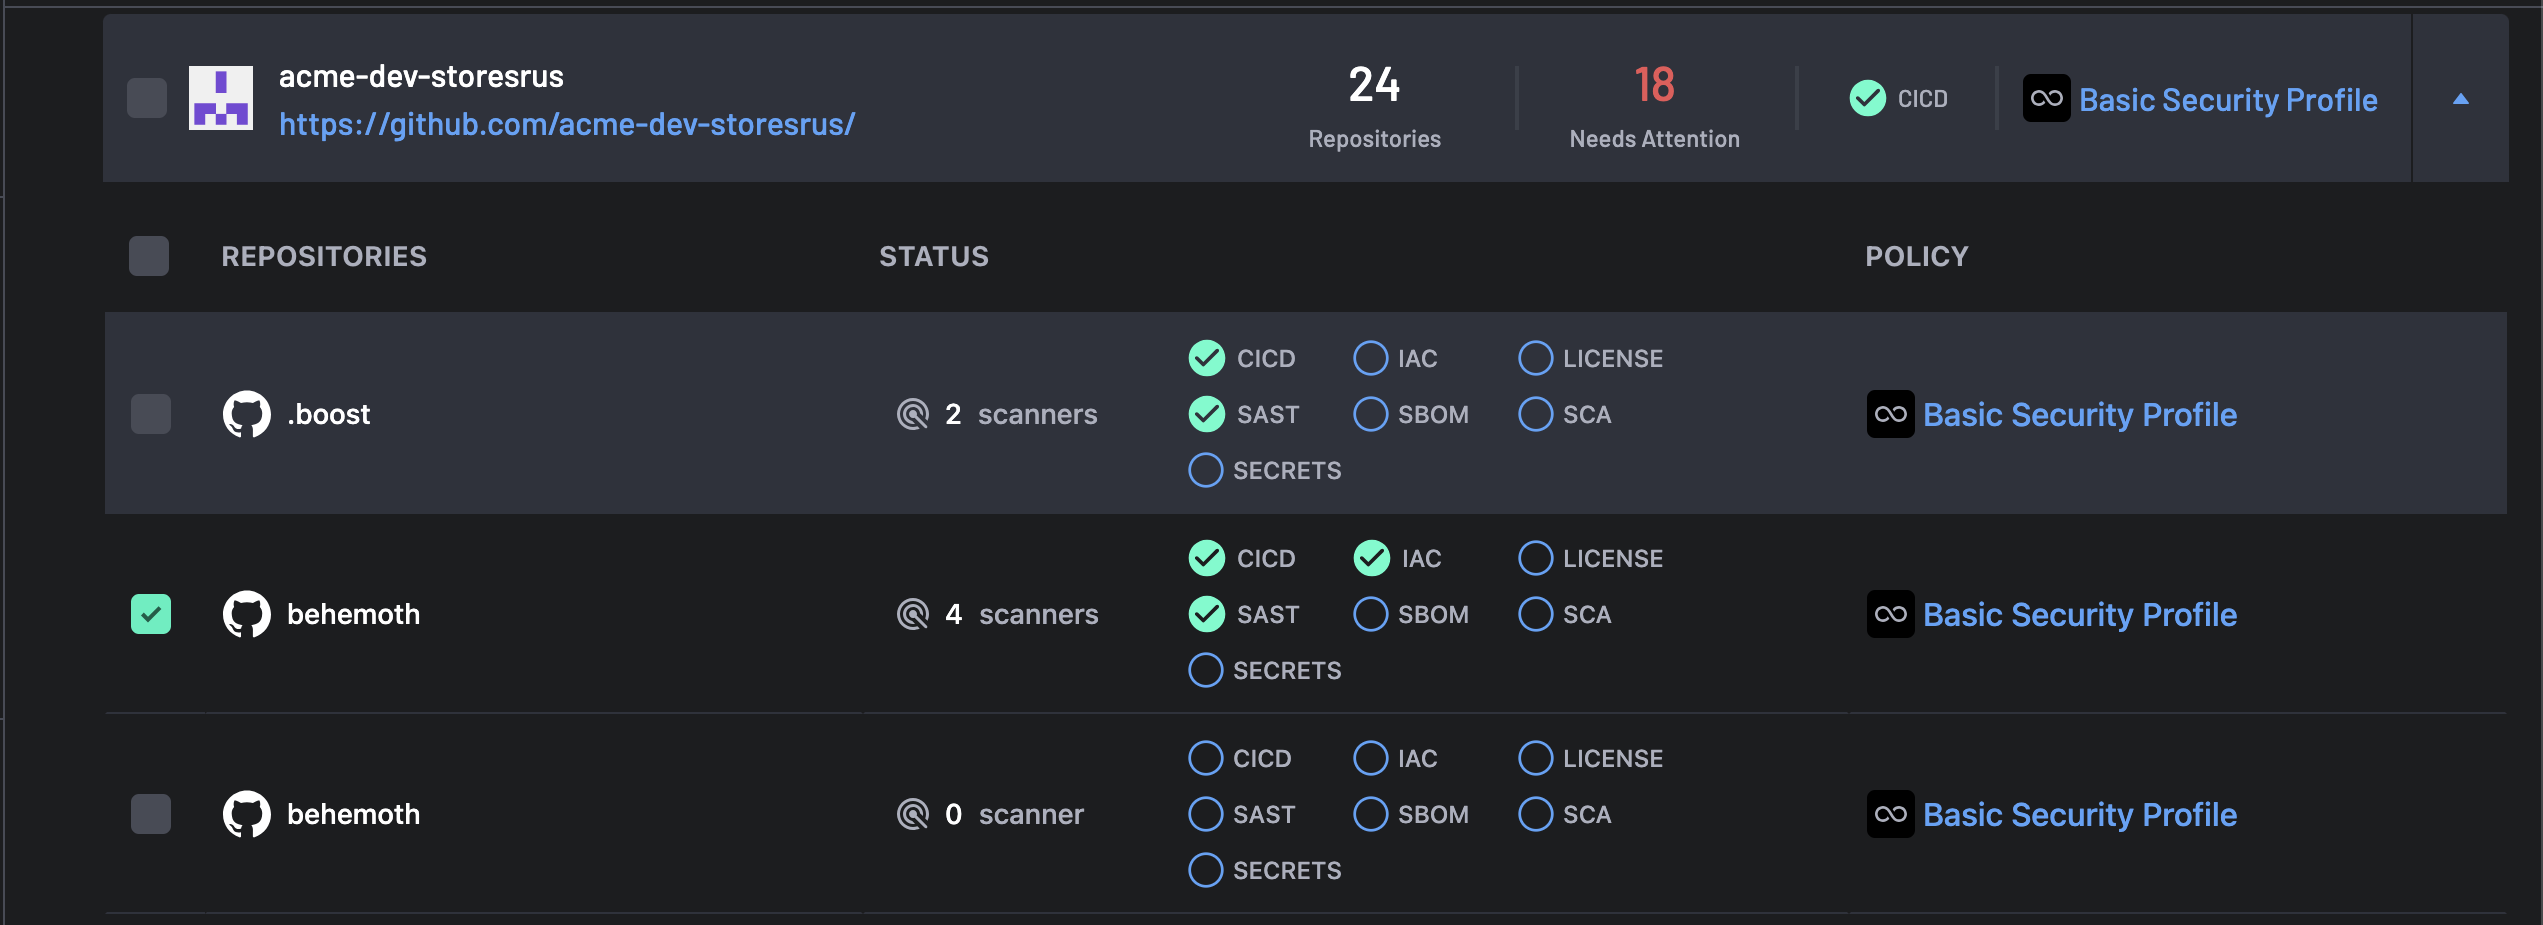
Select a repository from the dropdown list.
-
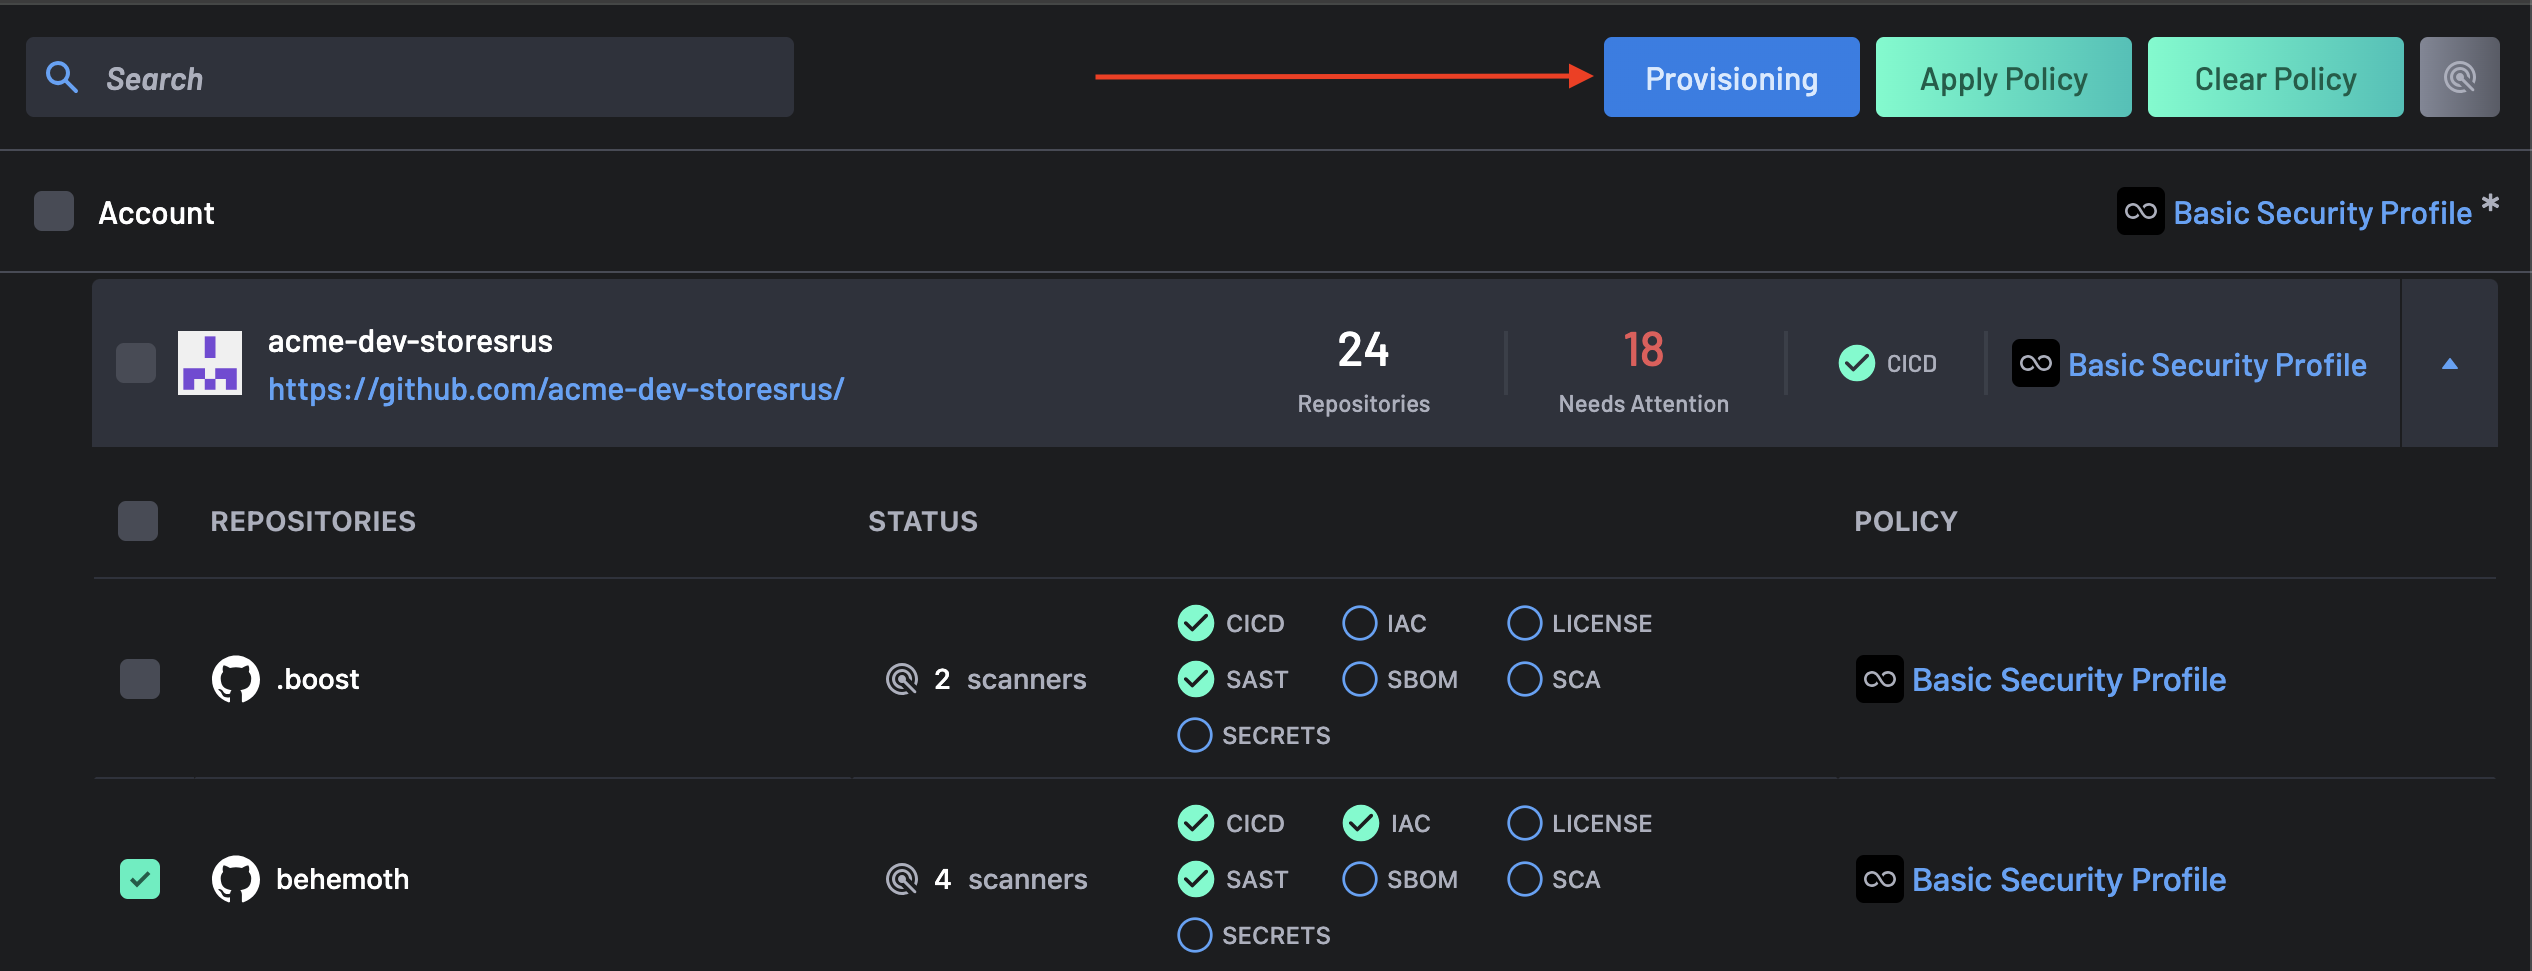
Click on the Actions button at the top corner of the page.

-
Click on the Provisioning button.
-
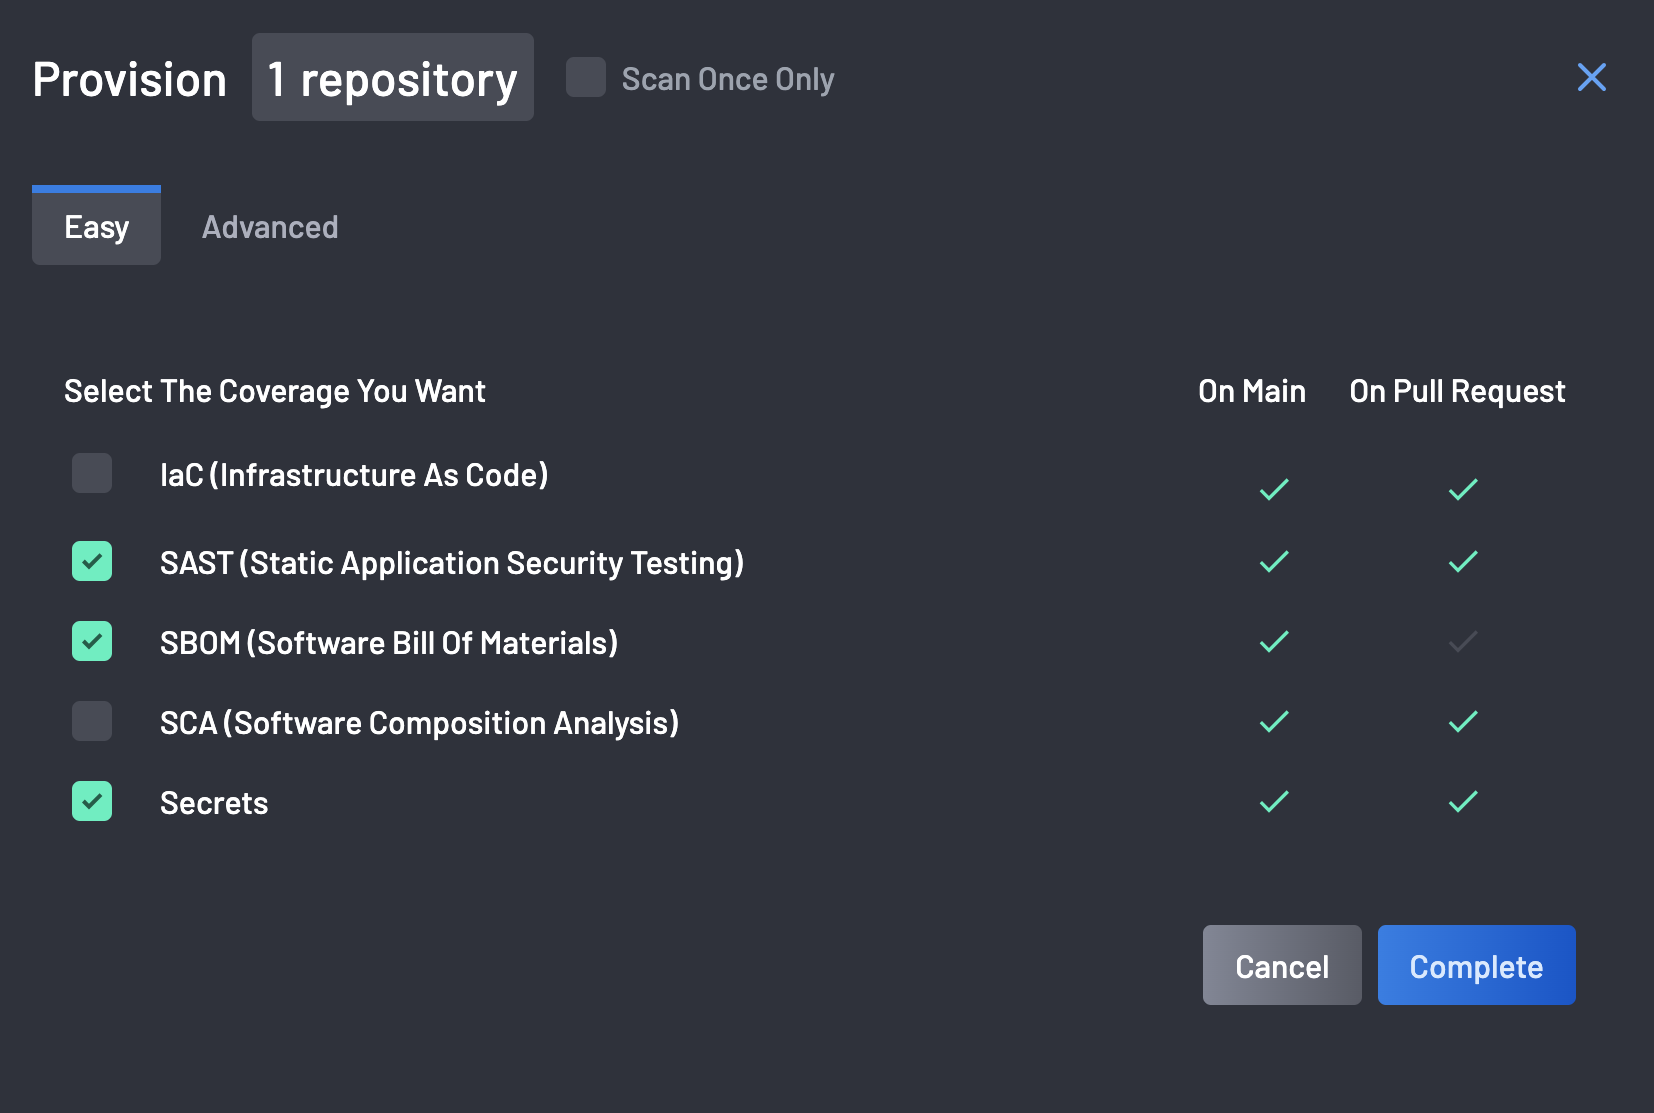
Select a provisioning method:
-
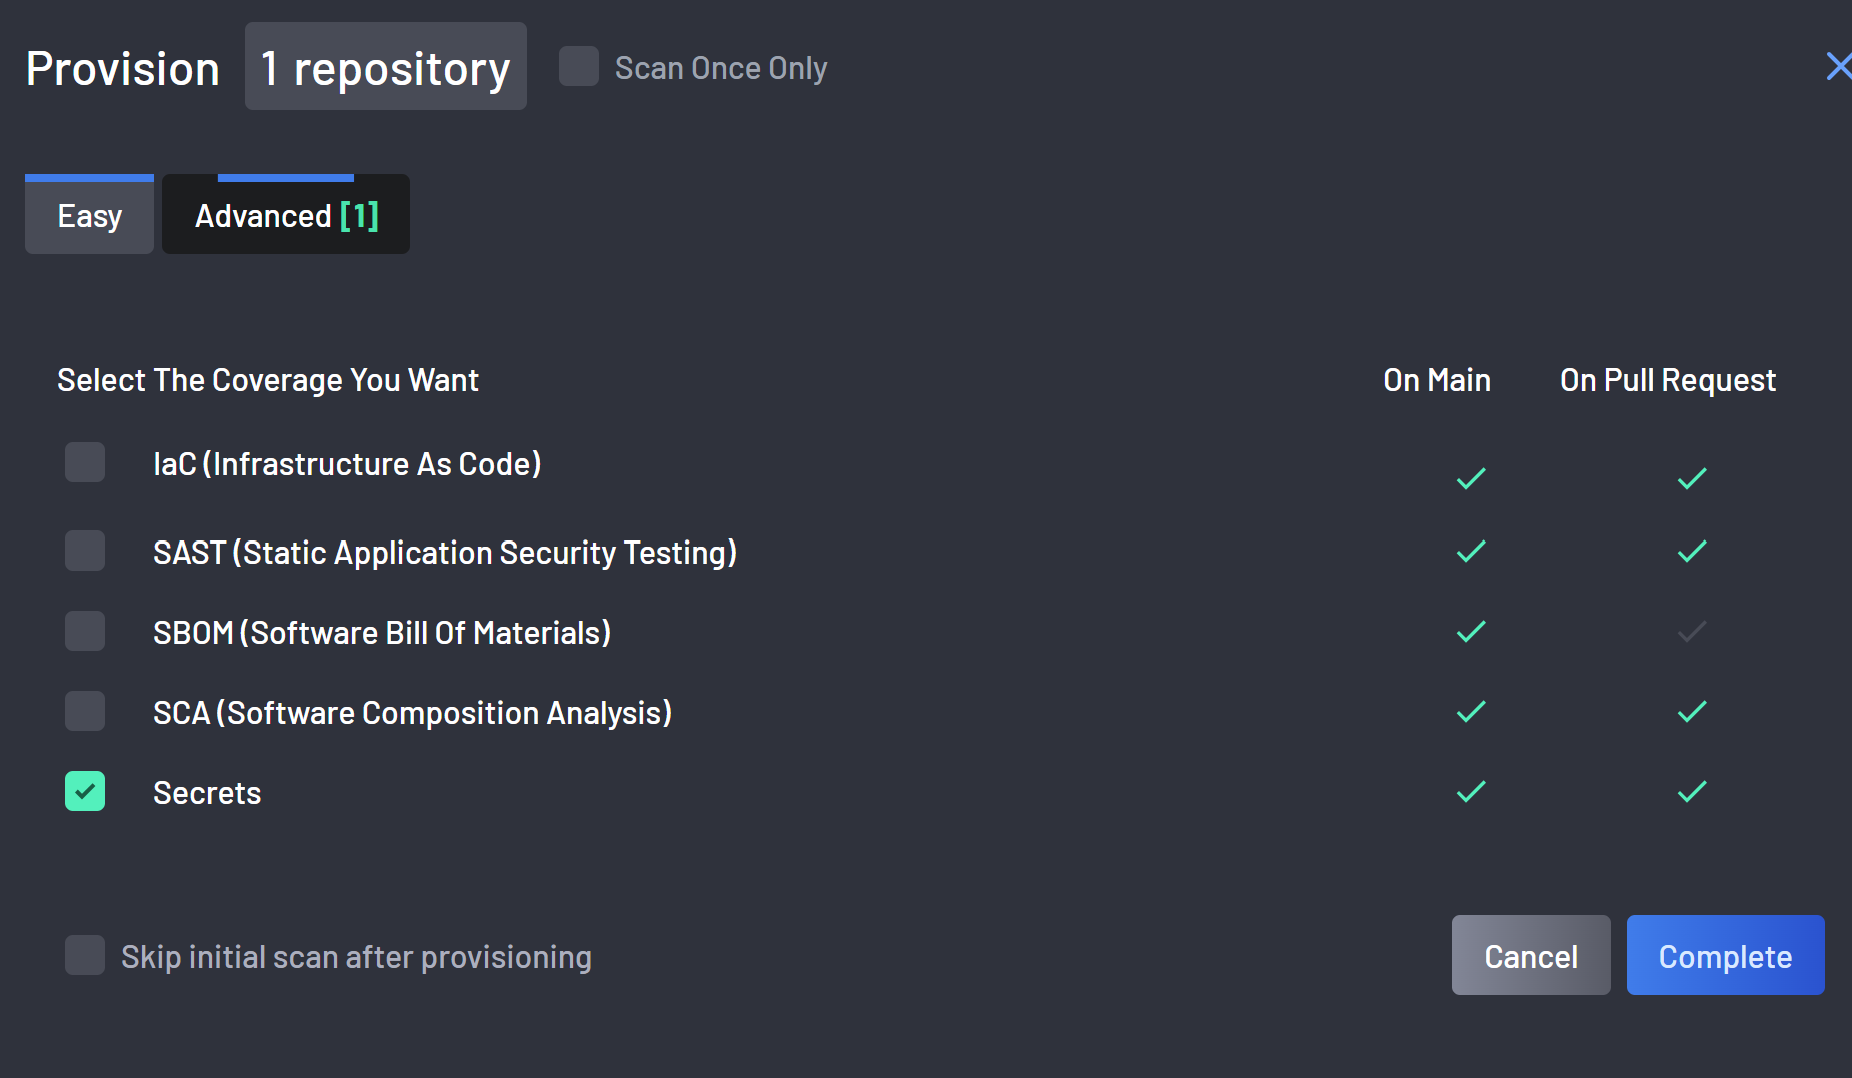
Easy Provisioning: Choose the desired security coverage, and Boost Security will automatically provision the best recommended scanners.
-
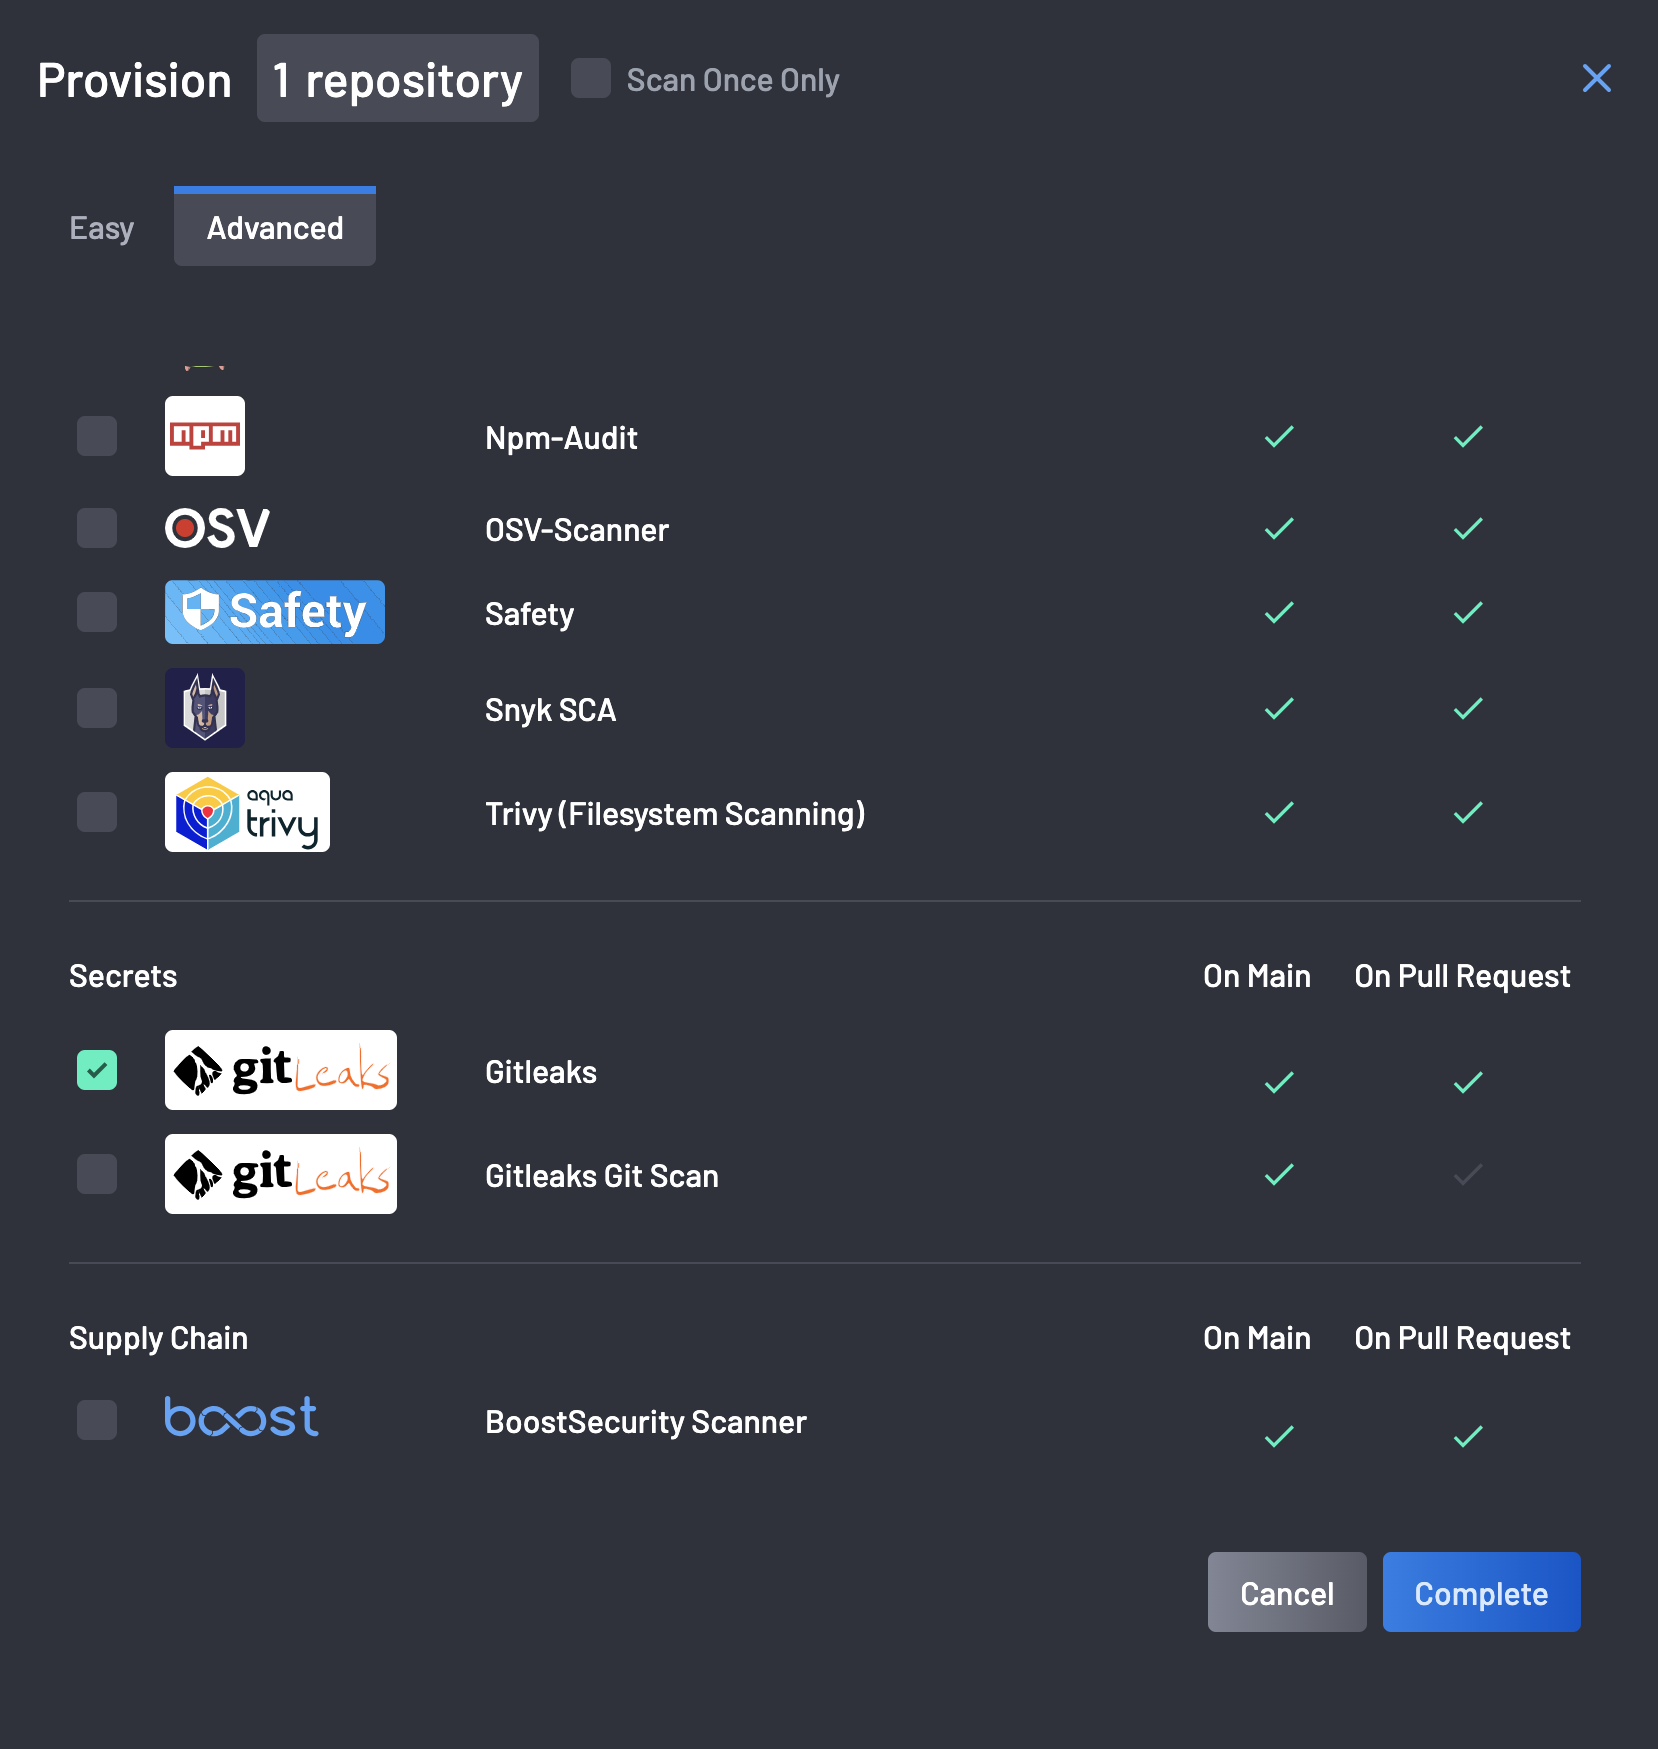
Advanced Provisioning: Manually select the scanners to provision based on specific requirements. Boost Security provides an extensive list of scanners from which users can select.
Note
If certain scanners cannot be enabled for a particular repo, the scanner is blurred out of the options and, therefore, unclickable. A note is displayed that informs the user why the scanner cannot be enabled.
-
-
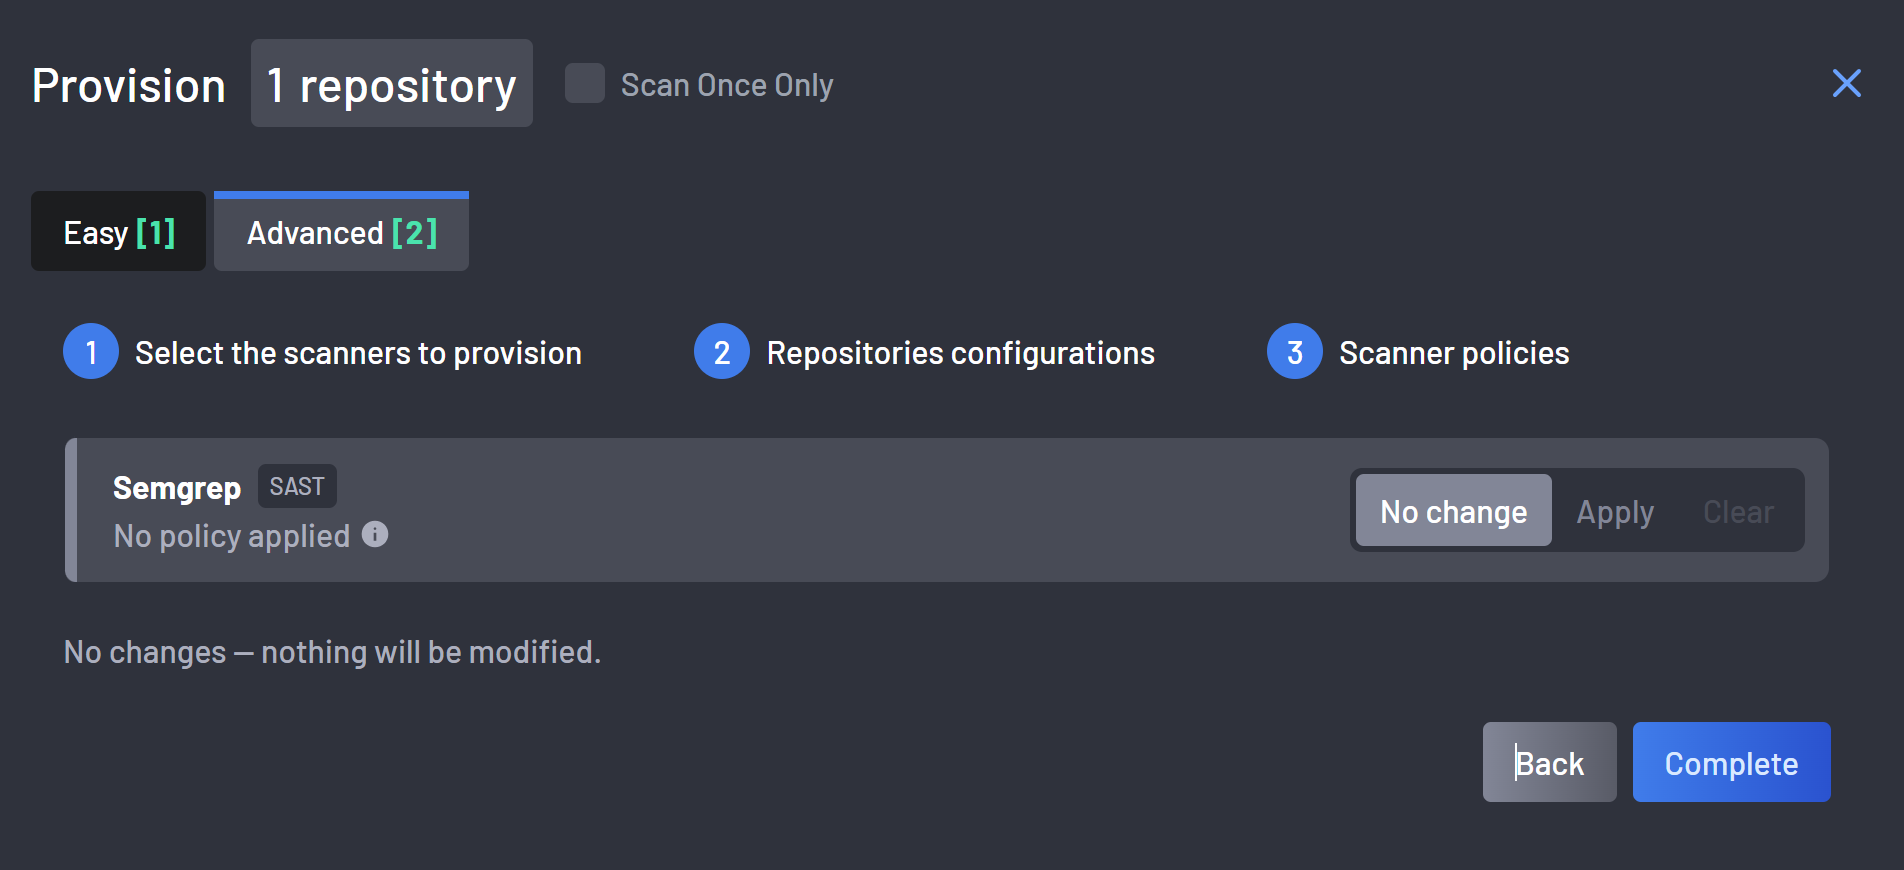
Advanced provisioning only: on the Scanner policies step, optionally assign a Scanner Policy to any of the selected scanners, to govern how they behave.
-
At any step: to provision the scanners without launching any scans, tick Skip initial scan after provisioning in the modal's footer. See Skipping the Initial Scan for what this means for your coverage.
-
Click the Complete button to save the progress.
-
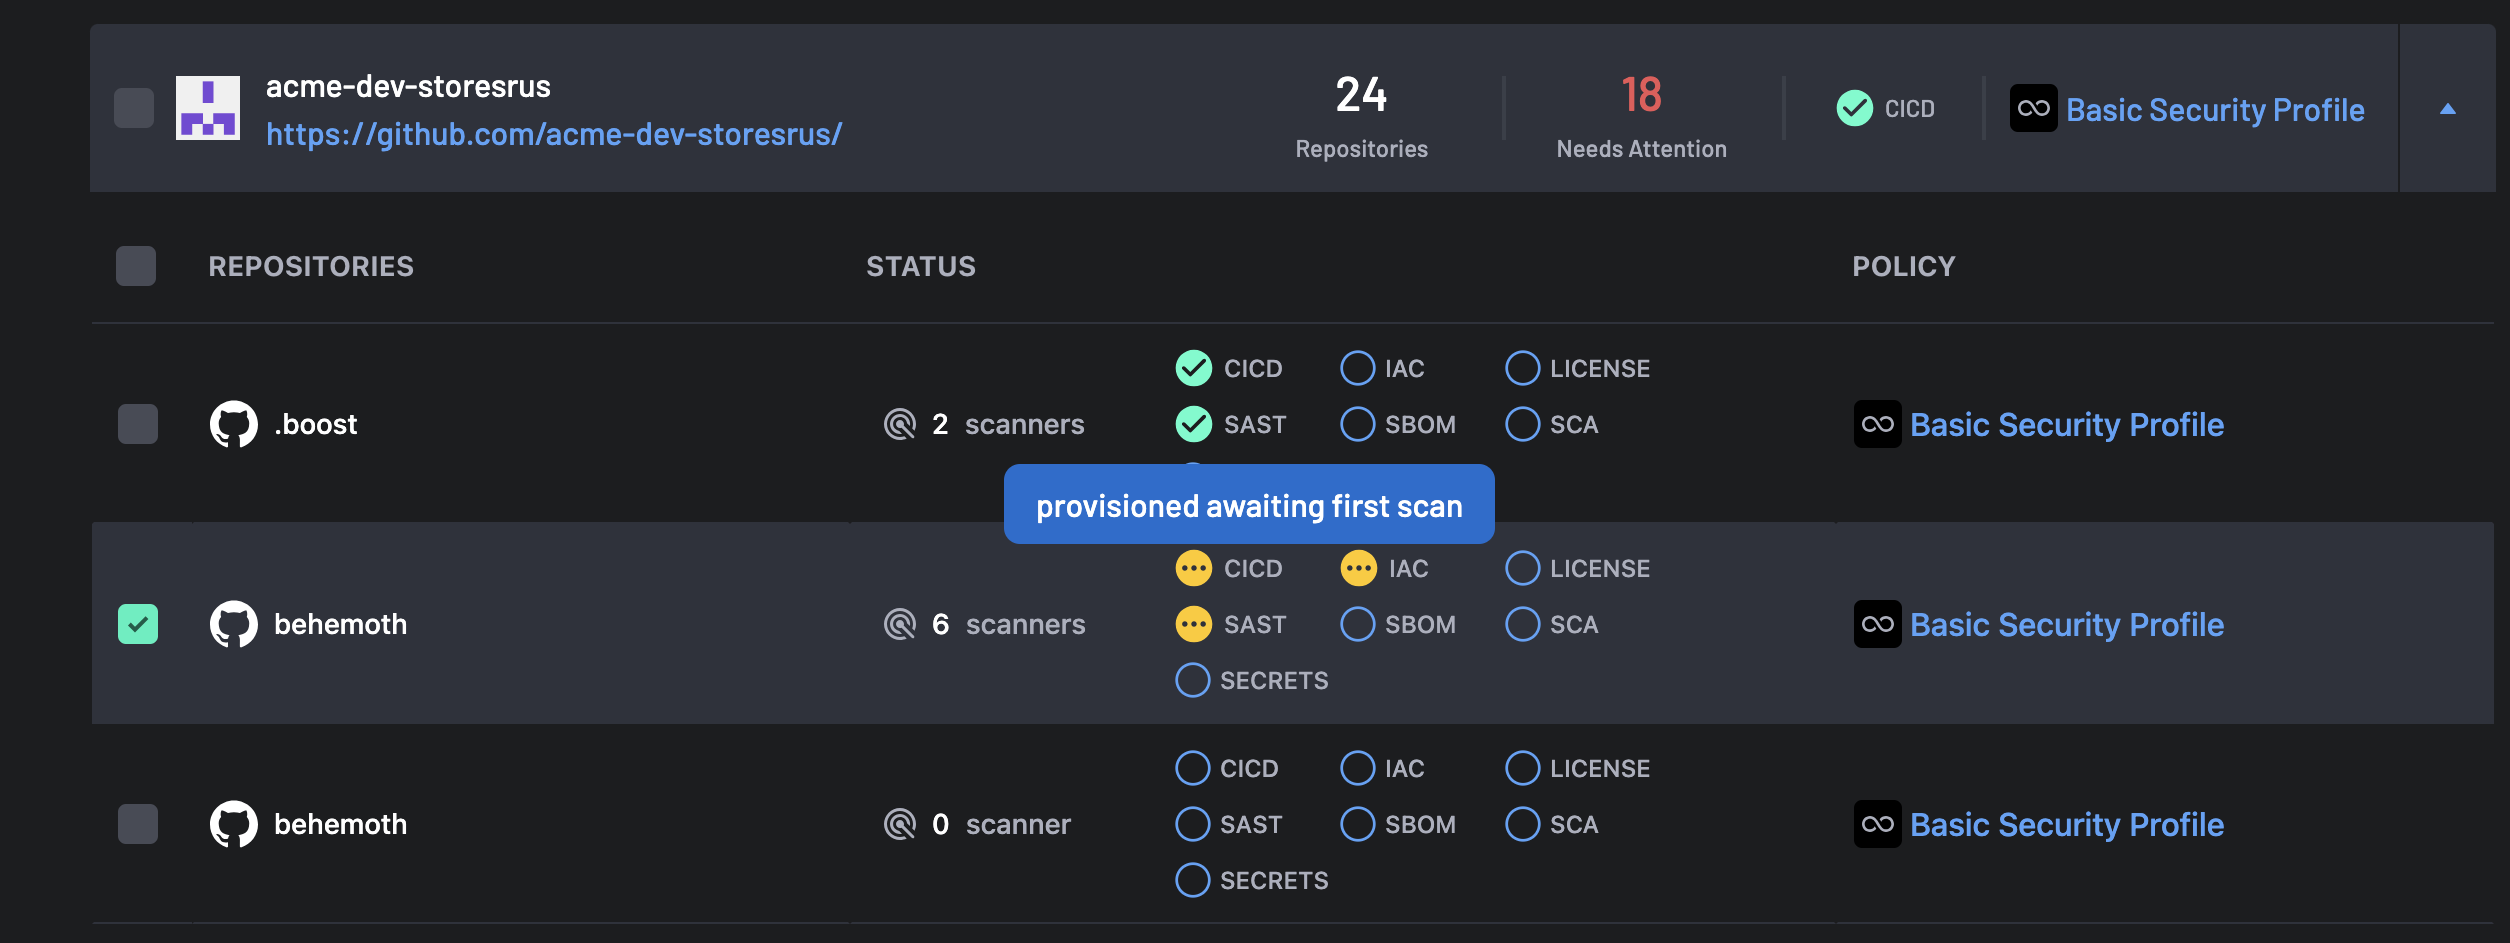
The scanner is now provisioned for the repo.
Skipping the Initial Scan
Provisioning normally launches an initial scan on every asset it touches, which can send a large number of jobs to your CI/CD pipelines at once. The Skip initial scan after provisioning checkbox, in the footer of the provisioning modal beside the Complete button, provisions the selected scanners and launches no scan jobs at all. The modal describes it as:
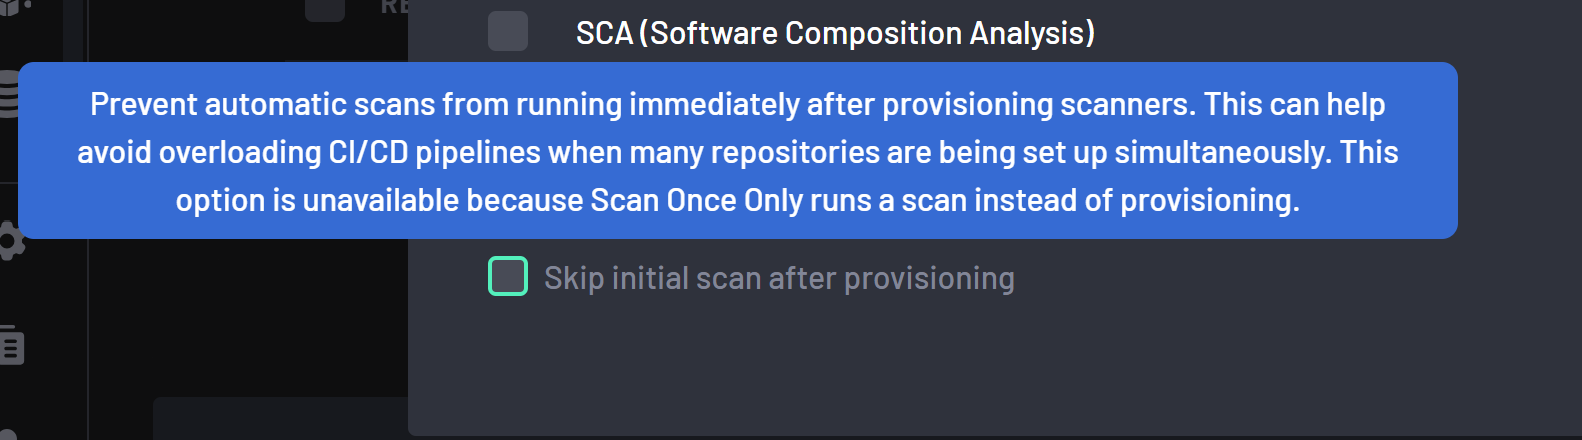
Prevent automatic scans from running immediately after provisioning scanners. This can help avoid overloading CI/CD pipelines when many repositories are being set up simultaneously.
The checkbox is offered in both Easy and Advanced provisioning, on every step of the flow, whenever the change you are about to make provisions at least one scanner — regardless of how many scan jobs that change is estimated to launch. A change that only deprovisions scanners does not offer it, because there is no initial scan to skip.
The initial scan runs unless you tick the box. Leaving it alone provisions exactly as before, including the warning shown when a change is estimated to launch a large number of jobs.
Ticking the box always adds a note above the buttons, however small the change:
The scanners will be provisioned without launching a scan. Until each affected asset is scanned, the security categories these scanners cover will report as pending — including categories that are covered today.
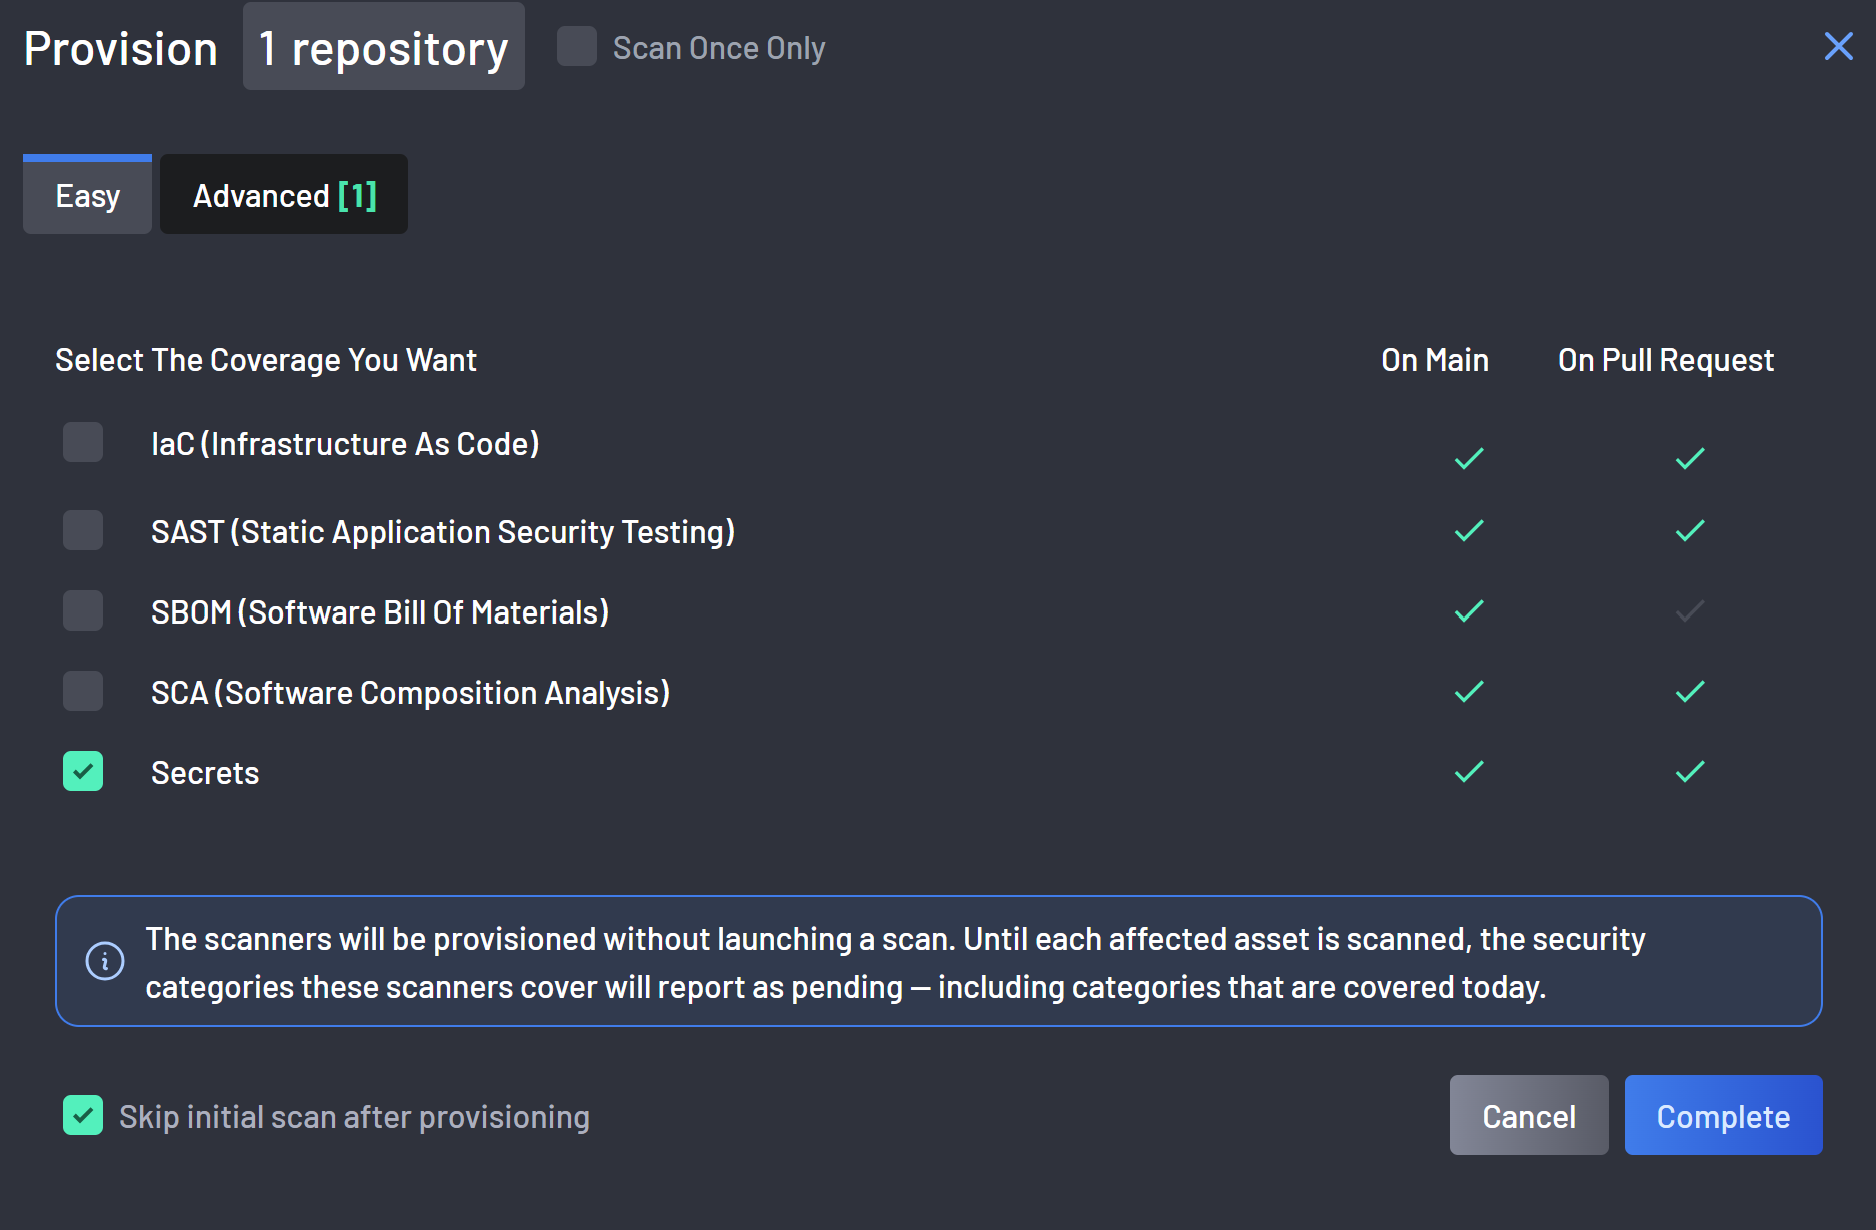
If the job-count warning was showing, it disappears while the box is ticked, because no jobs will be launched. Unticking the box restores it.
The choice applies only to the provisioning you are performing. It is not remembered, there is no account-level equivalent, and closing the modal clears it.
Note
Skip initial scan after provisioning cannot be combined with the Scan Once Only option in the same modal, which runs a scan instead of provisioning. Selecting Scan Once Only clears the skip checkbox and disables it — it stays on screen, greyed out, and its tooltip explains that the option is unavailable because Scan Once Only runs a scan instead of provisioning.
What Skipping Means for Coverage
The scanners are provisioned exactly as they would be otherwise: their assignments, policies and coverage are all written, and each scanner reaches the Provisioned state.
What differs is that nothing has scanned yet. Every newly provisioned scanner starts awaiting first scan, and it is normally the initial scan that clears it. When you skip that scan, the security categories those scanners cover report as Pending on the Scanner Coverage page until something scans the asset.
Warning
A security category that is covered today can turn Pending. A category reports as Pending as soon as any scanner in it is awaiting its first scan, even when another scanner already covers that category and has scanned.
Nothing is queued or scheduled to clear this. A category stops reporting as Pending only when the asset is actually scanned — on your next push to the default branch, or when you trigger a scan manually.
Enable Default Scanner Protection
It is recommended to enable default scanner protection. With default scanner protection newly created repository will get instant coverage.
To do this,
-
Go to the Scanner Coverage page and select the Default Scanner Protection column for your GitHub integration.
-
Toggle SBOM, SCA, or Secrets to enable the Boost Security Scanner default protection, and Dependabot to enable the scanner for your GitHub integration.
