Configure Scanners
The Global Configuration feature allows users to centrally manage scanner settings across supported tools. It provides a unified location to configure tokens for Semgrep Pro and Snyk, and to define and maintain advanced rule sets for Semgrep and CodeQL. Additionally, it supports configuration of the Gitleaks scanner for secrets detection. This centralized approach streamlines the provisioning and management of scanner coverage across your assets.
Common Configuration Steps
Before configuring any scanner, follow these initial steps:
-
Navigate to the Scanner Coverage page.
-
Click the Actions button at the top right corner of the page.

-
Click the Configure Scanners button.

1. CodeQL
To configure the CodeQL scanner,
- Complete the Common Configuration Steps.
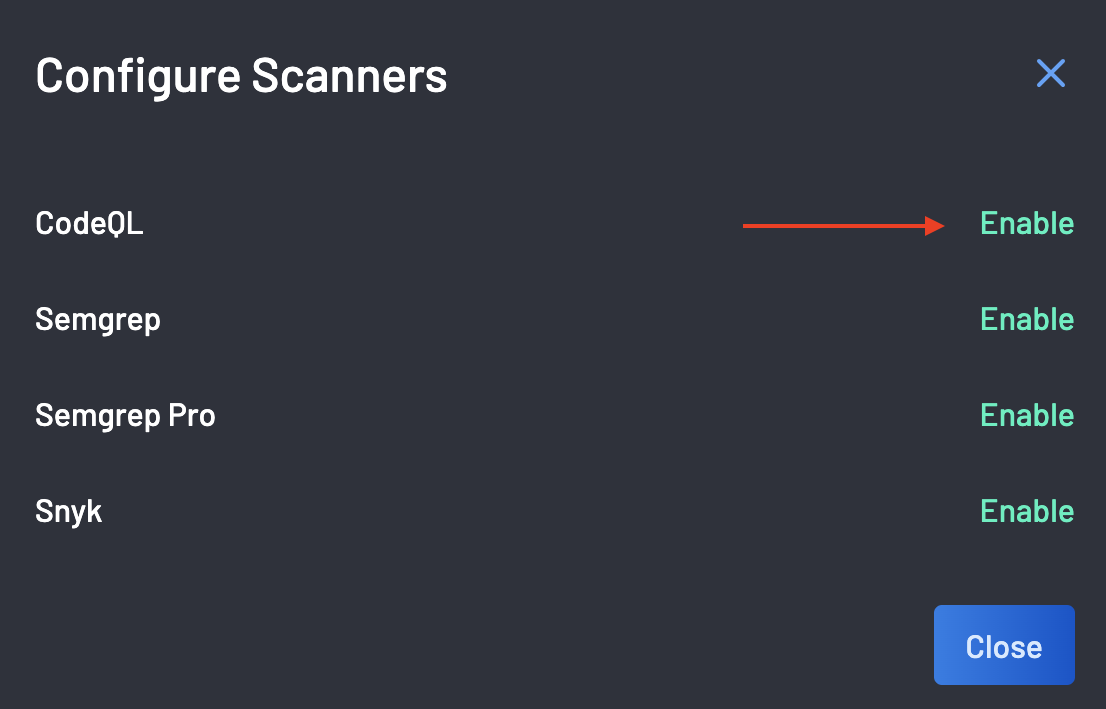
-
Select "Enable" for the CodeQL scanner.
-
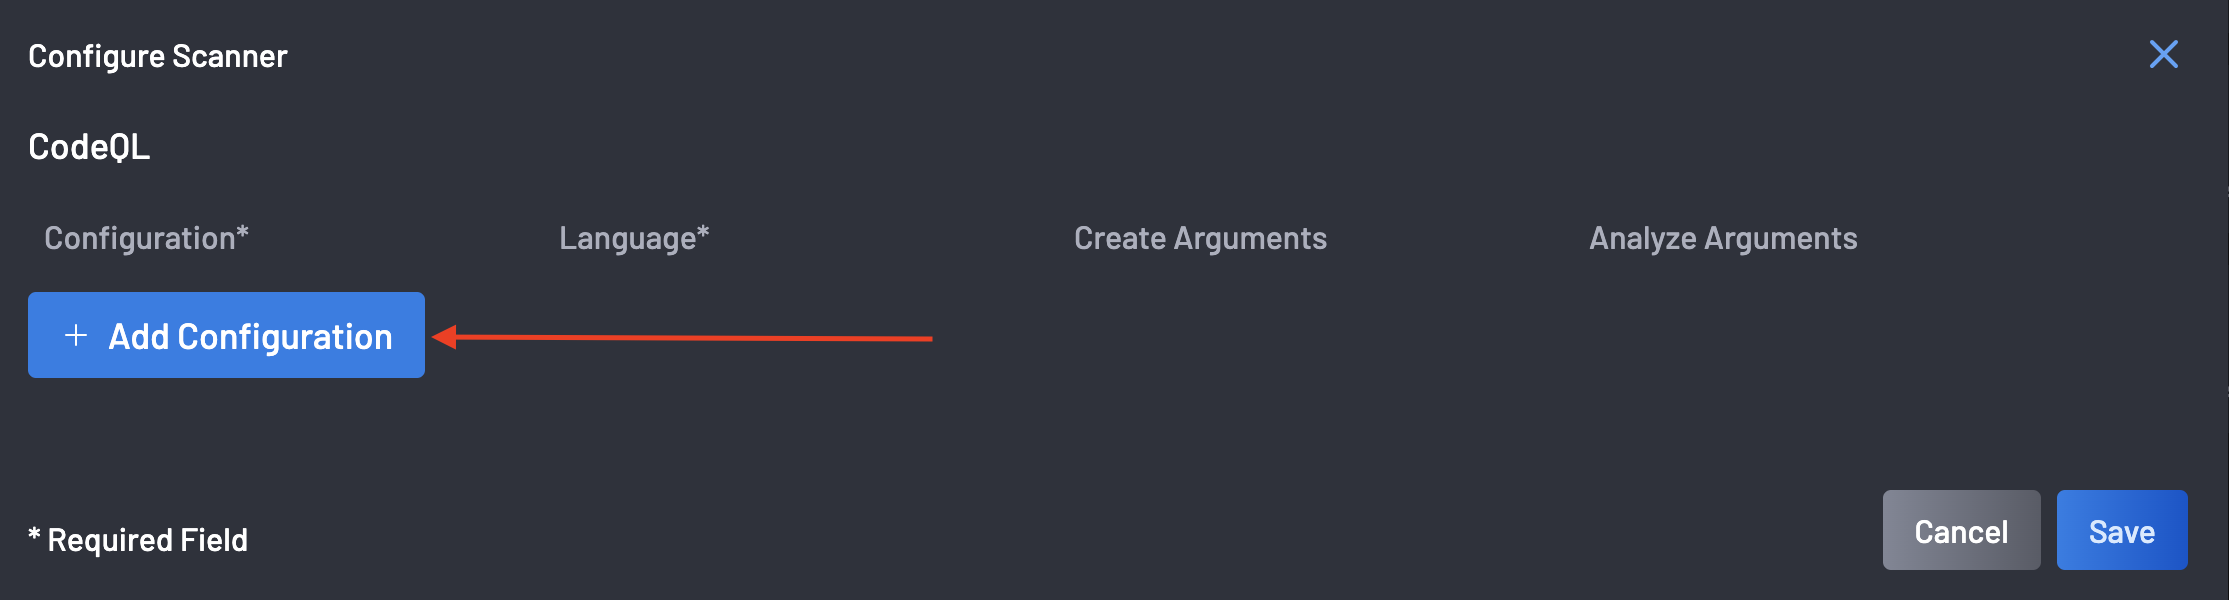
Click the Add Configuration button.
-
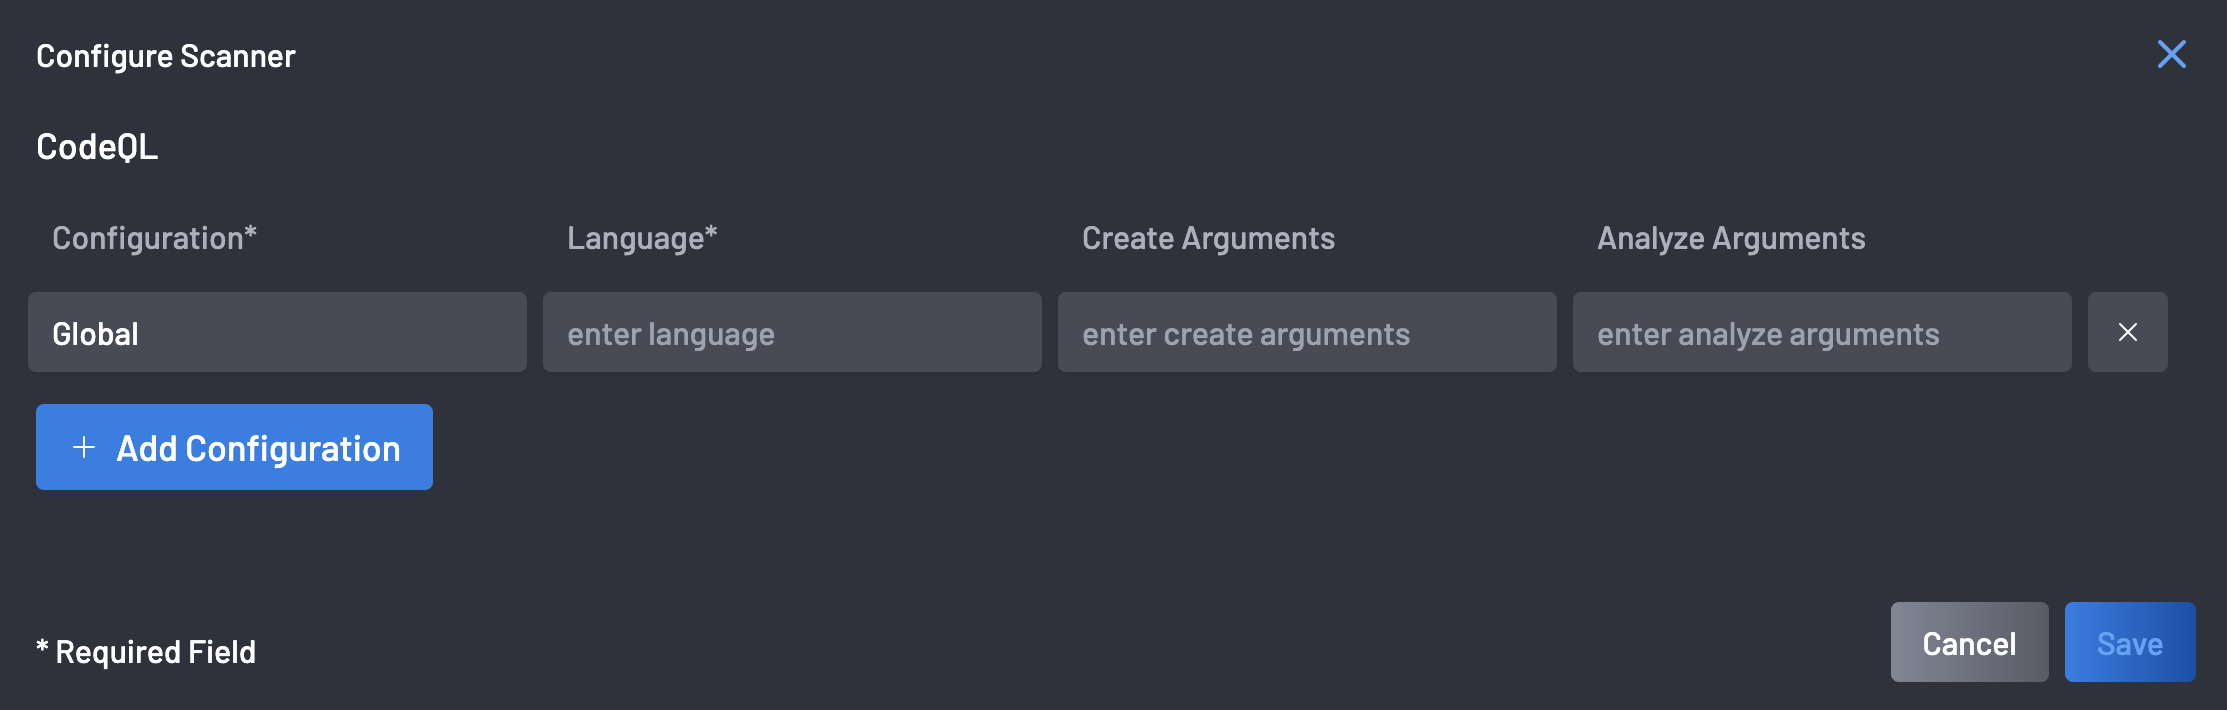
Provide the
requiredfields Configuration and Language.Optionalparameters include Create Arguments and Analyze Arguments.- Refer to the list of supported languages.
- Learn more about your CodeQL configuration.
-
Click the Save button to finalize the configuration.
2. Semgrep
To configure the Semgrep scanner:
- Store your custom rules in an internet reachable location (e.g., GitLab packages).
- Complete the Common Configuration Steps.
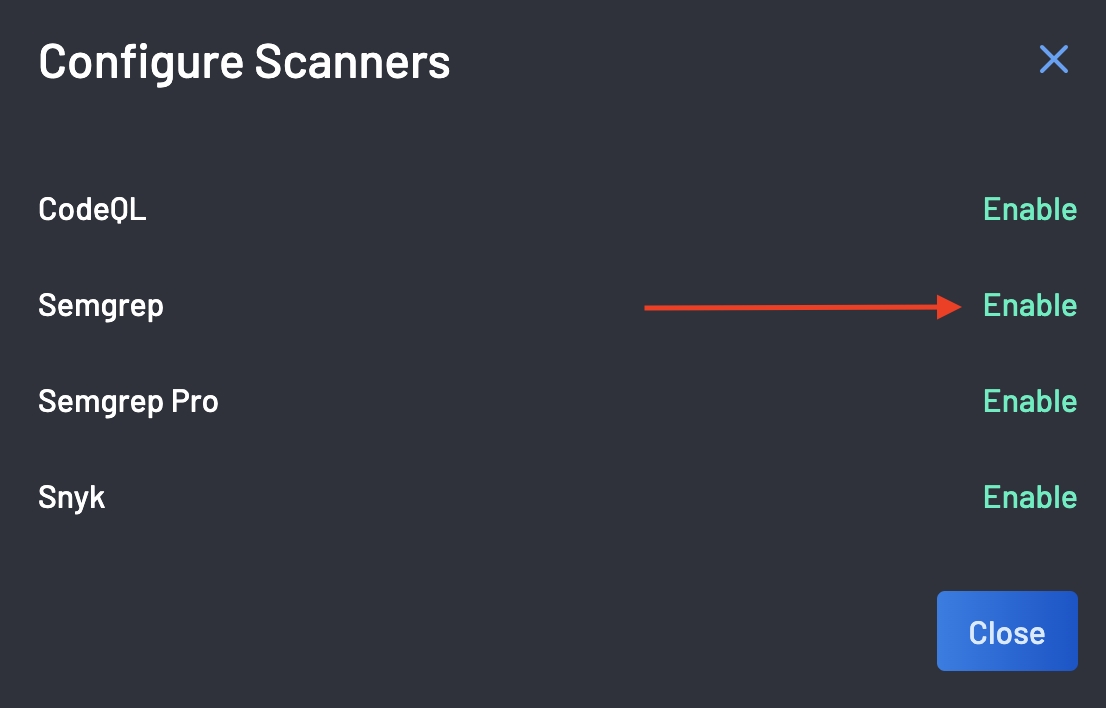
-
Select "Enable" for the Semgrep scanner.
-
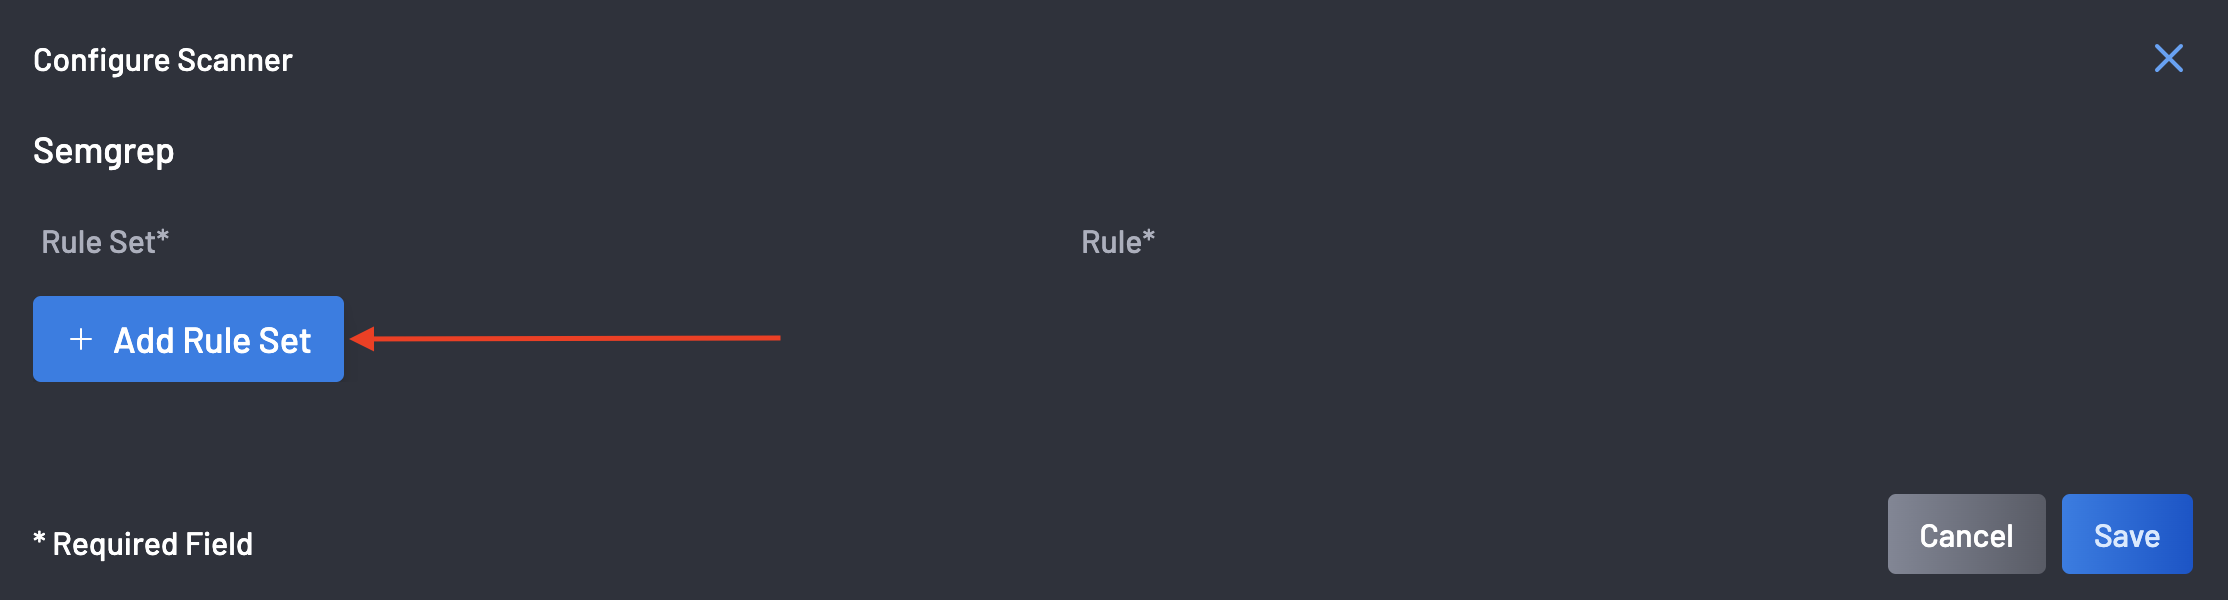
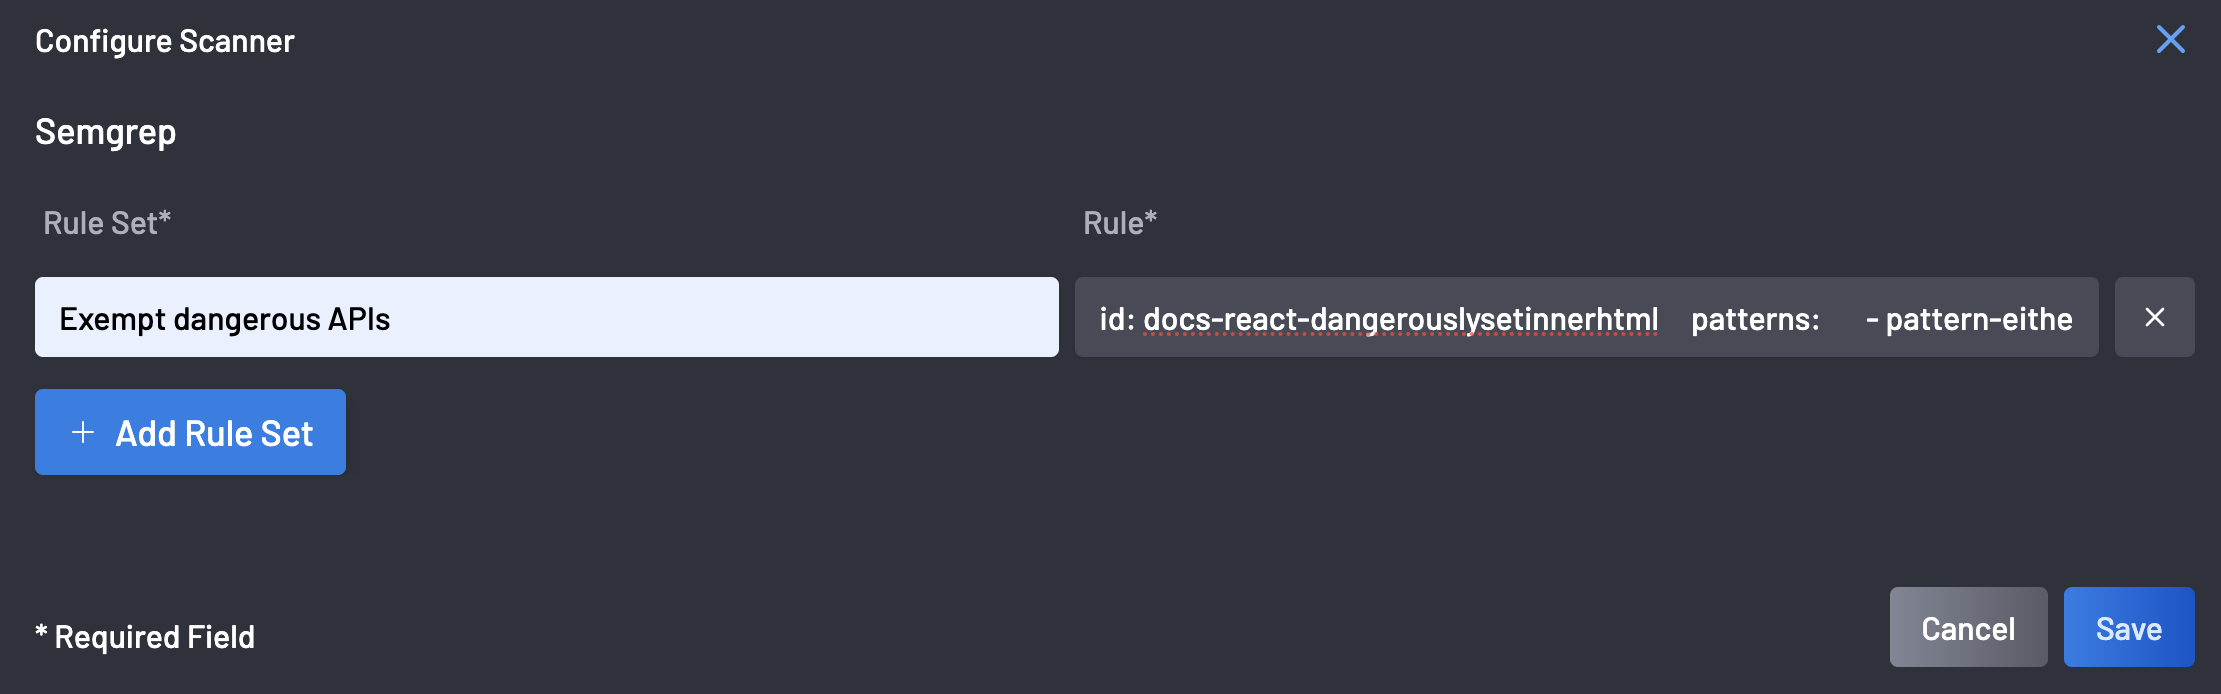
Click the Add Rule Set button to add the Rule Set (Name) and the corresponding Rule. In the Rule field, enter the following URLs:
- https://assets.build.boostsecurity.io/semgrep-rules/stable/all-sast-rules.yml{ target=blank } (_This is Boost Security's default ruleset)
- https://example.com/PATH/TO/RULES/LOCATION
"URLs must be space-separated to be parsed correctly."
-
Click the Save button to confirm and store the custom configuration.
-
Proceed to apply the new semgrep configuration to the code repositories using the following steps:
-
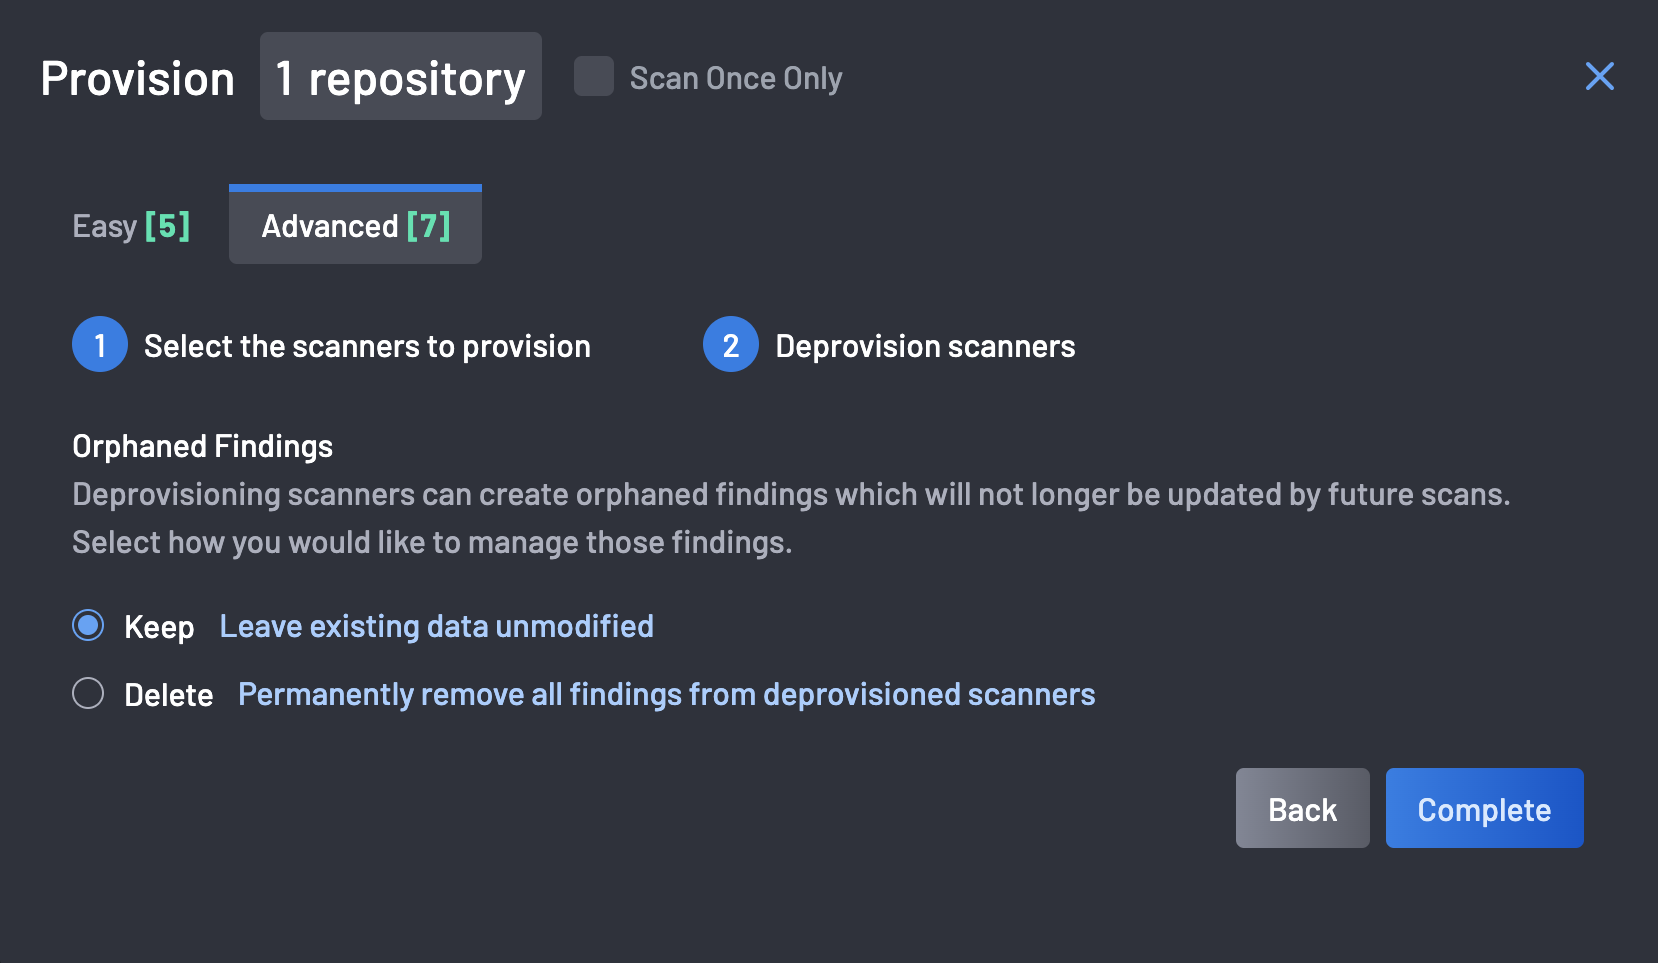
Deprovision the Semgrep scanner (Only if already provisioned) on the relevant repositories. Do so using the advanced provisioning tab to ensure the data associated with the scans are not deleted.

-
Then using the advanced provisioning tab, reprovision Semgrep on the selected code repository(ies).
-
On the next step, select the newly created custom rule set.
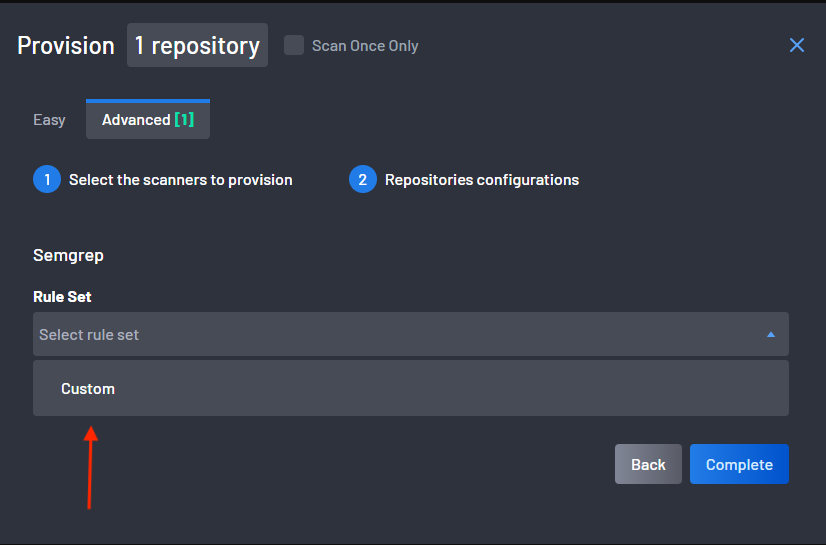
-
Click Complete to finalize and activate the custom ruleset across the selected repositories.
-
Note
When configuring Semgrep, you should know that any combination of rulesets can be provided. The file extension at the end of the URL must be either .yaml or .yml, and custom rulesets can also be defined per code repository if they are located in the .semgrep/ directory.
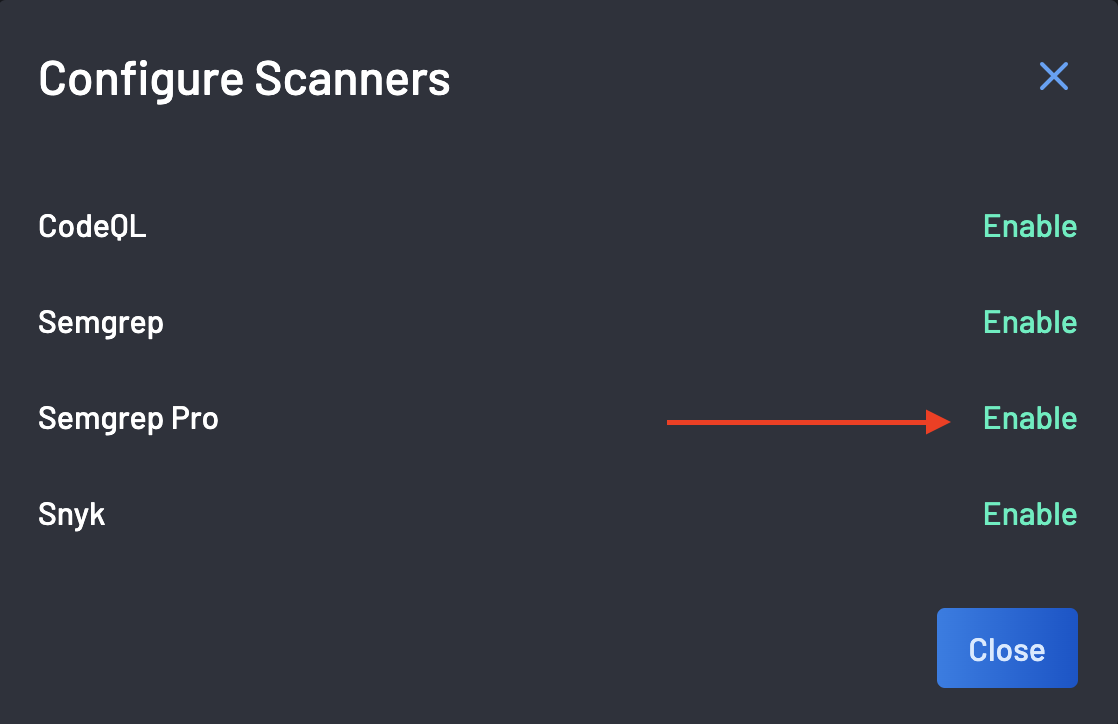
3. Semgrep Pro
To configure the Semgrep Pro scanner:
- Complete the Common Configuration Steps.
-
Select "Enable" for the Semgrep Pro scanner.
-
Enter your Token and click the Add Rule Set button to add the Rule Set (Name) and the corresponding Rule.
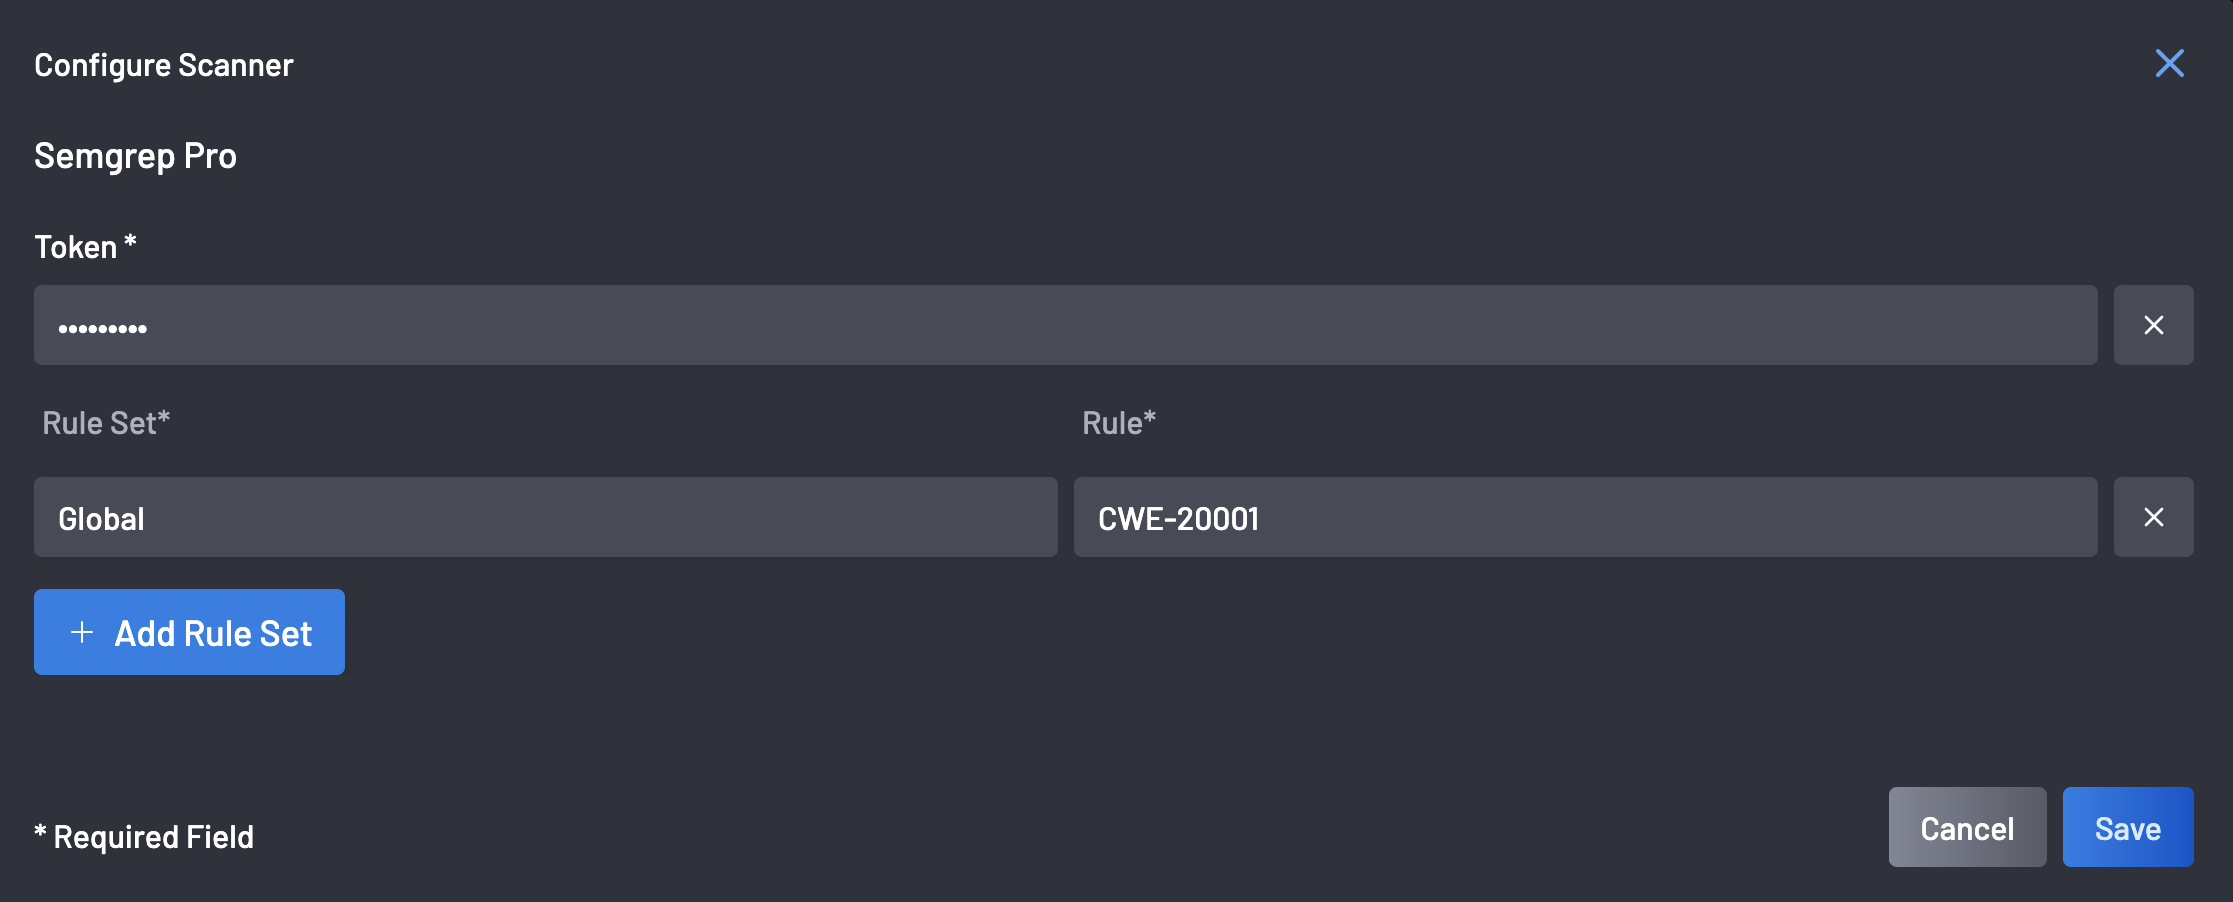
-
Click the Save button to finalize the configured scanner.
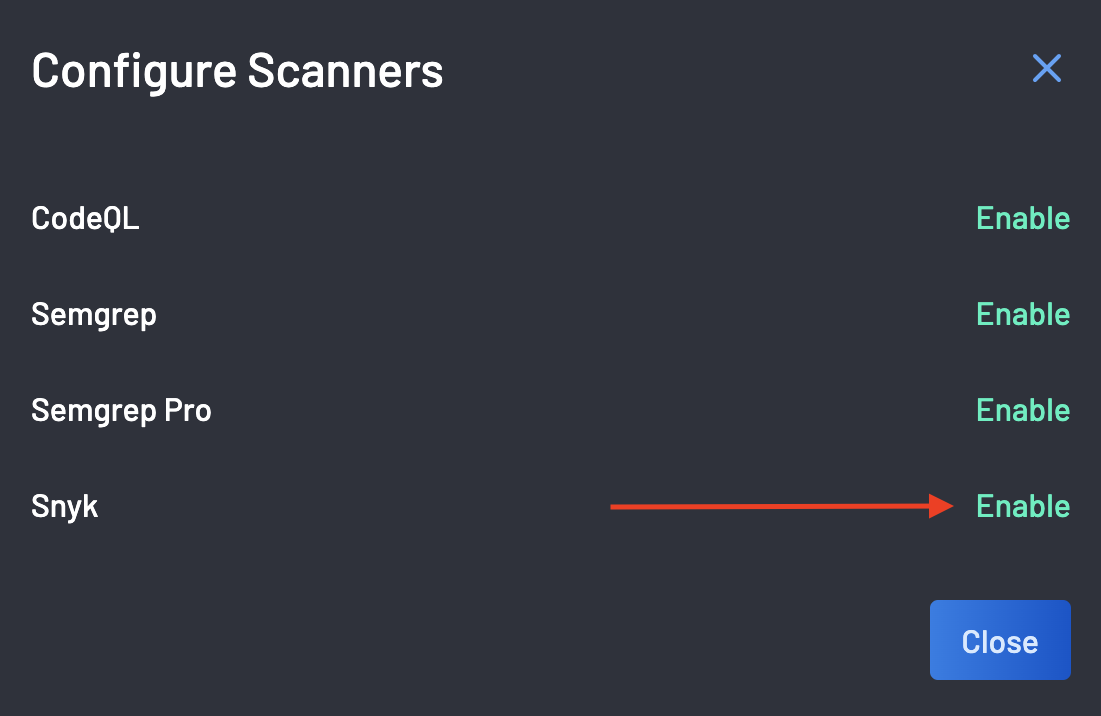
4. Snyk
To configure the Synk scanner:
- Complete the Common Configuration Steps.
-
Select "Enable" for the Synk scanner.
-
Enter the Token and click the Save button to finalize the details.
