Integrate Bitbucket with Boost Security
Boost Security lets you connect your Bitbucket organization to scan repositories, pull requests, and code commits for security issues.
Prerequisites
As a pre-requisite to installing the application:
-
The option
Enable development modemust be selected in your Bitbucket's workspace'sInstalled Applicationssettings. To do this, go to yourBitBucket organization workspace settings > Installed Appsand then select the Enable Development Mode.
-
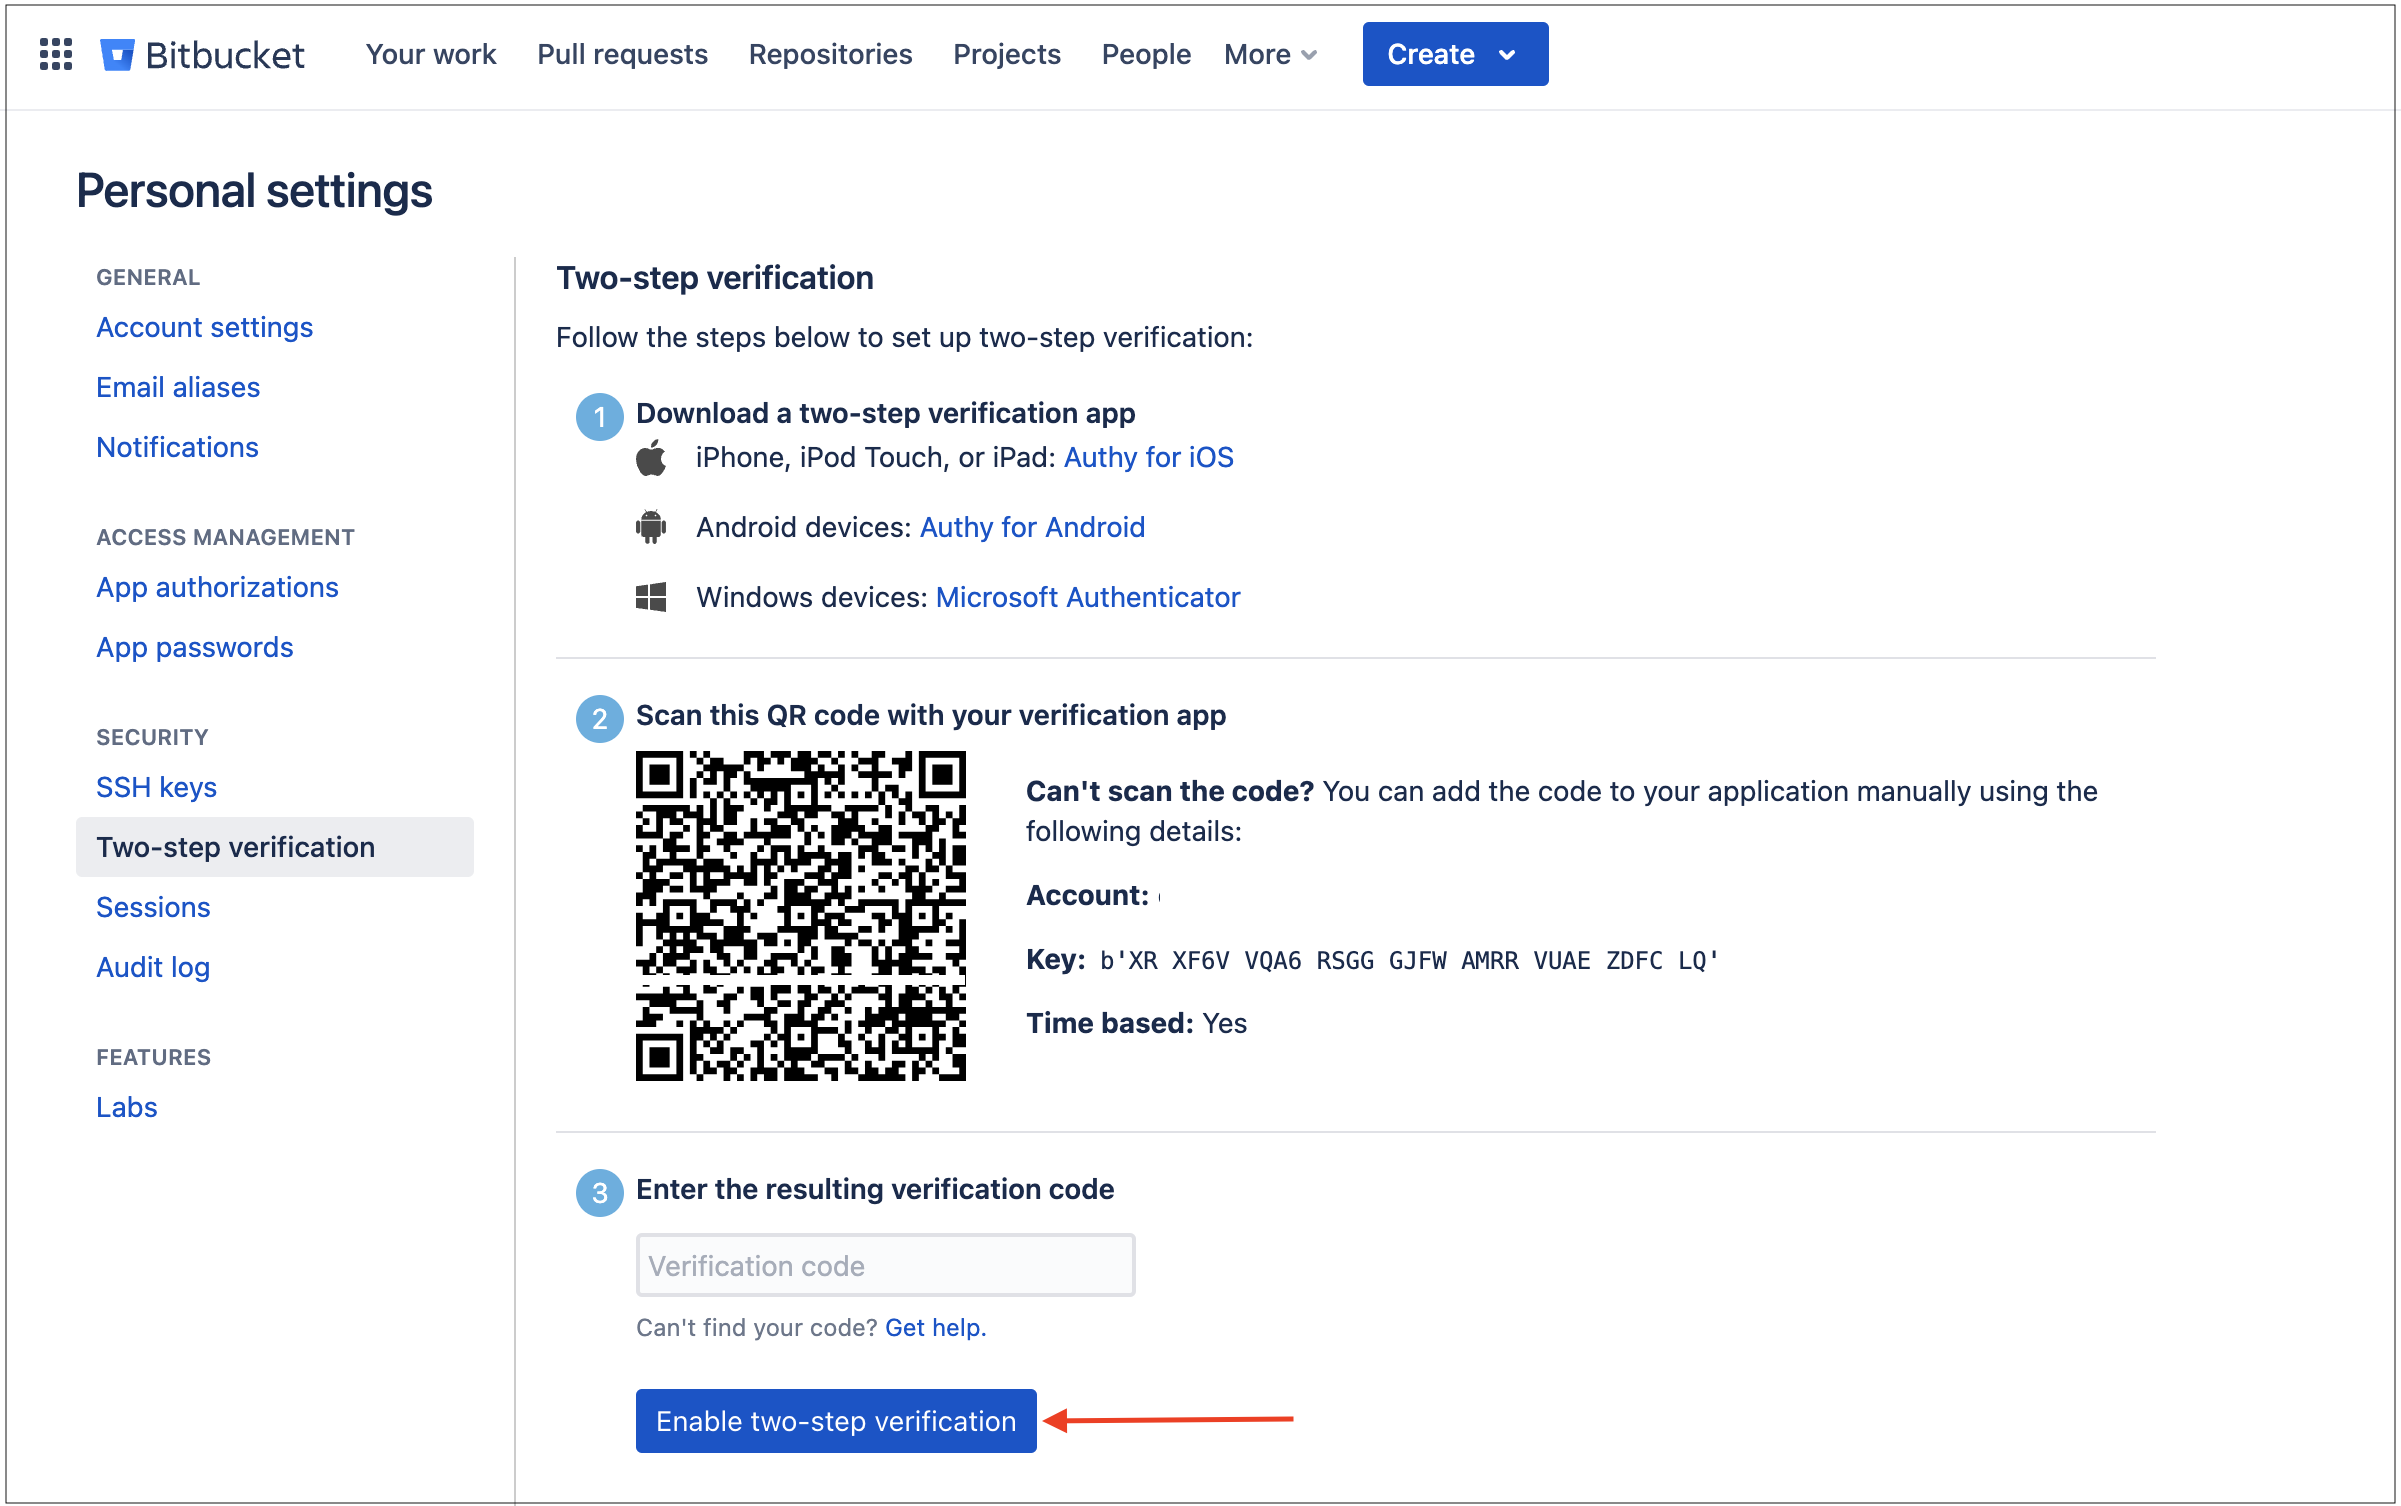
You must enable Two Factor Authentication, i.e., 2FA enabled. To enable 2FA, go to Bitbucket's two0step verification page, follow the steps provided, and click on Enable two-step verification to complete the process.
-
Allowed development apps to be installed. You can do this by navigating to this url
https://bitbucket.org/<your-bitbucket-org>/workspace/settings/addon-management. Replace<your-bitbucket-org>with the name of your Bitbucket organization.
As a prerequisite to enabling Zero Touch Provisioning, ensure to also have:
-
Created a non-empty
.boostrepo in the Bitbucket workspace. To do this, go to your Bitbucket workspace where you installed Boost Security and create a new.boostrepo that contains a Readme file.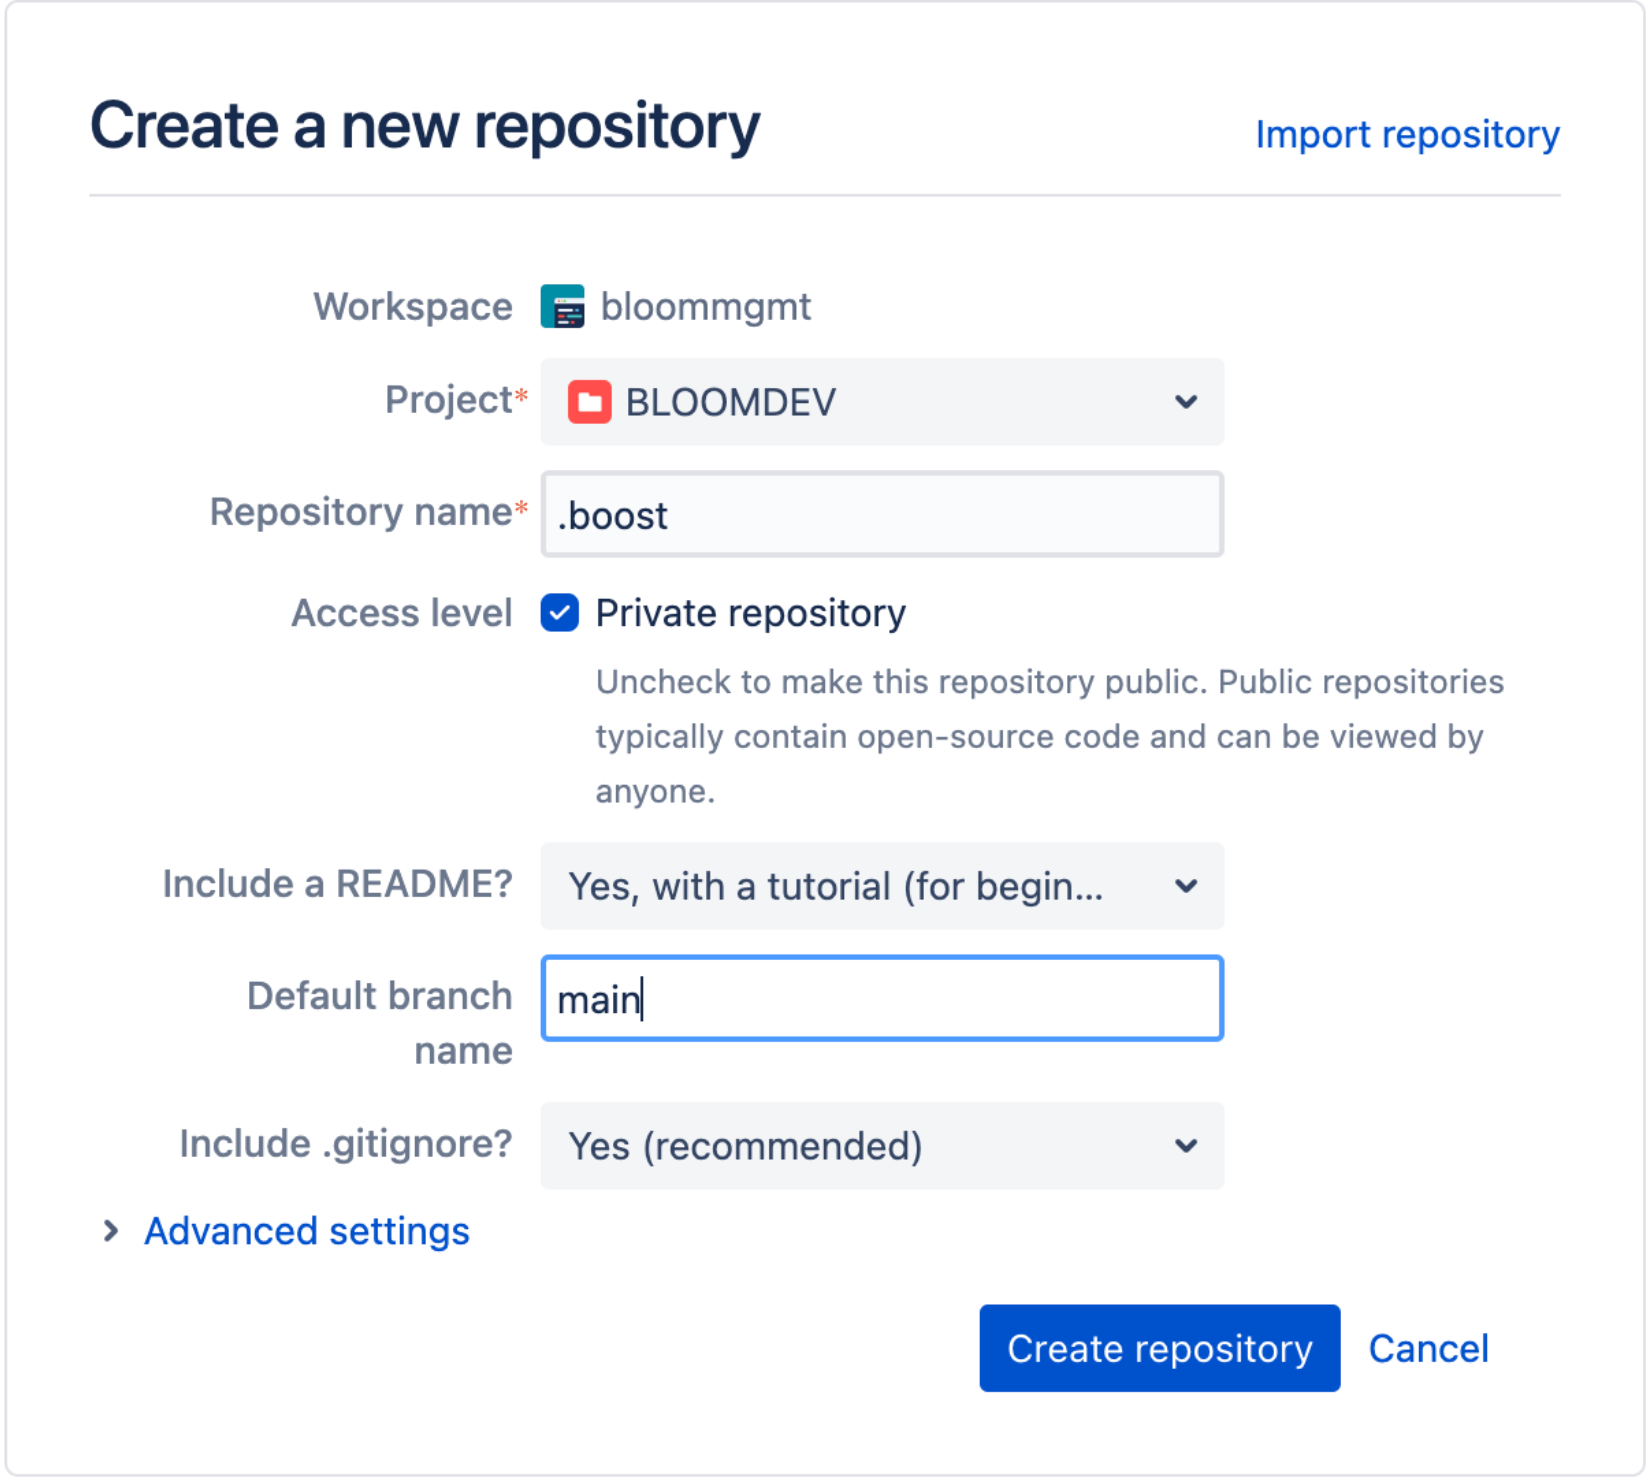
-
Turned on the Enable Pipelines settings for your workspaces'
.boostrepository, i.e,https://bitbucket.org/<your-bitbucket-org>/.boost/admin/pipelines/settings. You can do this by clicking the Enable Pipelines button as shown above and turning it on.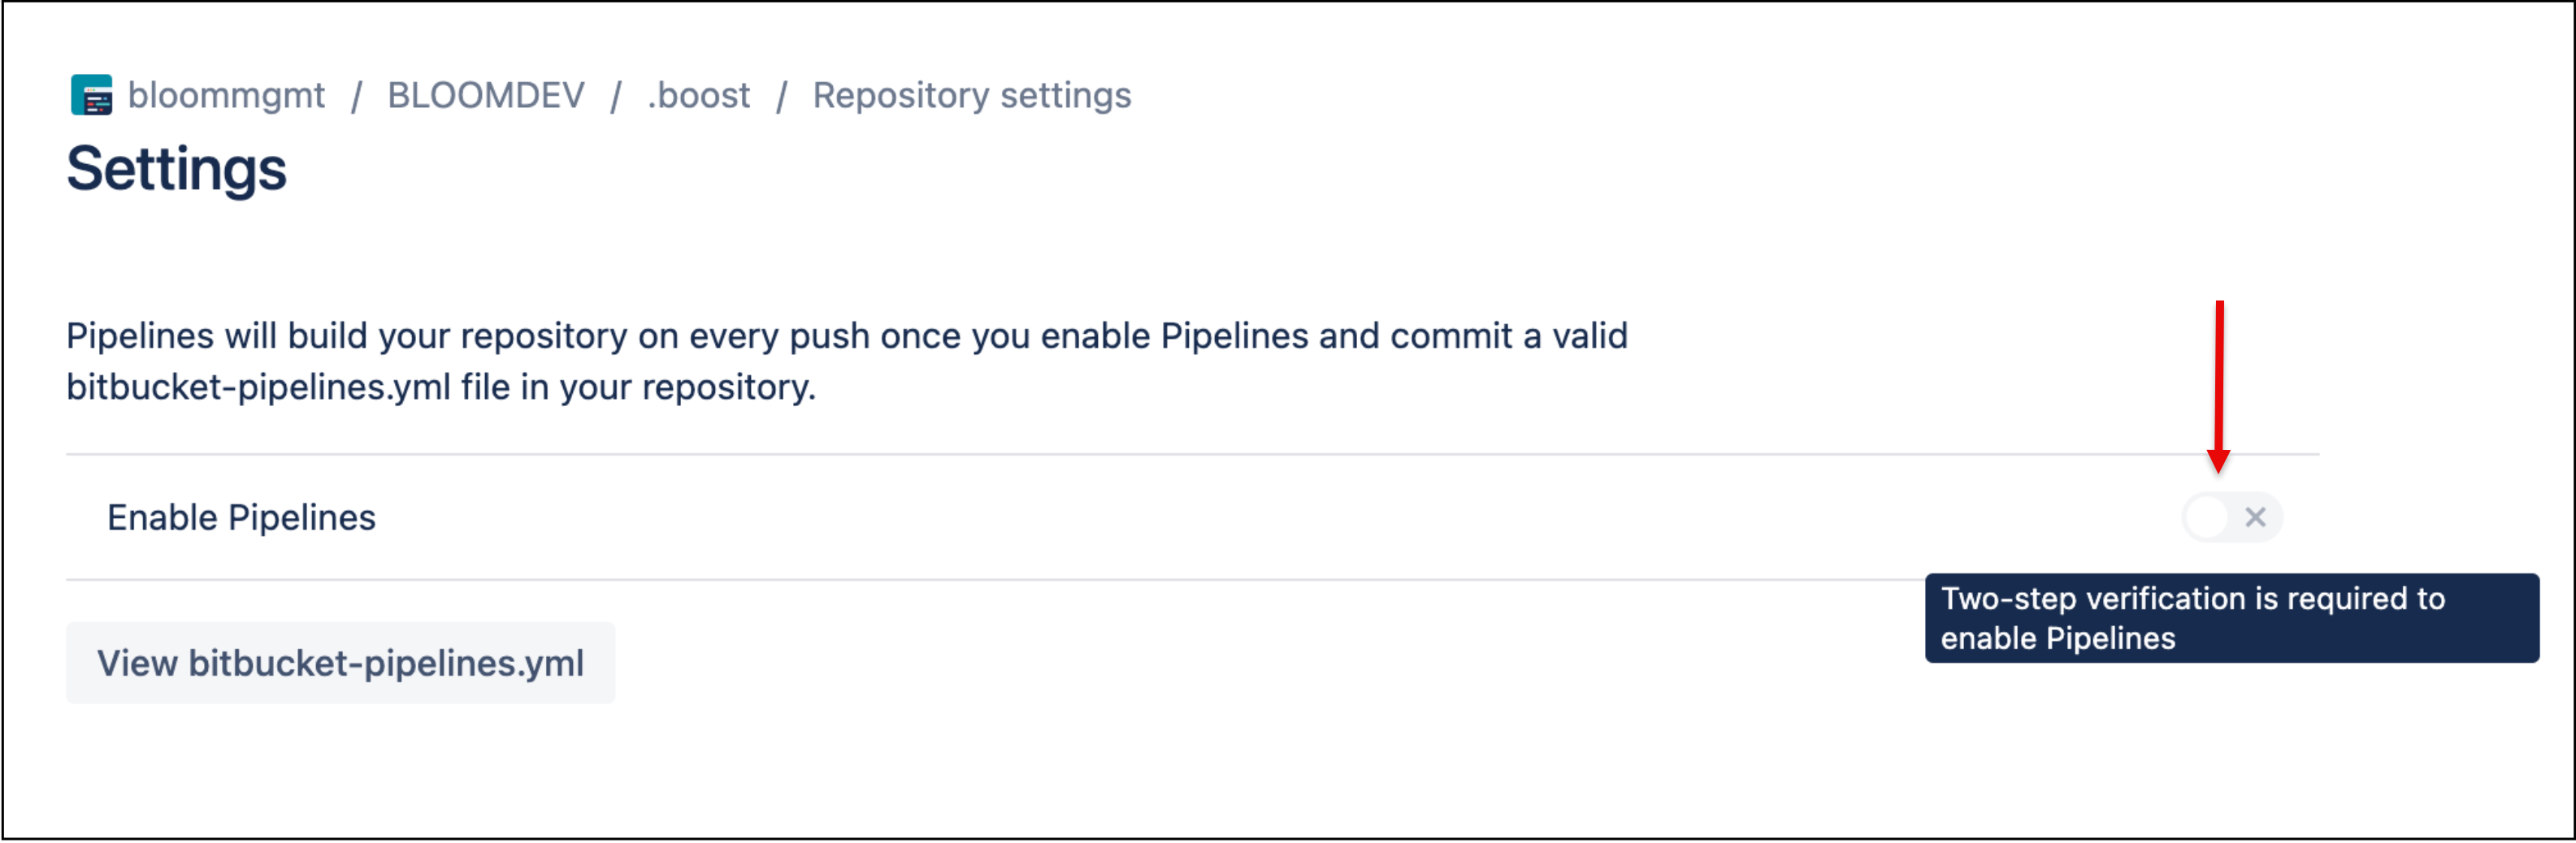
1. Connect Bitbucket to Boost Security
To install the Boost Security App on your Bitbucket workspace, follow these steps:
- Navigate to the Integration view. I.e., in
Settings > Integrations. Select the Bitbucket integration from theAvailablesection. -
Select
Install, and you will be directed to authorize access to Boost Security for your workspace.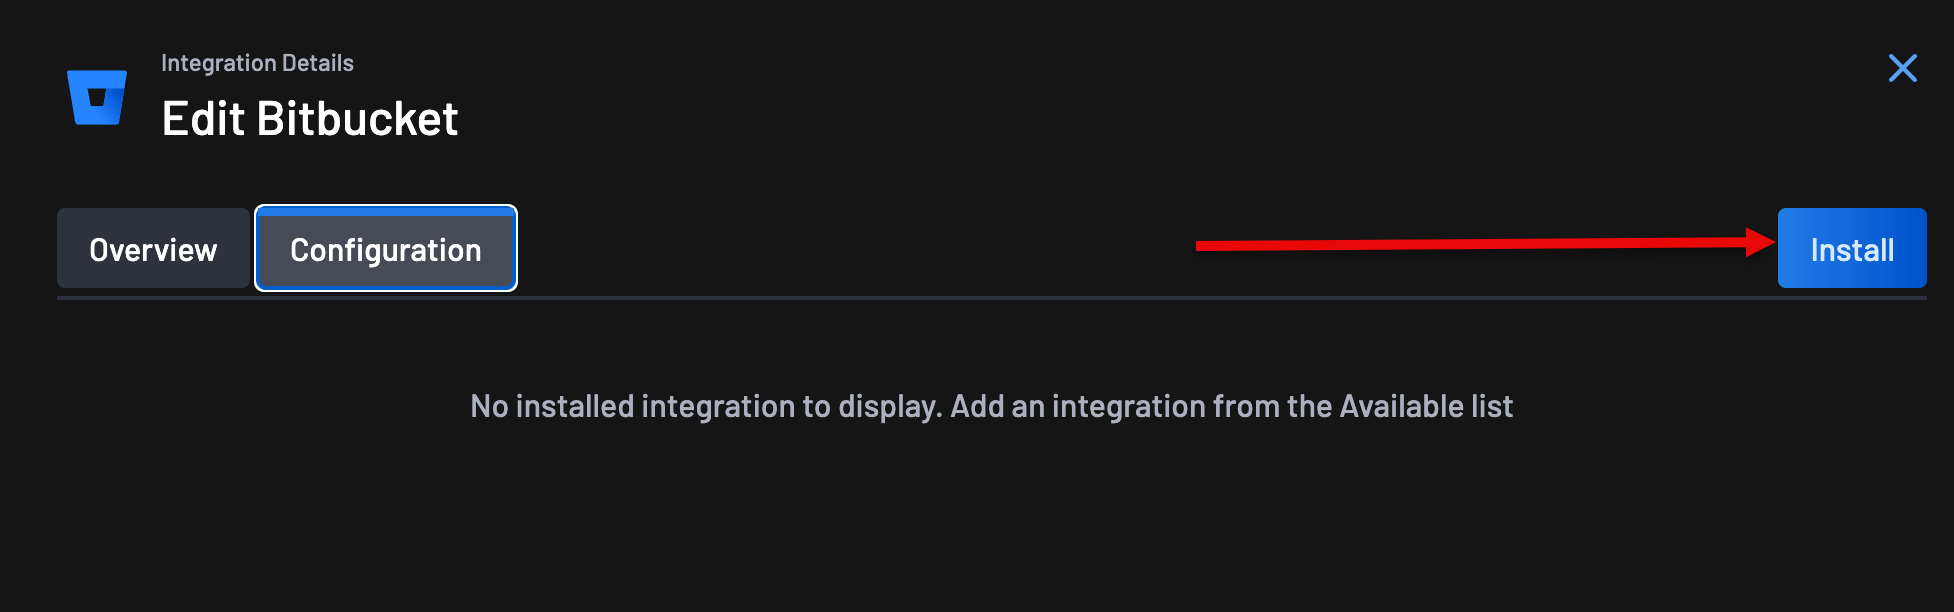
-
Select the appropriate Bitbucket workspace for which you want to authorize the Boost Security App.
-
Select
Grant access.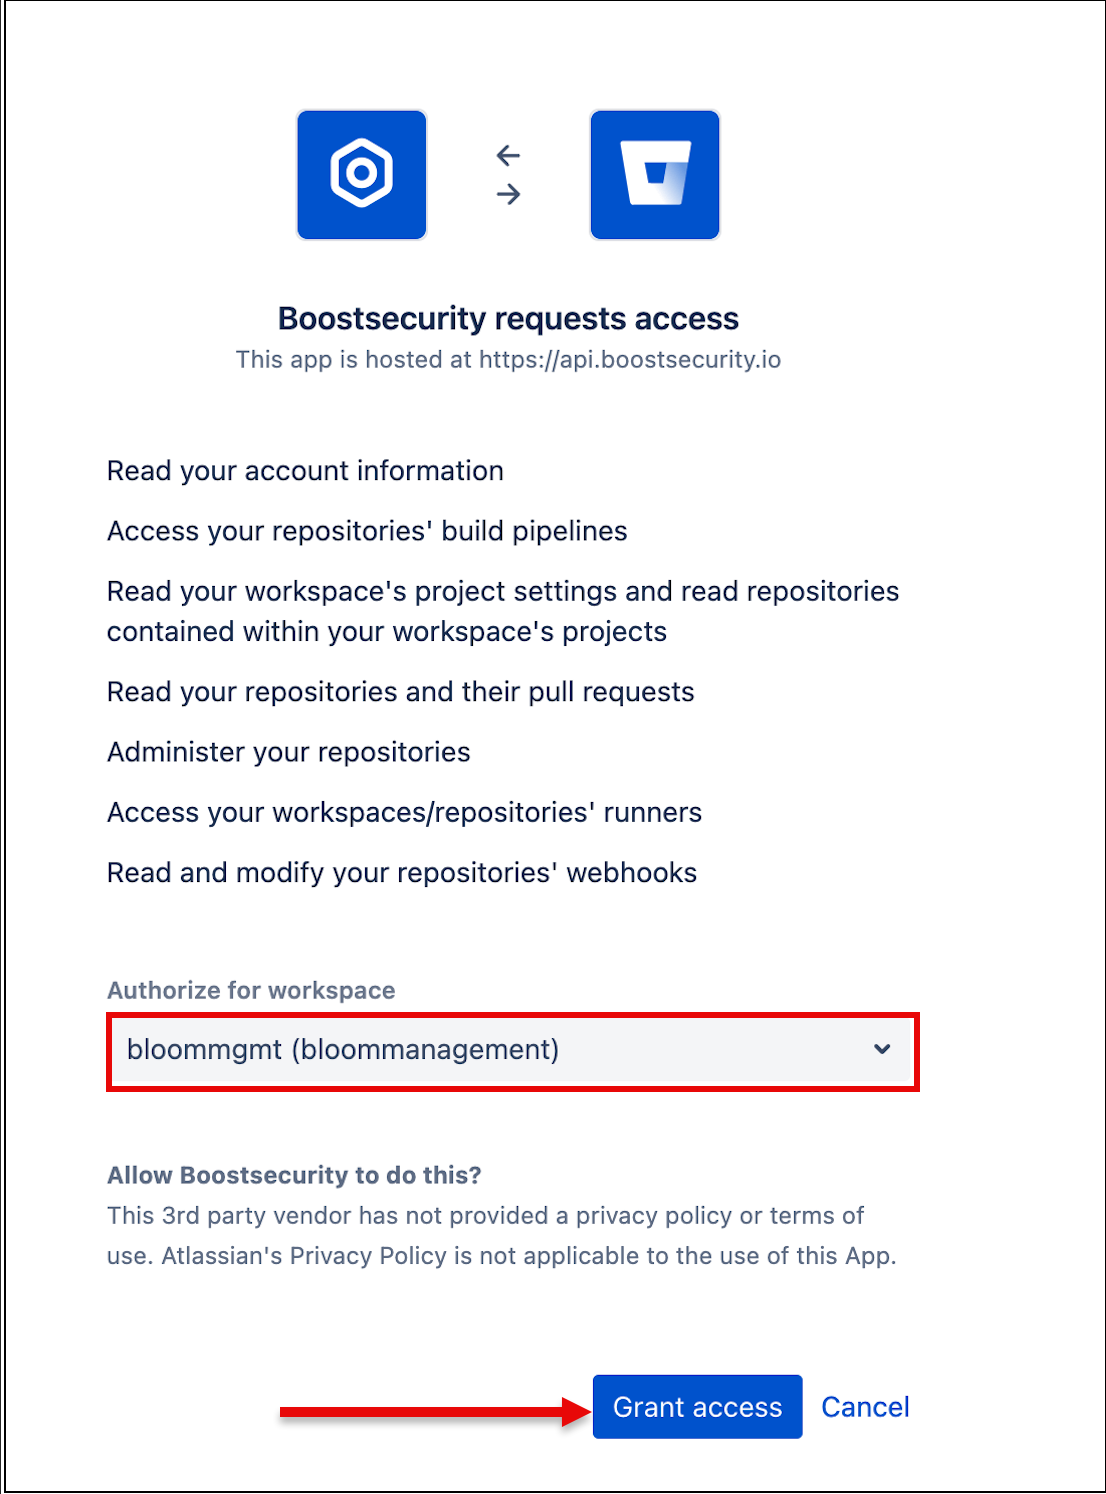
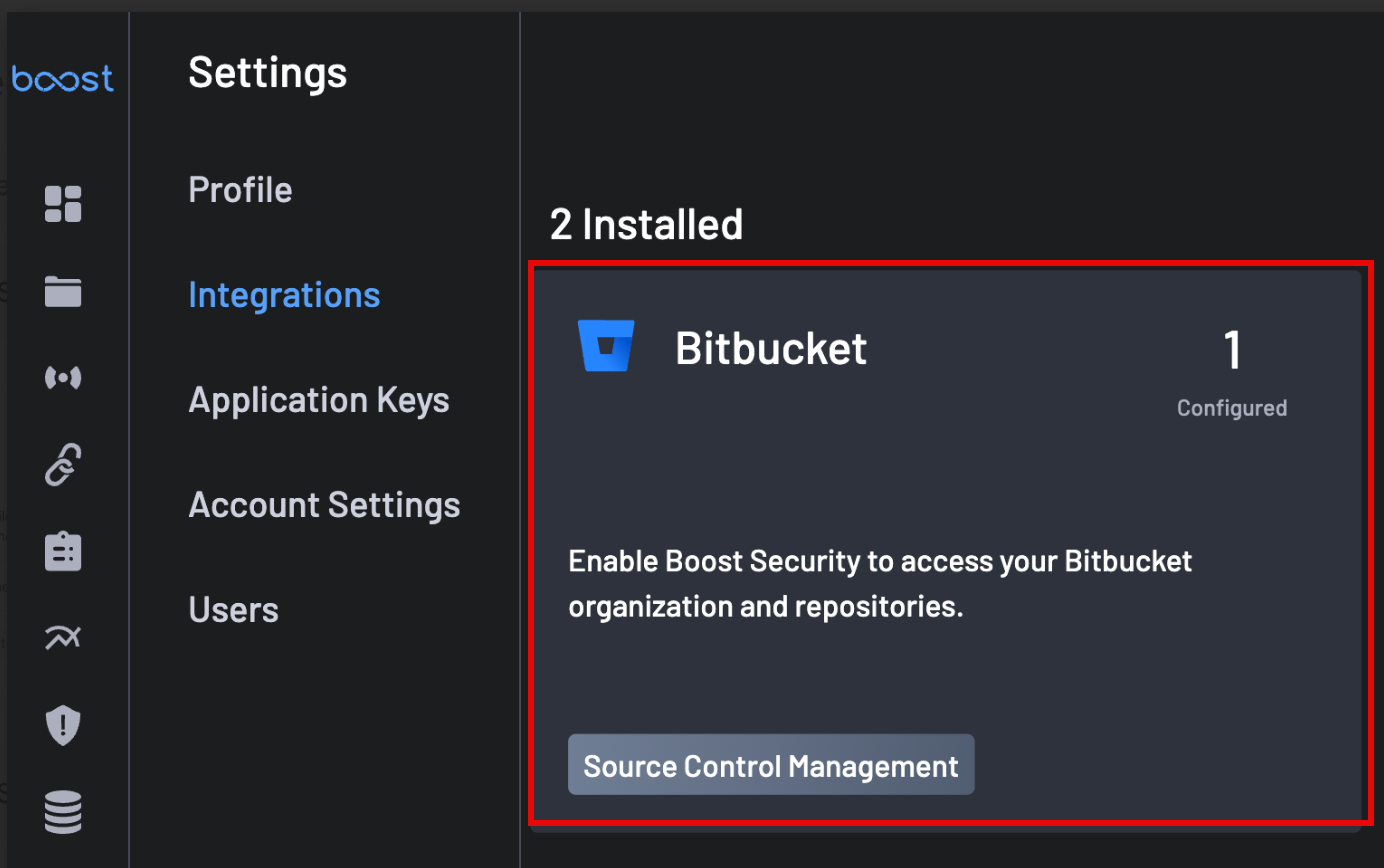
Once the installation is completed, the Boost Security Bitbucket card is added to the Settings > Integrations > Installed section. At this point, the Boost Security App is installed in your Bitbucket workspace.
2. Zero Touch Provisioning for Bitbucket
Follow these steps to set up ZTP for Bitbucket:
-
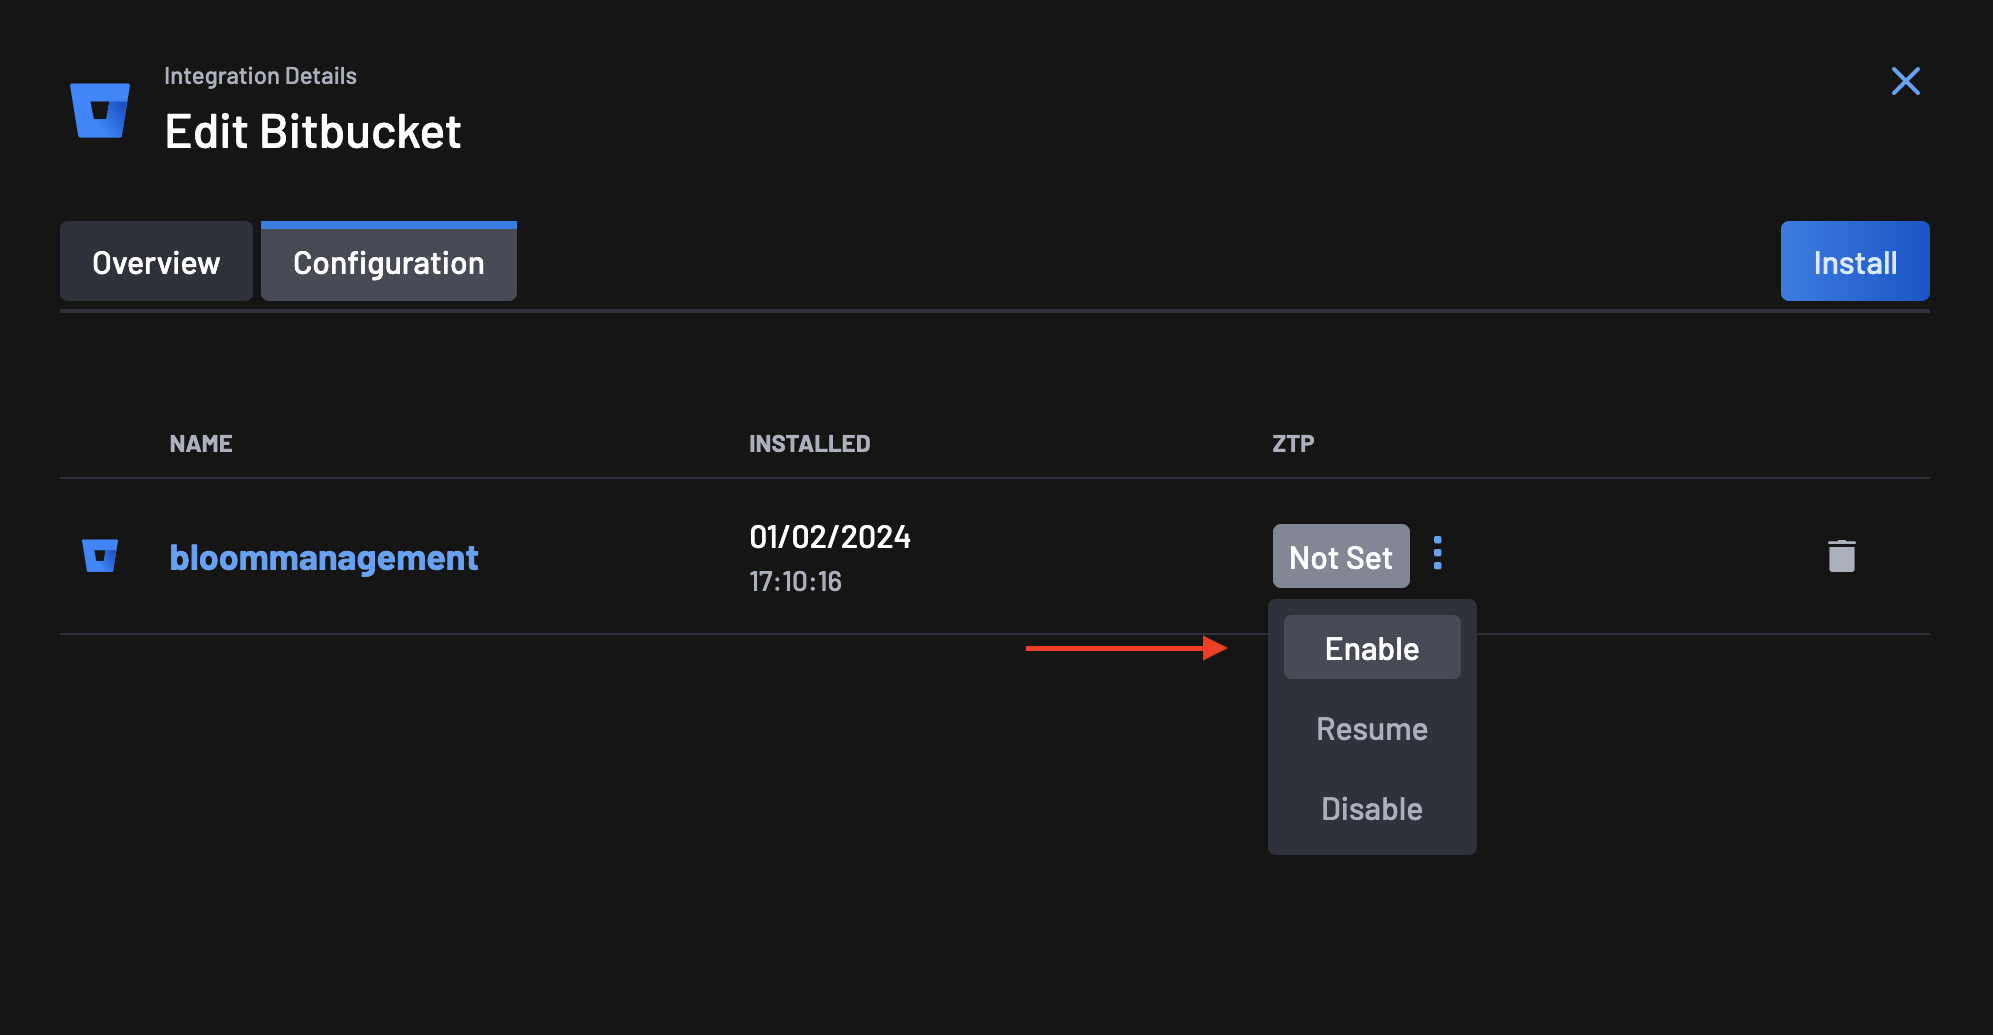
Go to the Integrations page, select your Bitbucket integration, and click on the configuration tab.
-
On the ZTP column, you will notice that the status is set to Not Set. Click on the menu next to the status and select Enable.
-
The first step on the ZTP Wizard is to give Boost Security permissions for the Zero Touch Flow on your Bitbucket organization.
-
Click the Install ZTP Application button to redirect you to your Bitbucket organization.

-
Install and authorize the Boost Security Zero Touch provisioning on all organizations. Click on the Grant Access button at the bottom of the page.
-
Boost Security configures the
.boostrepo on successful Boost Security Zero Touch Provisioning installation. -
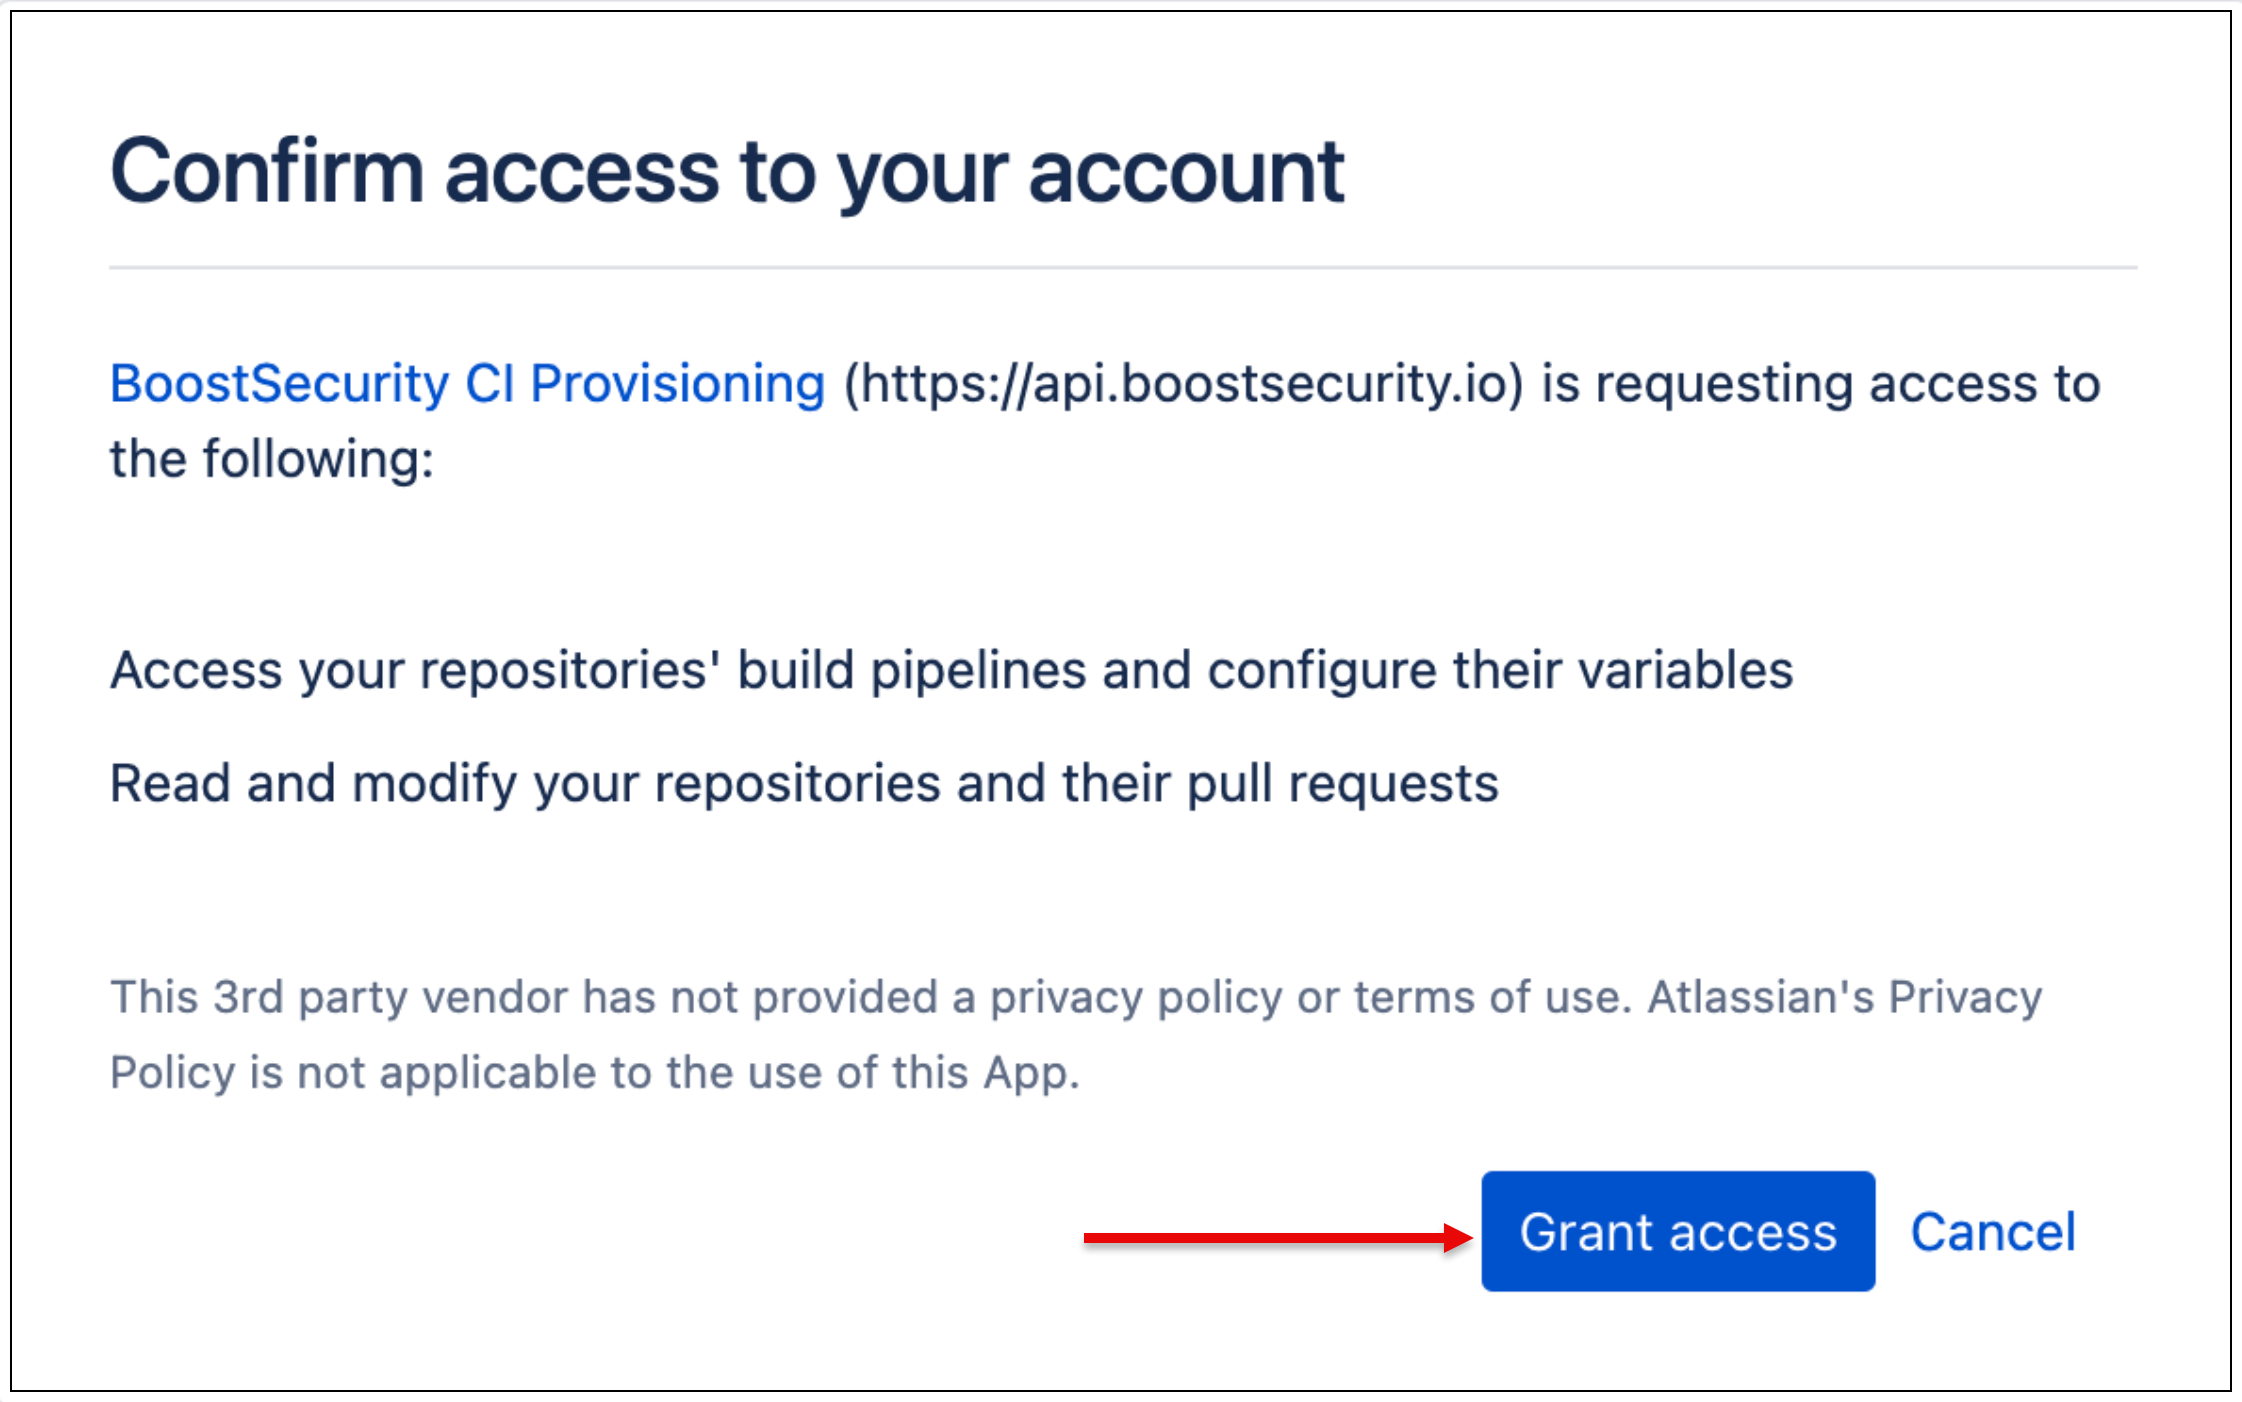
You are required to grant access to Boost Security CI provisioning on your account.
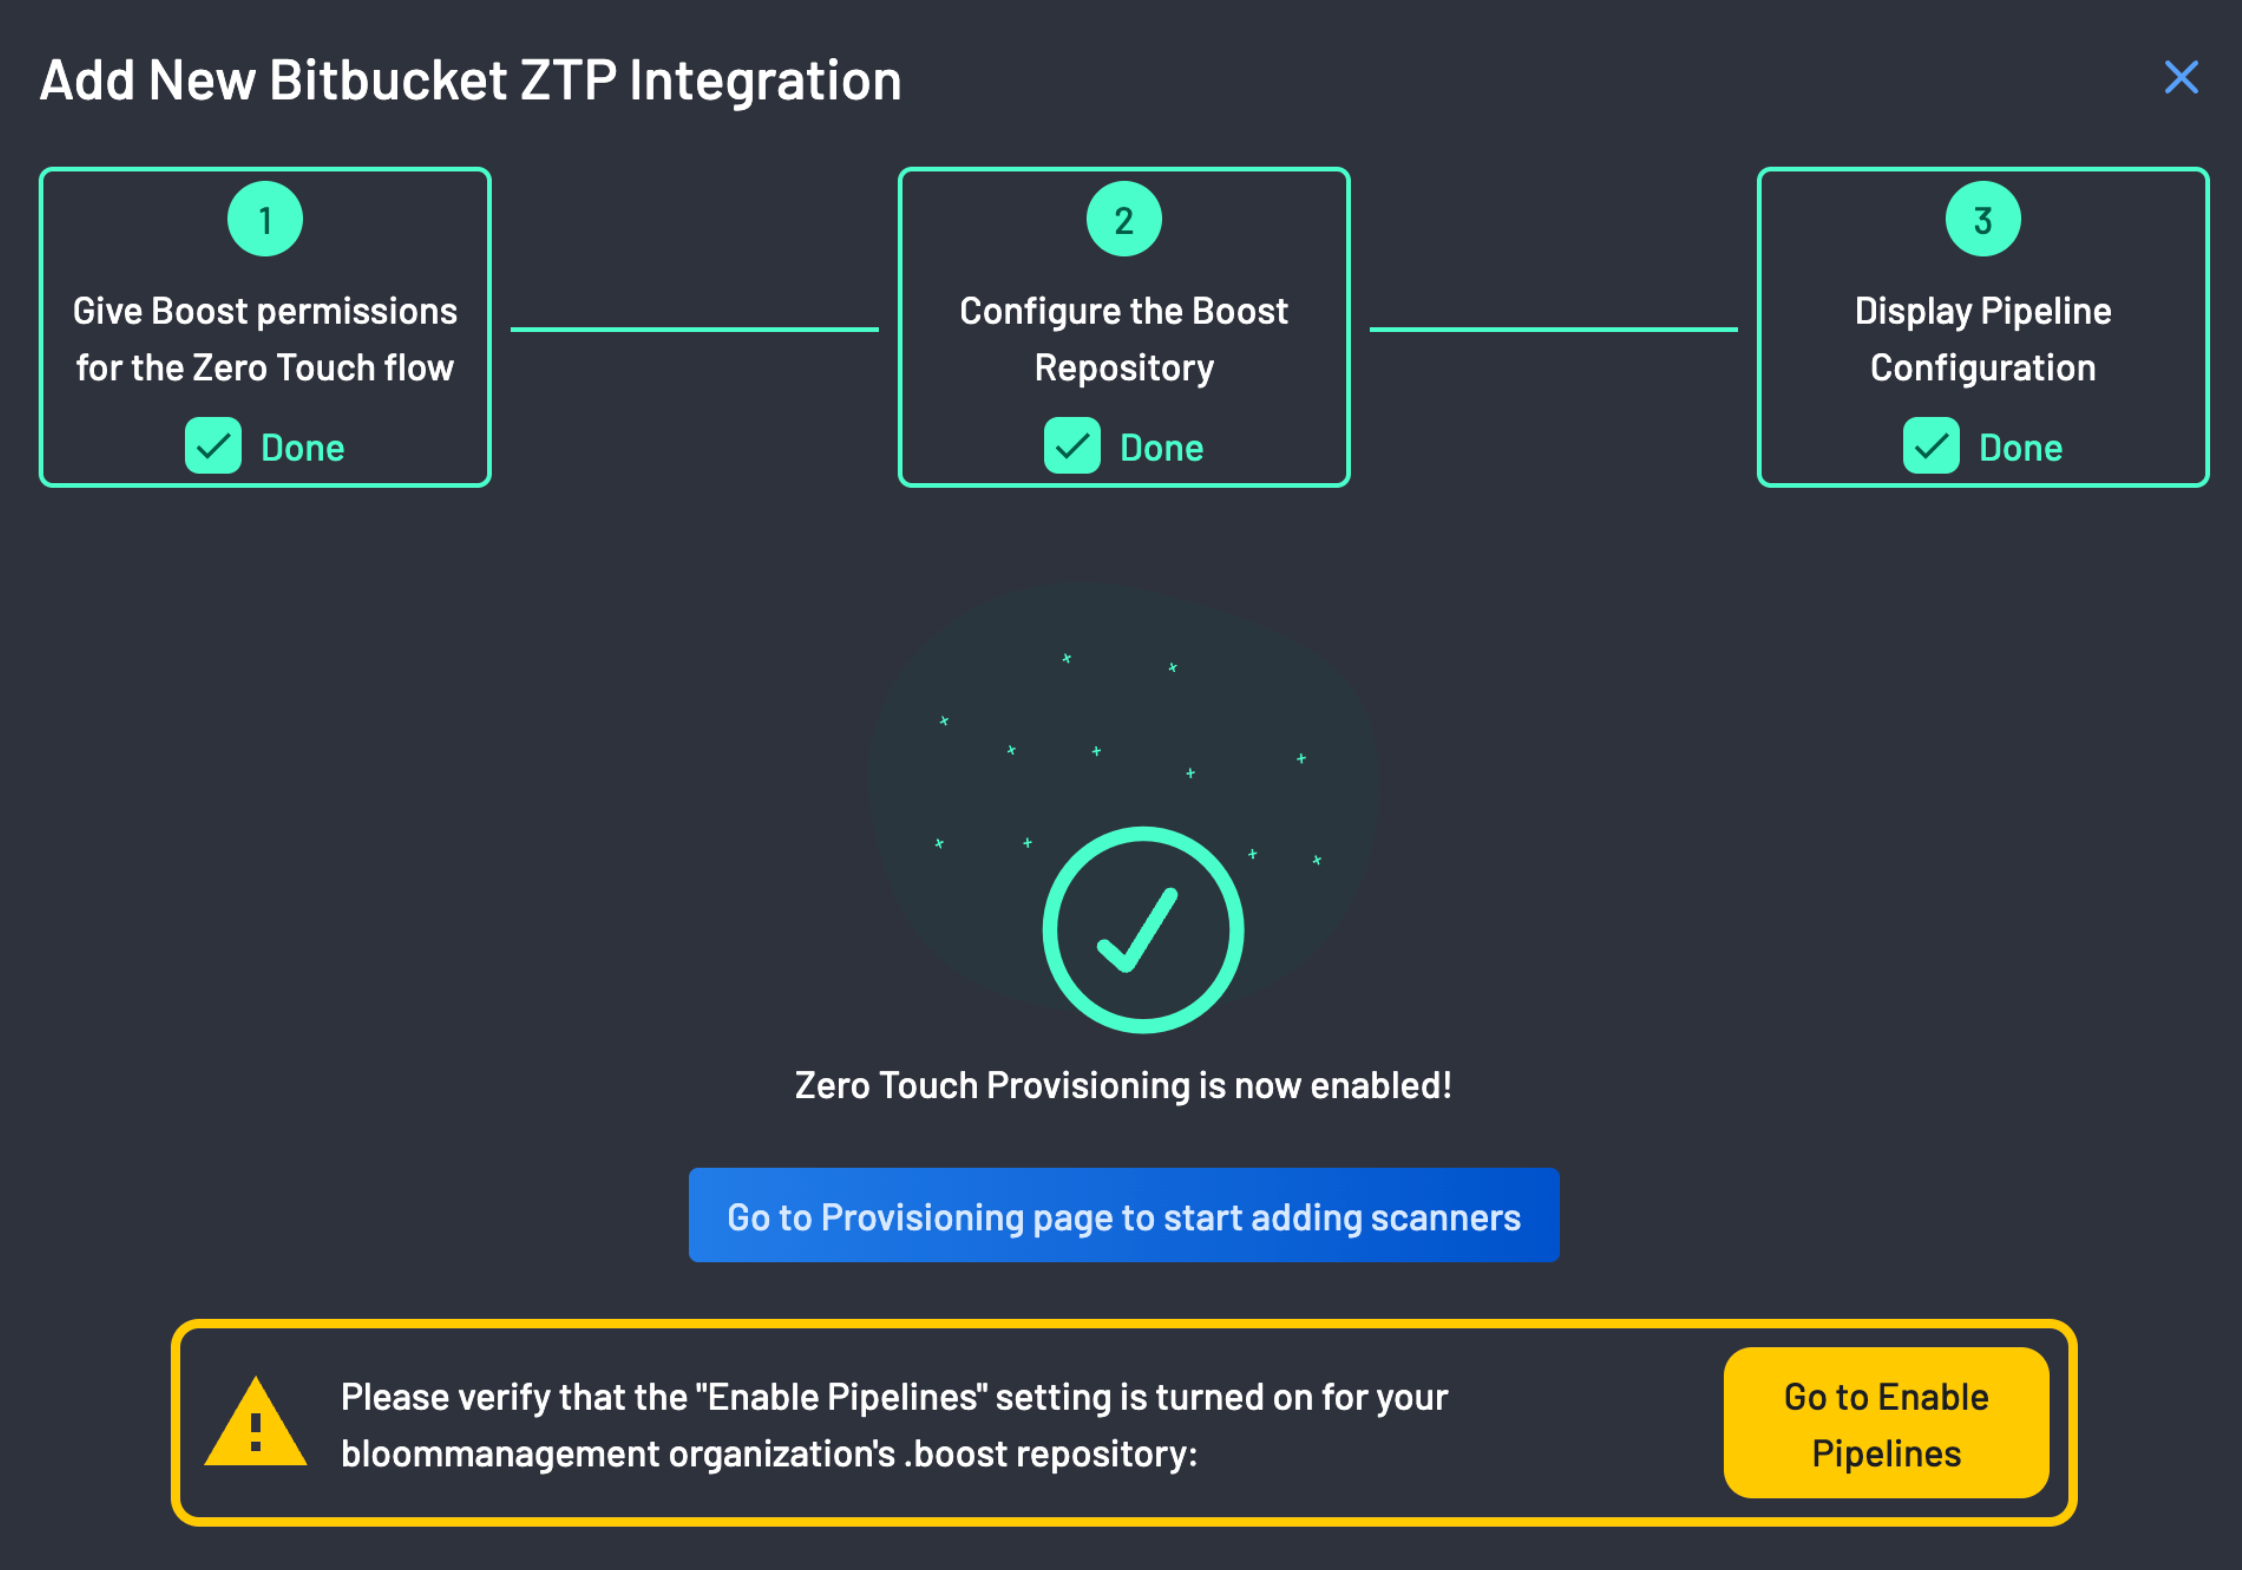
Please note the warning below:
Please verify that the "Enable Pipeline" setting is turned on for your organization's .boost repository.
-
The pipeline configuration is ready after a successful CI pipeline configuration!
Note
By clicking the Enable Boost Recommended Scanners button, Boost will provision multiple scanners for every repository it has access to. These scanners will then request new scans to be conducted for each of those repositories. Please note that this process would have a financial impact on your services, so ensure that this is the correct course of action before proceeding.
If you are connecting to a large collection of repos, you may want to enable scanning in a more targeted manner.
Zero Touch Provisioning is now enabled!!!