Integrate Azure DevOps with Boost Security
Boost Security lets you connect your Azure DevOps projects to enable security checks on your repositories, including CI/CD supply chain security checks.
Prerequisites
Before you begin, make sure you have:
- Created a Personal Access Token (PAT) on your Azure with certain permissions.
- Installed the Azure DevOps Boost Security Scanner marketplace application.
- Created a non-empty
boostrepo in the organization where you installed the Boost Security marketplace application. - Ensured "Third-party application access via OAuth" is permitted in your ADO organization settings by navigating to the security section, opening the organization policy at
https://dev.azure.com/{ORGANIZATION_NAME}/_settings/organizationPolicy, and setting the "Third-party application access via OAuth" option to "On" under the application connection policies section.
How To Create a Personal Access Token With The Correct Permissions
To create a PAT with the correct permissions,
-
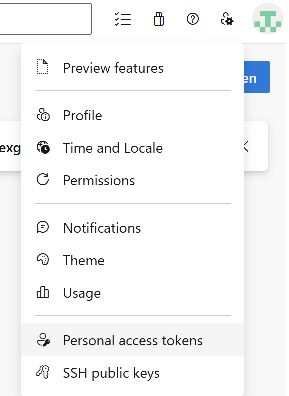
Go to your "User Settings" in ADO and navigate to your "Personal Access Tokens".
- In the top right corner, next to your user icon, expand the user settings contextual menu.
- Open the personal access token setting by click on the corresponding menu item.
-
Create a new personal access token as follows:
- Set the expiration for the token. It is recommended to set it to the longest period according to your organization guidance.
- In the “Organization” input field, select all organizations to grant the PAT access to them.
- In "Scope", select the "custom defined" option, expand to show allow scopes and set the required permissions.
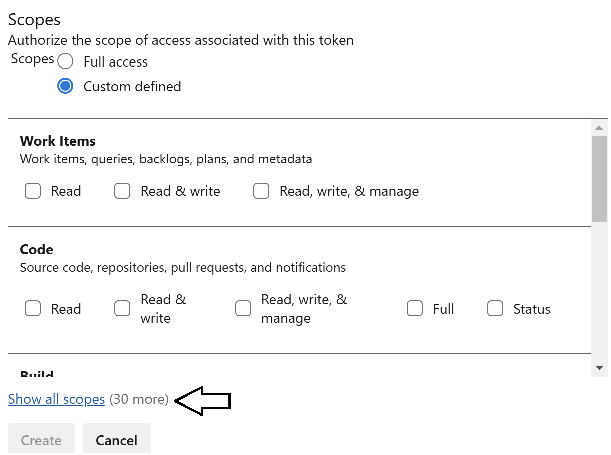
- Click on Create to create your new PAT.
Permissions
This Integration and Zero Touch Provisioning will use the following permissions:
| Scope Group | Permissions |
|---|---|
| Agent Pools | Read |
| Analytics | Read |
| Build | Read & Execute |
| Code | Read and WriteStatus |
| Extensions | Read & Manage |
| Pipeline Resources | Use & Manage |
| Project & Team | Read |
| Pull Request Threads | Read & Write |
| Variable Groups | ReadCreate & Manage |
1. Connect Azure DevOps to Boost Security
To install the Boost Security integration for Azure:
- Go to the
Integrations page. -
Select the Azure DevOps Account integration from the
Availablesection.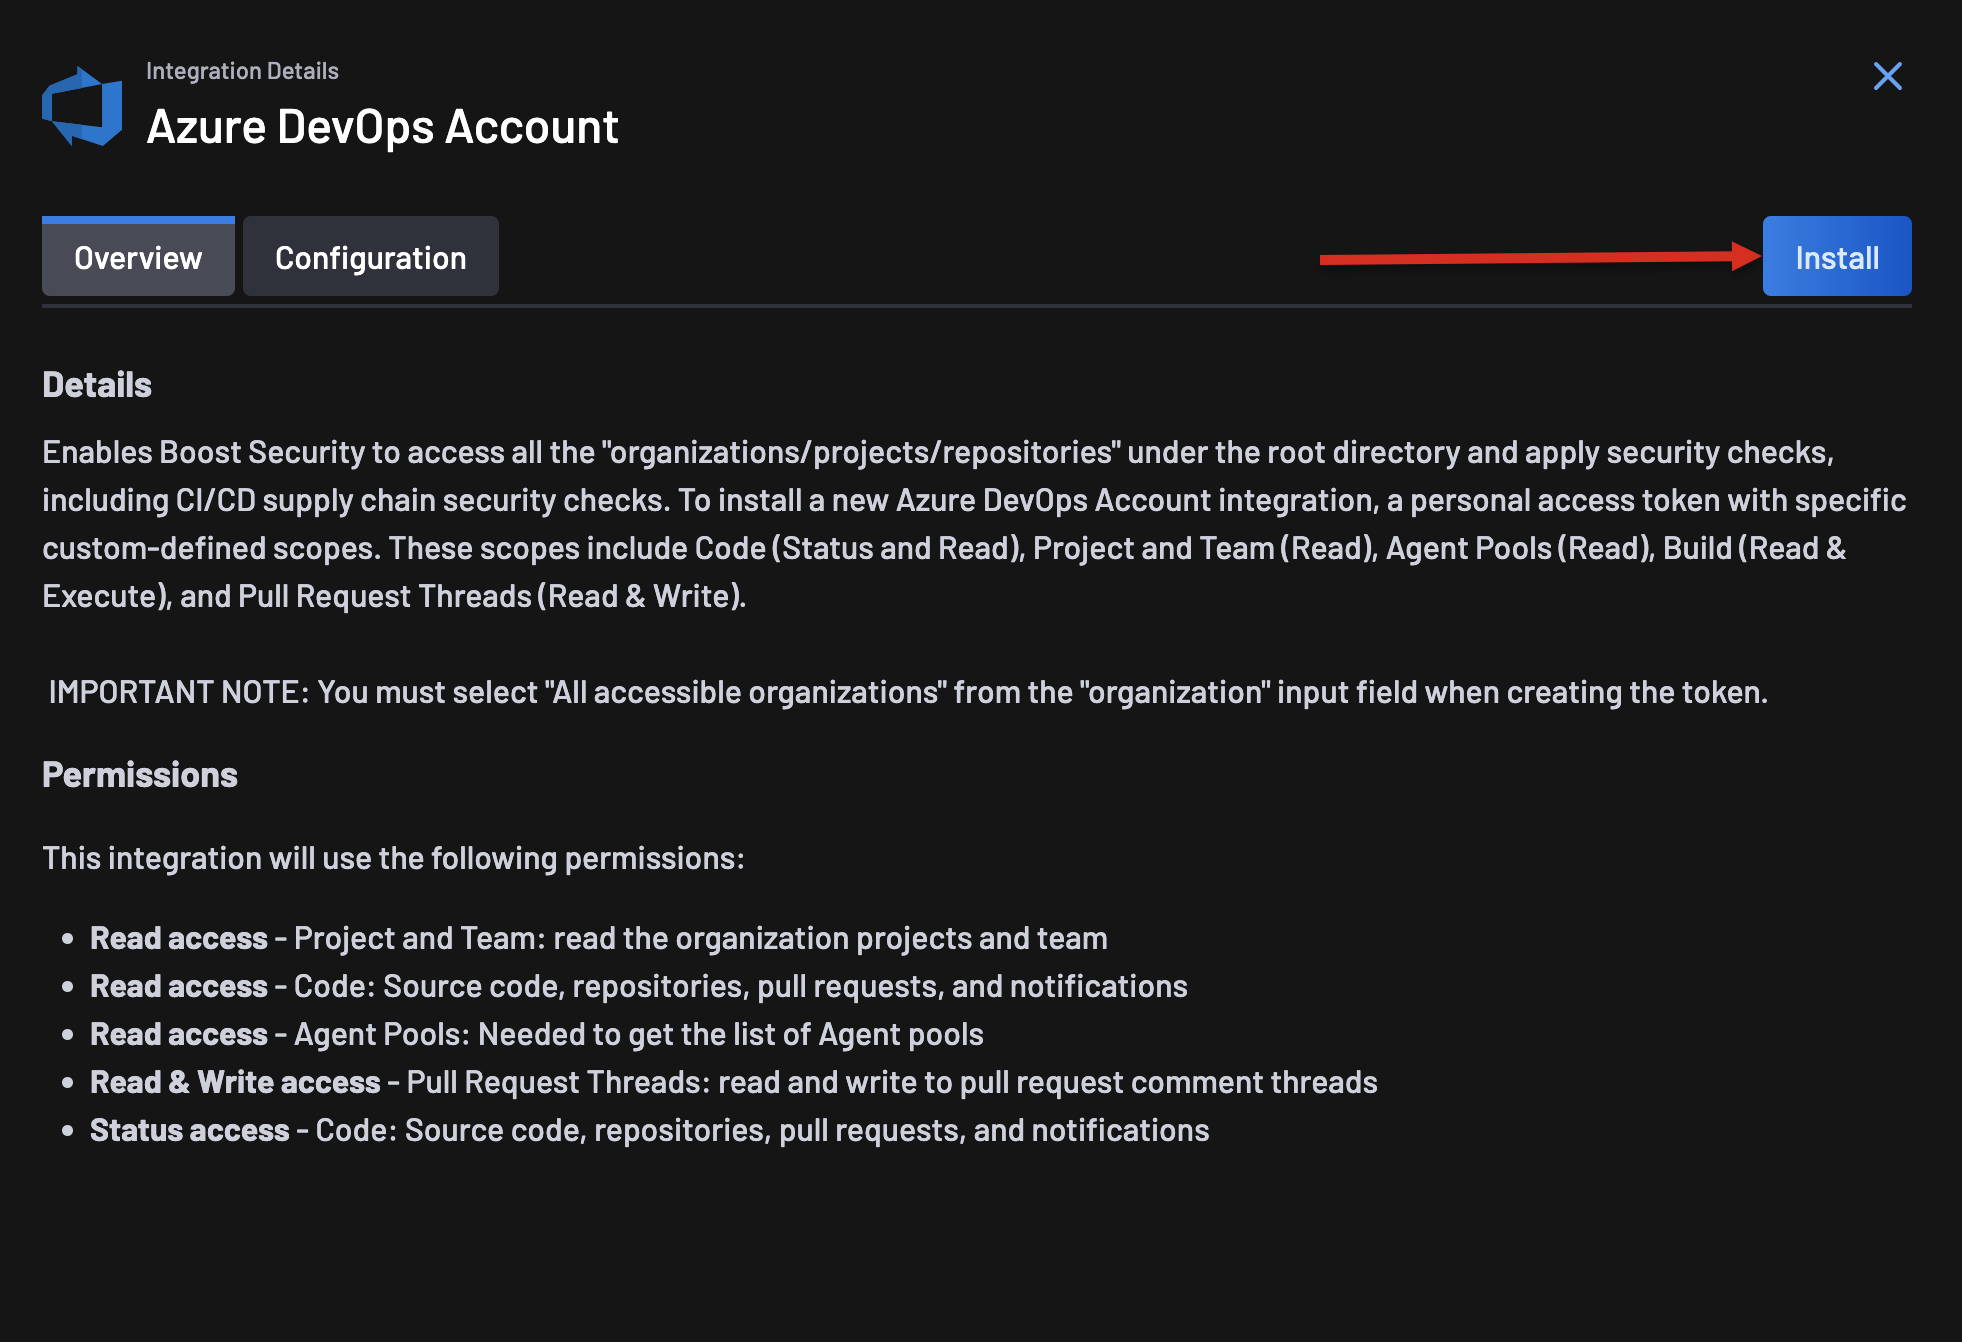
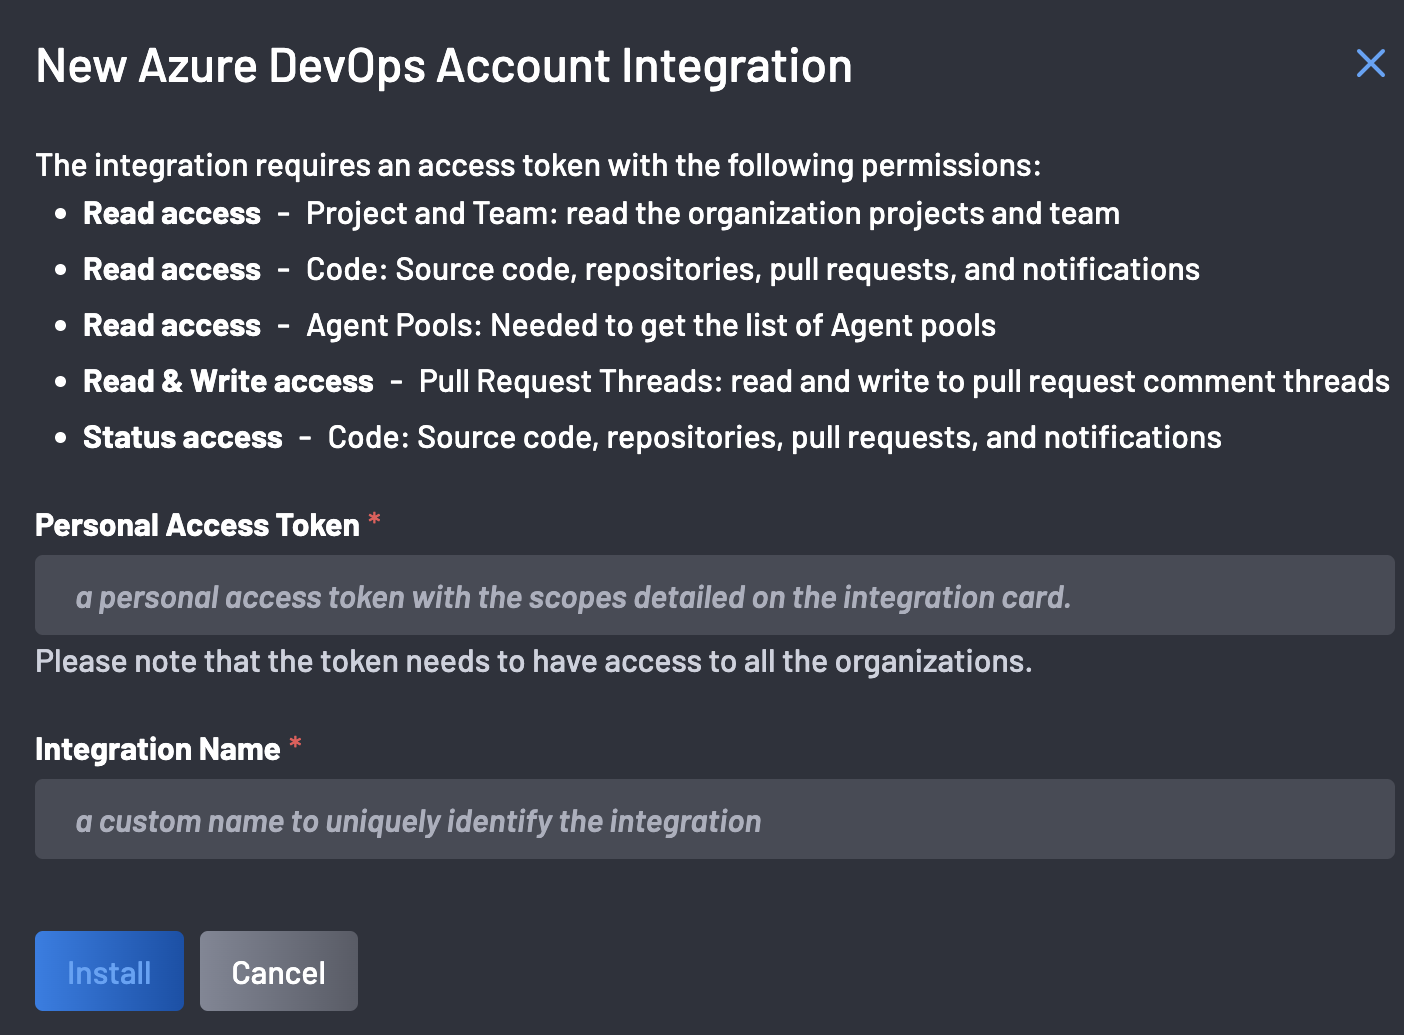
-
Click Install: A window will appear, prompting you to provide the Personal Access Token and Integration Name for Azure, then click Install.
Ensure the token has access to all the organizations.
Note
If the Personal Access Token is set to expire, the Boost Security Azure DevOps integration will need to be updated with a new token once the original one expires.
-
Click Complete to save.
Once the installation is complete, the Boost Security Azure DevOps Account card is added to the Settings > Integrations > Installed section. At this point, Boost Security integration is enabled for your Azure project. You can repeat these steps to allow integration with additional Azure projects.
2. Zero Touch Provisioning for ADO
Follow these steps to set up ZTP for Azure DevOps
-
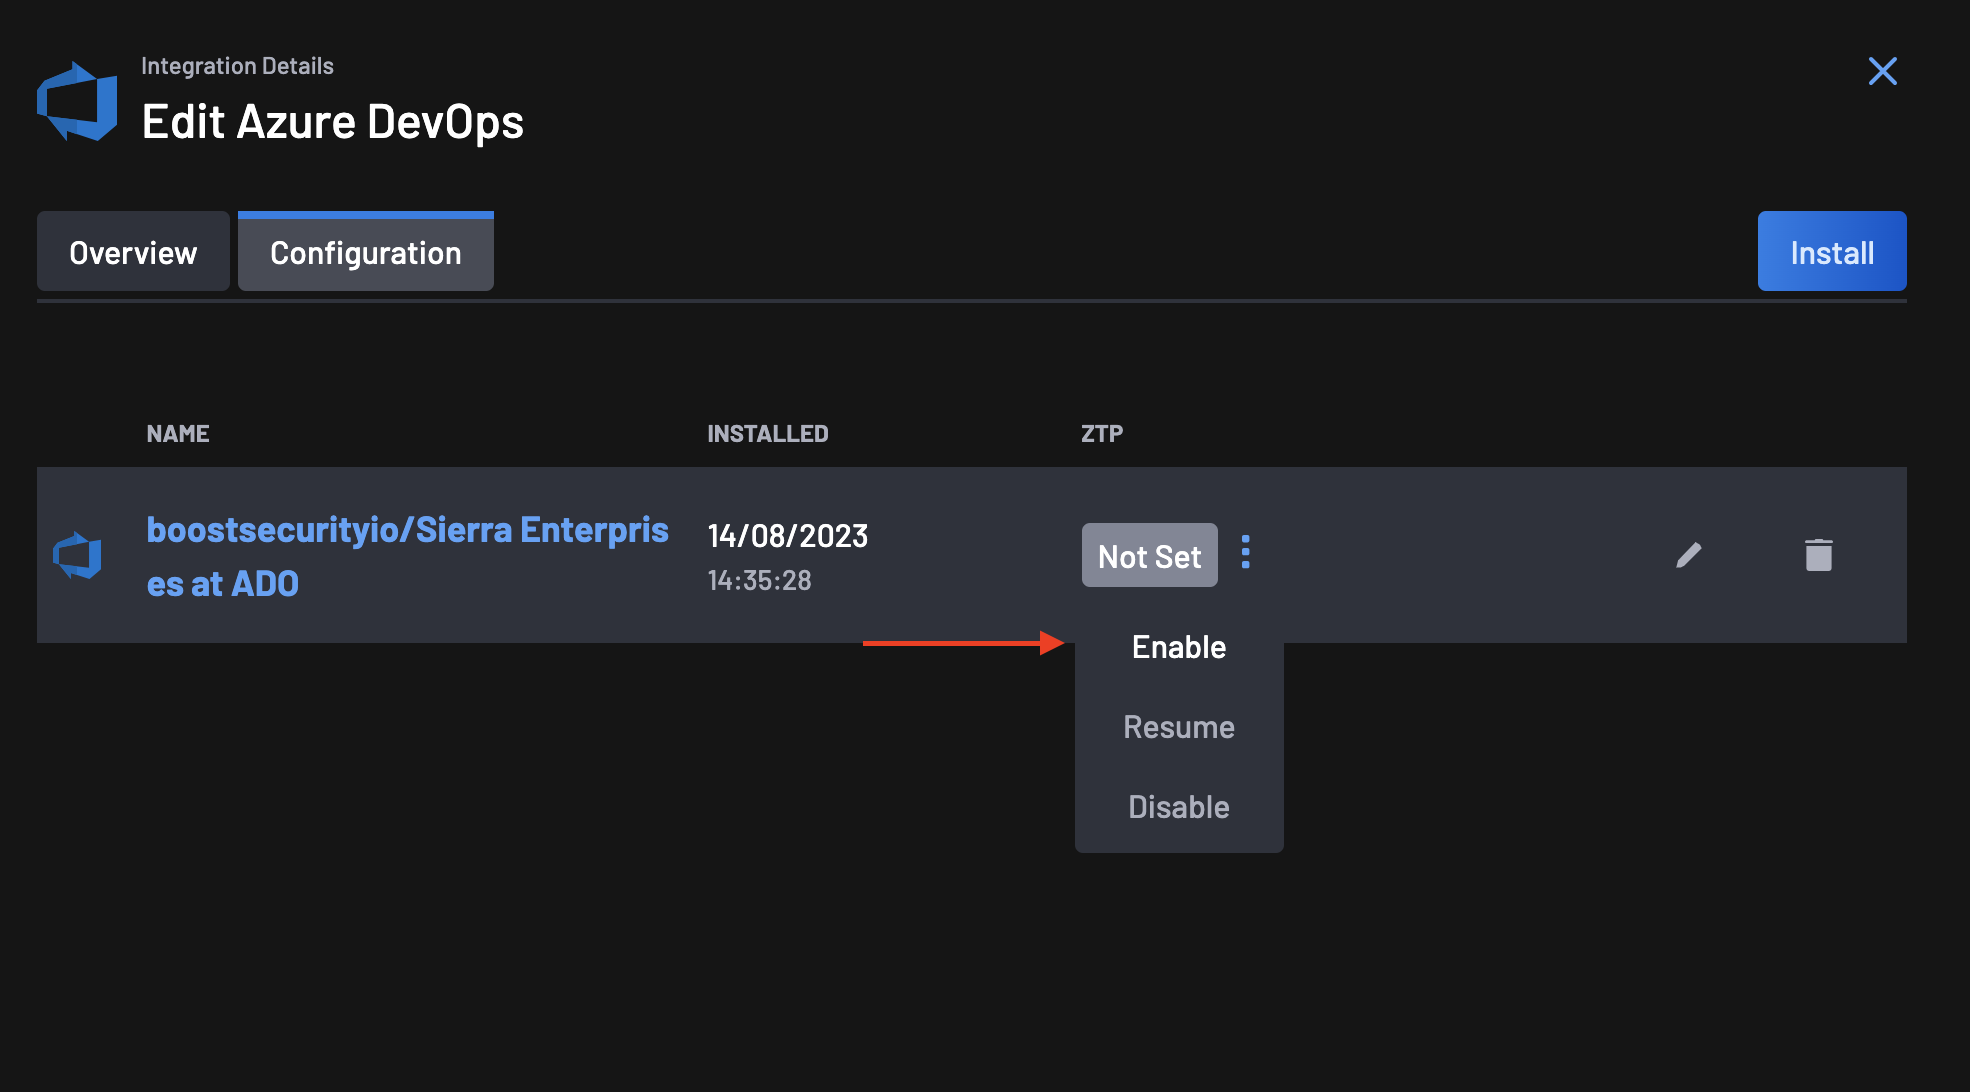
Go to the Integrations page, select your Azure DevOps integration and click on the configuration tab.
-
On the ZTP column, you will notice that the "ZTP status" is set to Not Set. Click on the actions menu next to the status and select Enable.
-
On the ZTP Wizard, the first step is to give Boost Security permissions for the Zero Touch Flow on your Azure DevOps Organization. The Zero Touch Flow would require a Personal Access Token with these permissions.
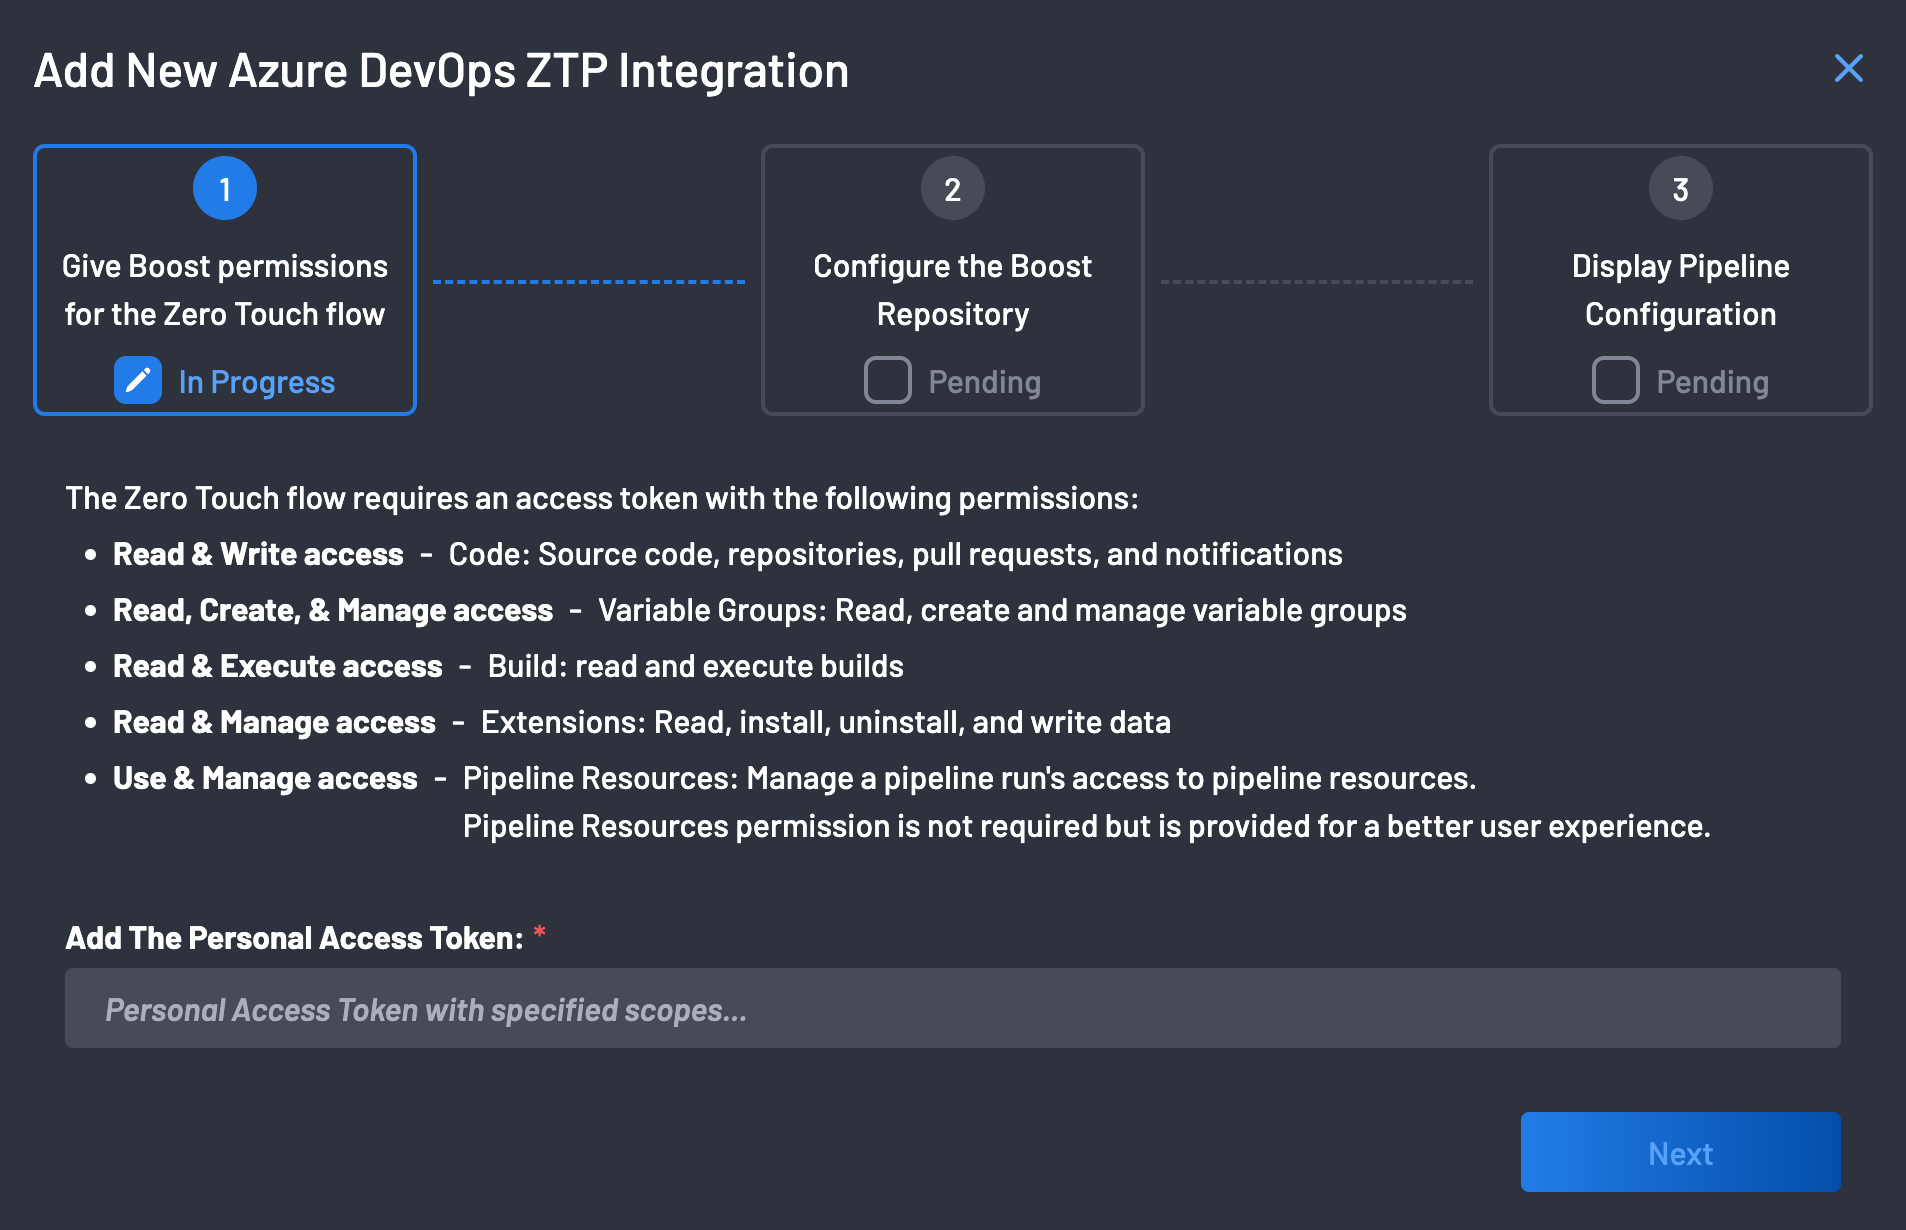
-
Click the Next button to proceed.
-
Boost Security configures the
boostrepo on your ADO organization.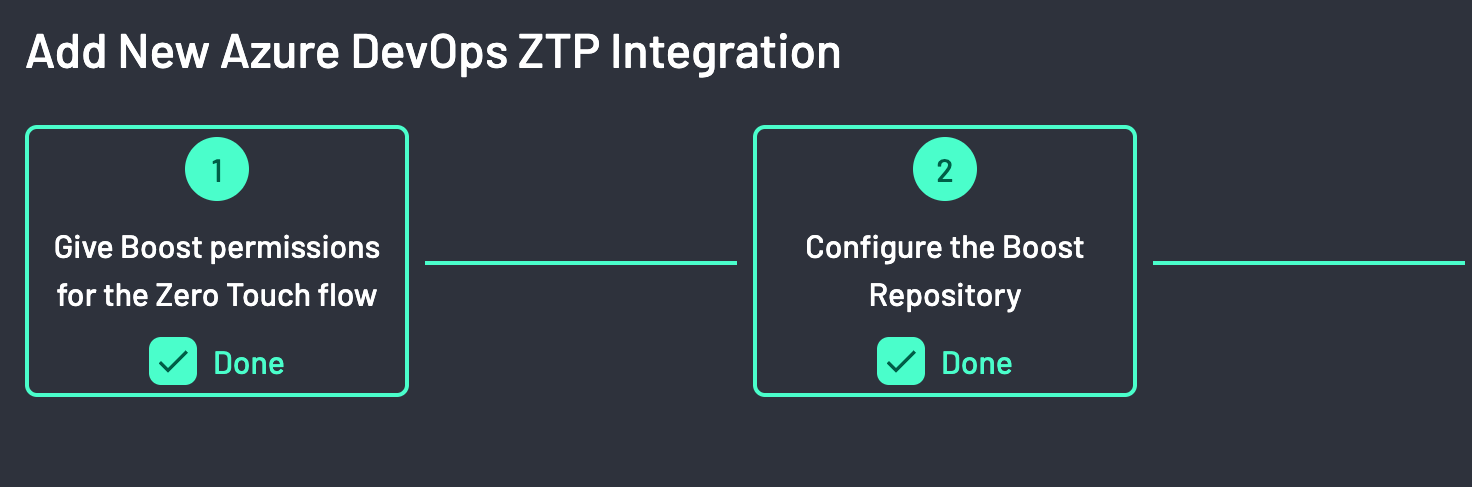
-
Install and authorize the Boost Security Zero Touch provisioning on your organizations. Click on the Accept button at the bottom of the page.
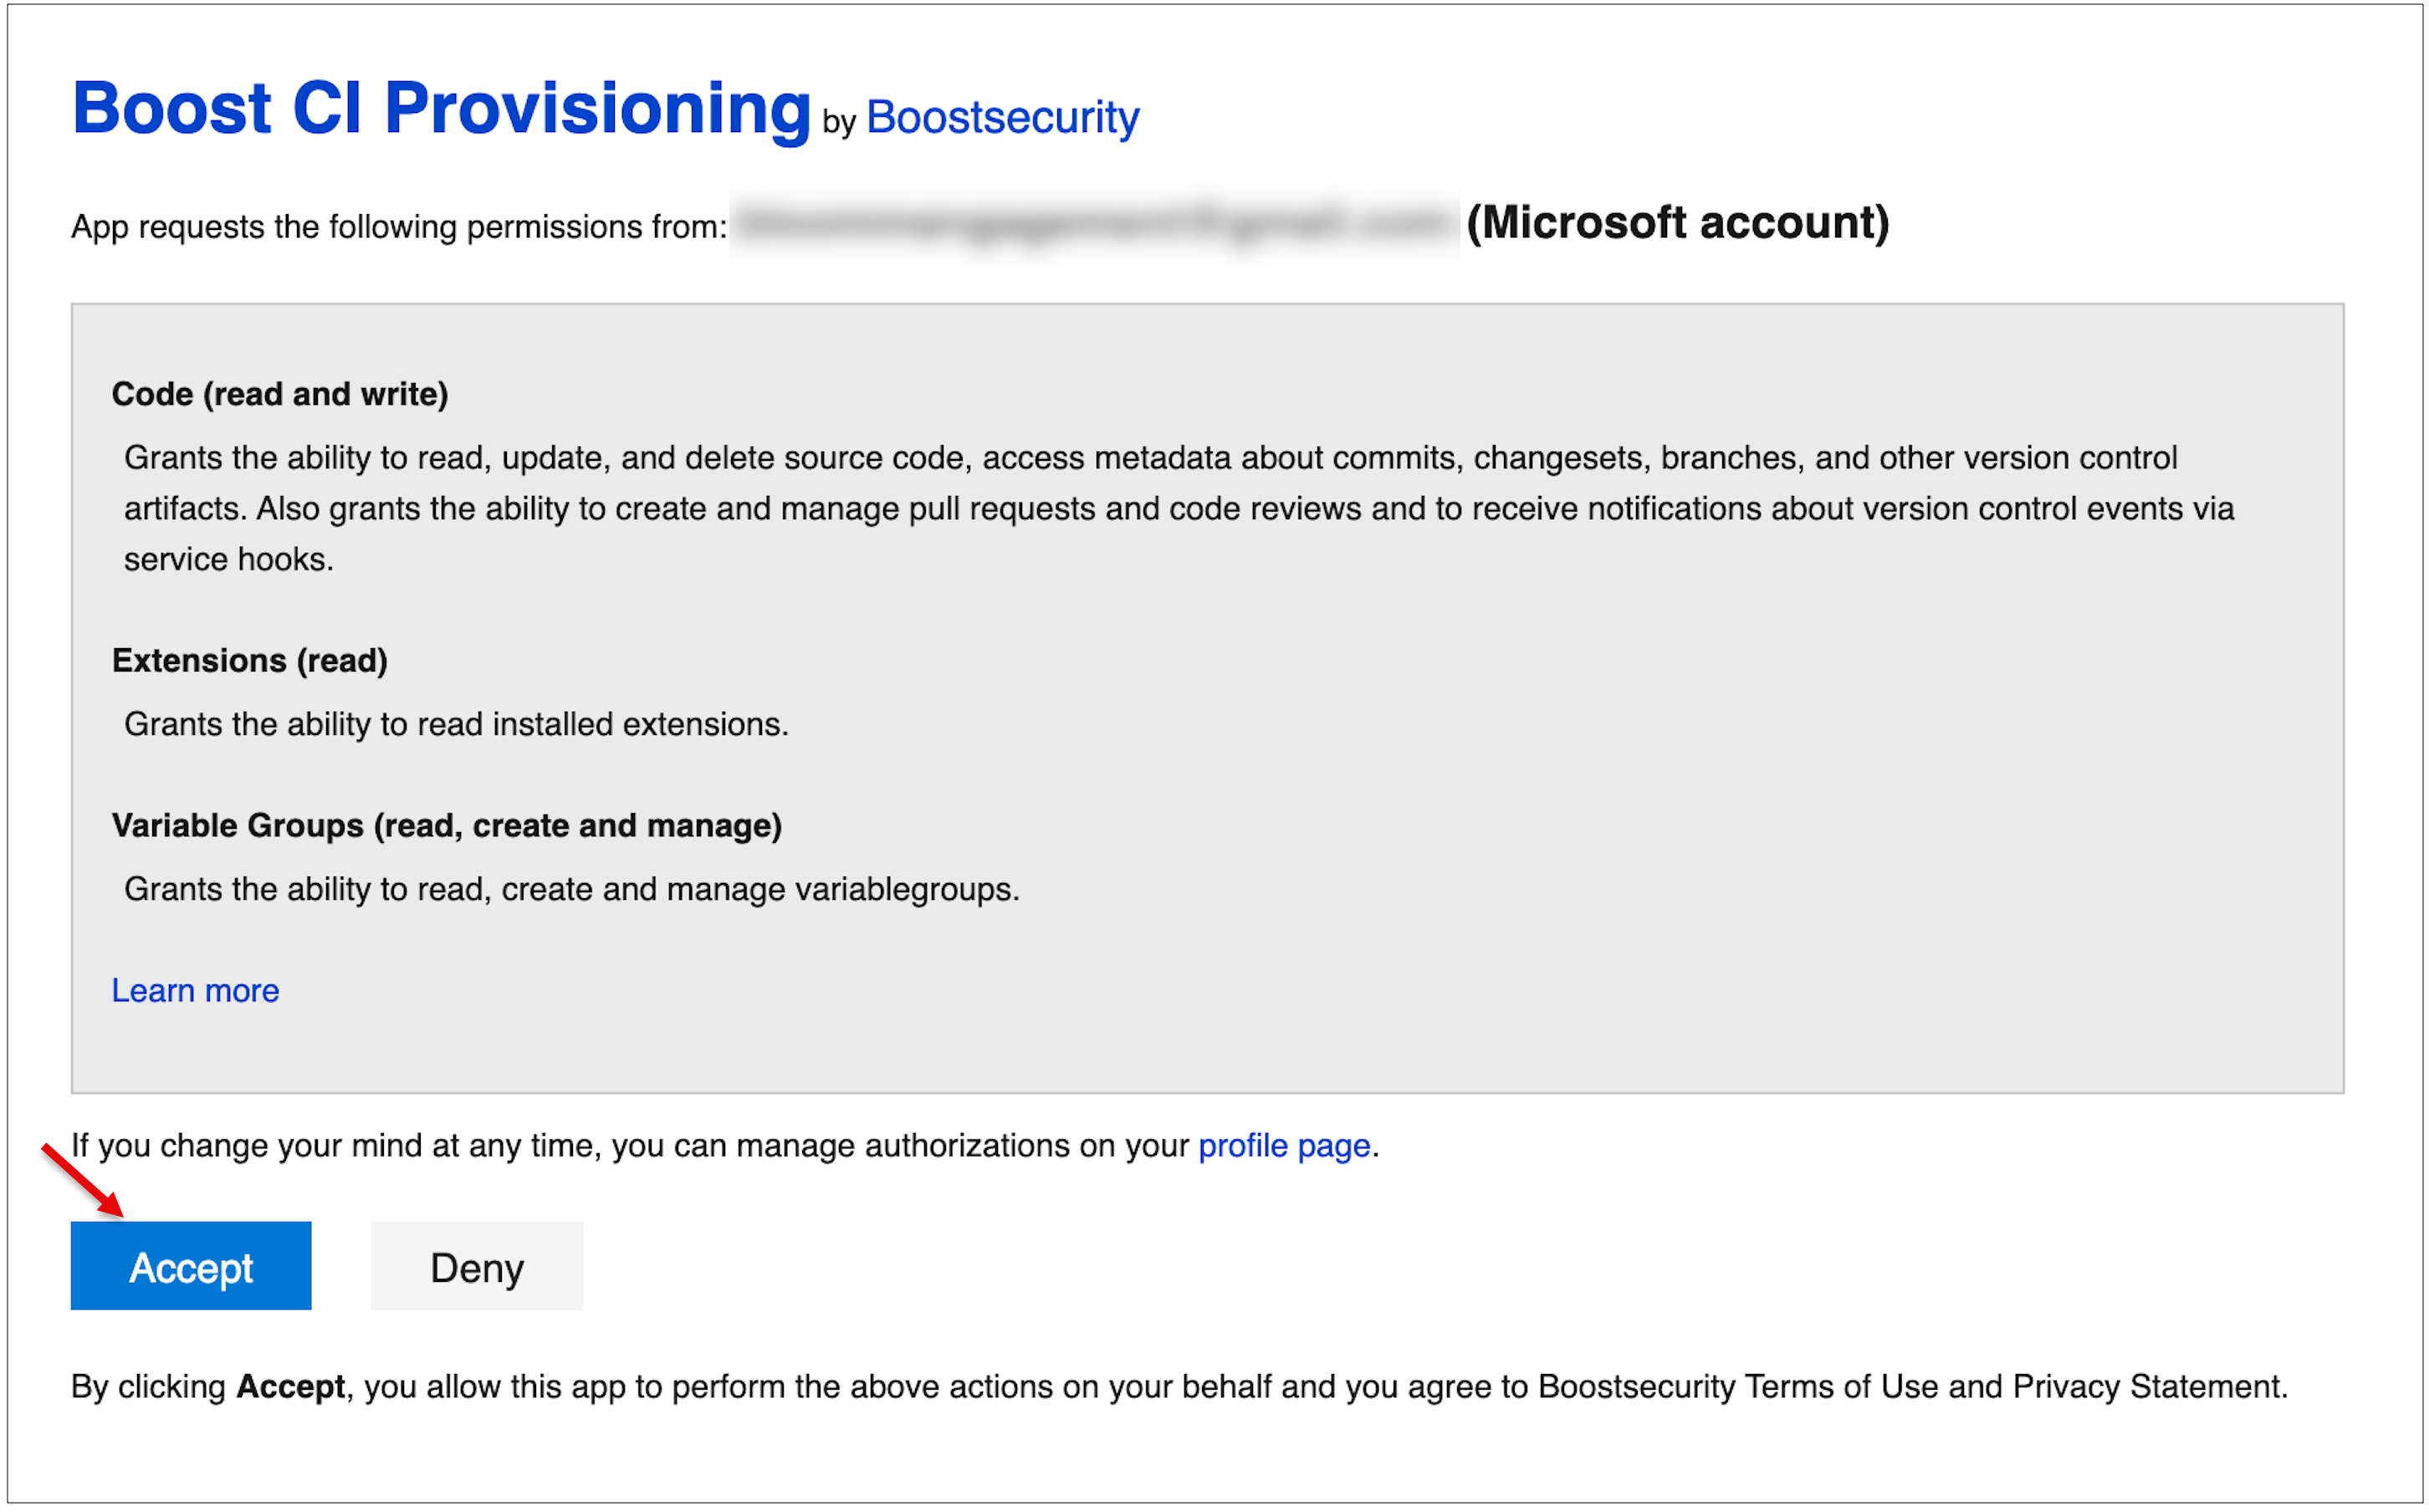
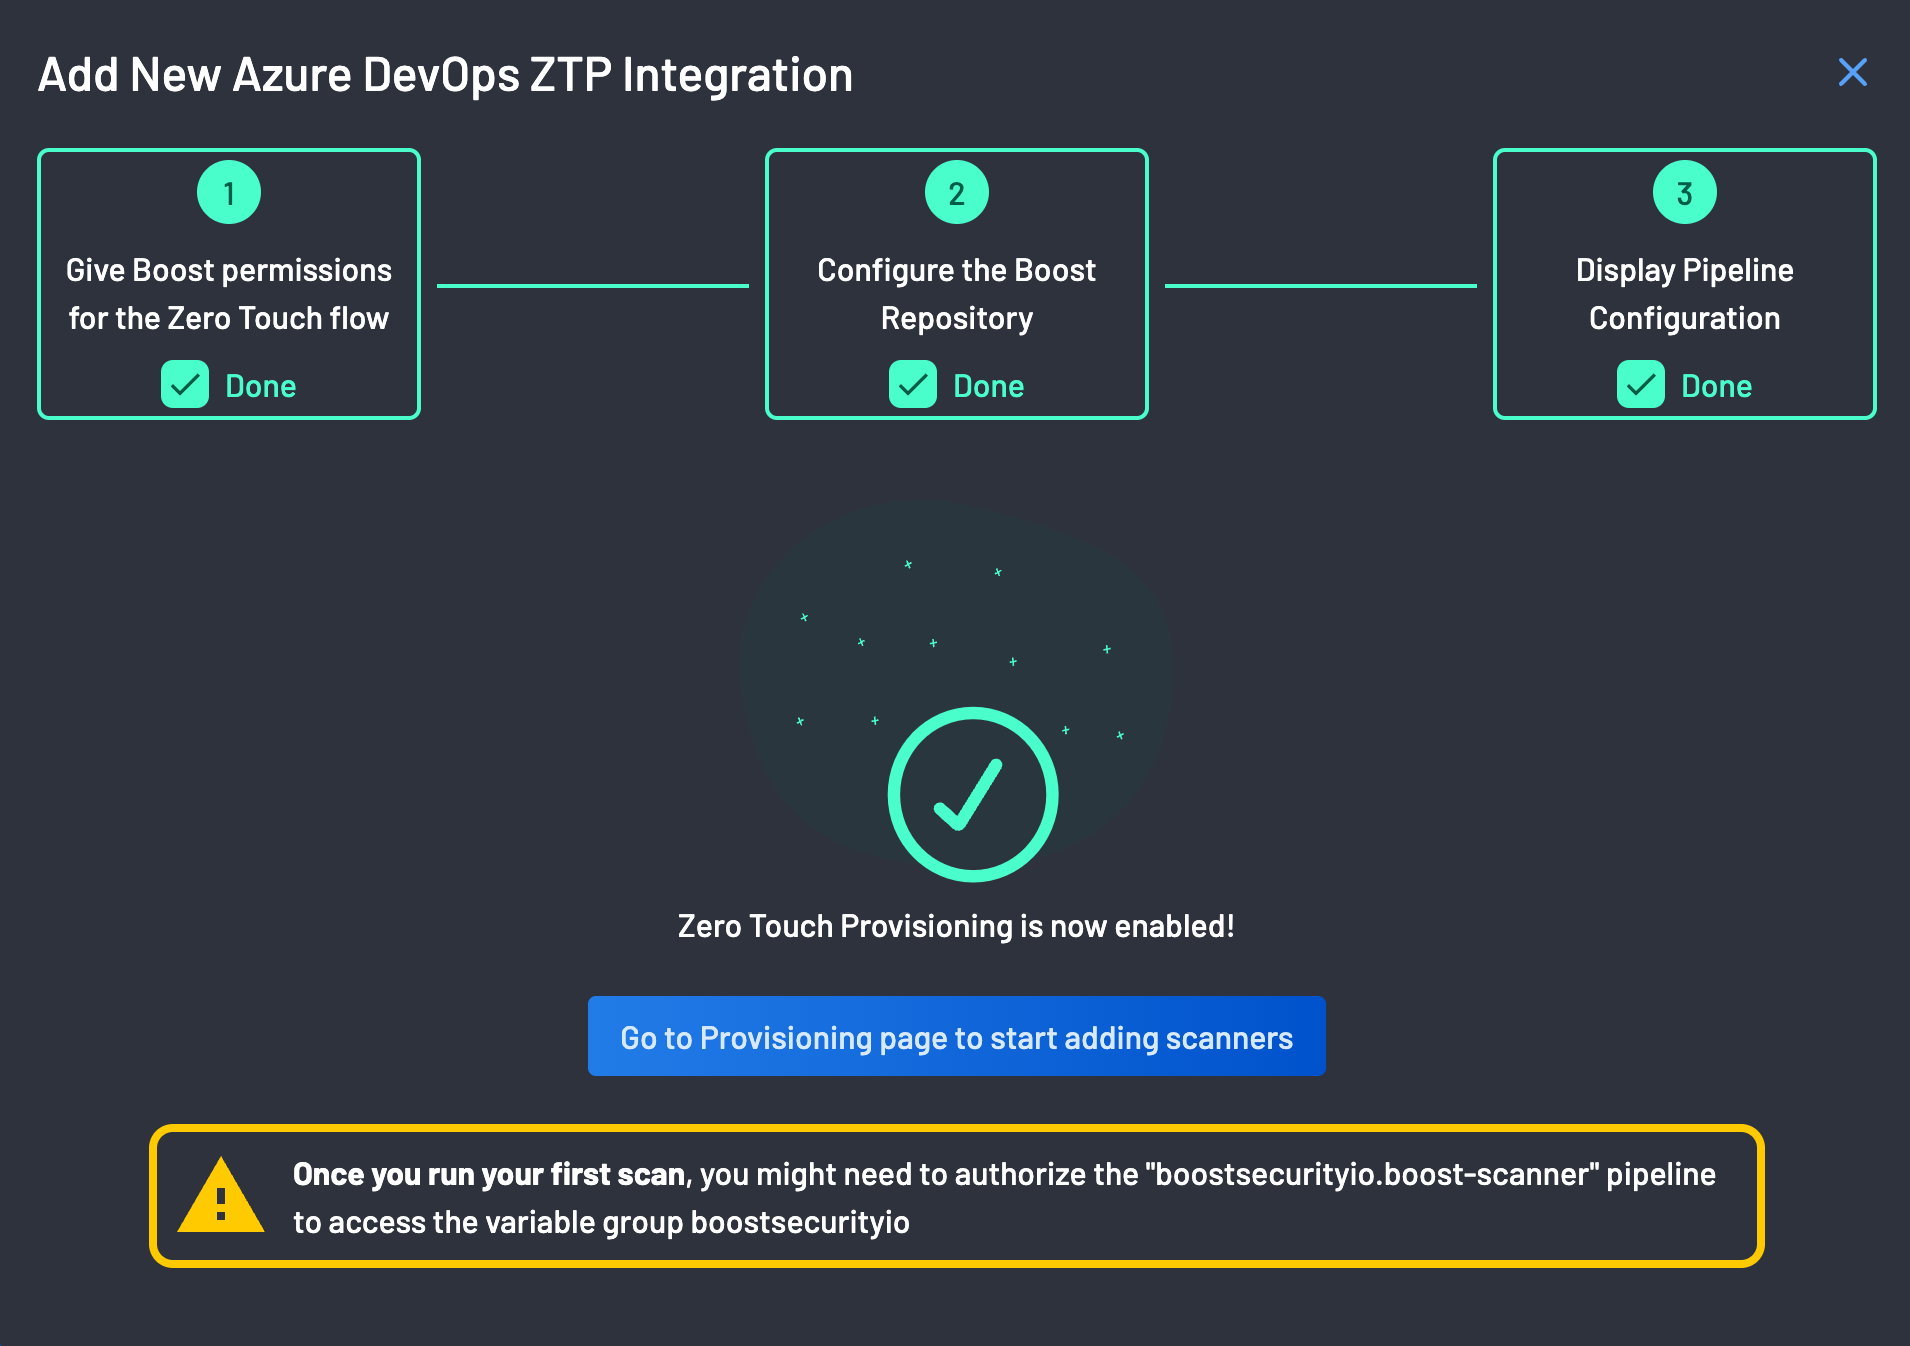
Please note the warning below:
On your first scan, you need to authorize the "boostsecurityio.boost-scanner" pipeline to access the variable group boostsecurityio. before you can see results on your dashboard.
-
The pipeline configuration is ready.
Note
By clicking the Enable Boost Recommended Scanners button, Boost will provision multiple scanners for every repository it has access to. These scanners will then request new scans to be conducted for each of those repositories. Please note that this process would have a financial impact on your services, so ensure that this is the correct course of action before proceeding.
If you are connecting to a large collection of repos, you may want to enable scanning in a more targeted manner.
Zero Touch Provisioning is now enabled!!!