Zero Touch Provisioning for Bitbucket
This guide walks you through the process of setting up ZTP for Bitbucket.
Prerequisites
Before you begin, ensure you have:
- Integrated Bitbucket to Boost Security.
- Created a non-empty
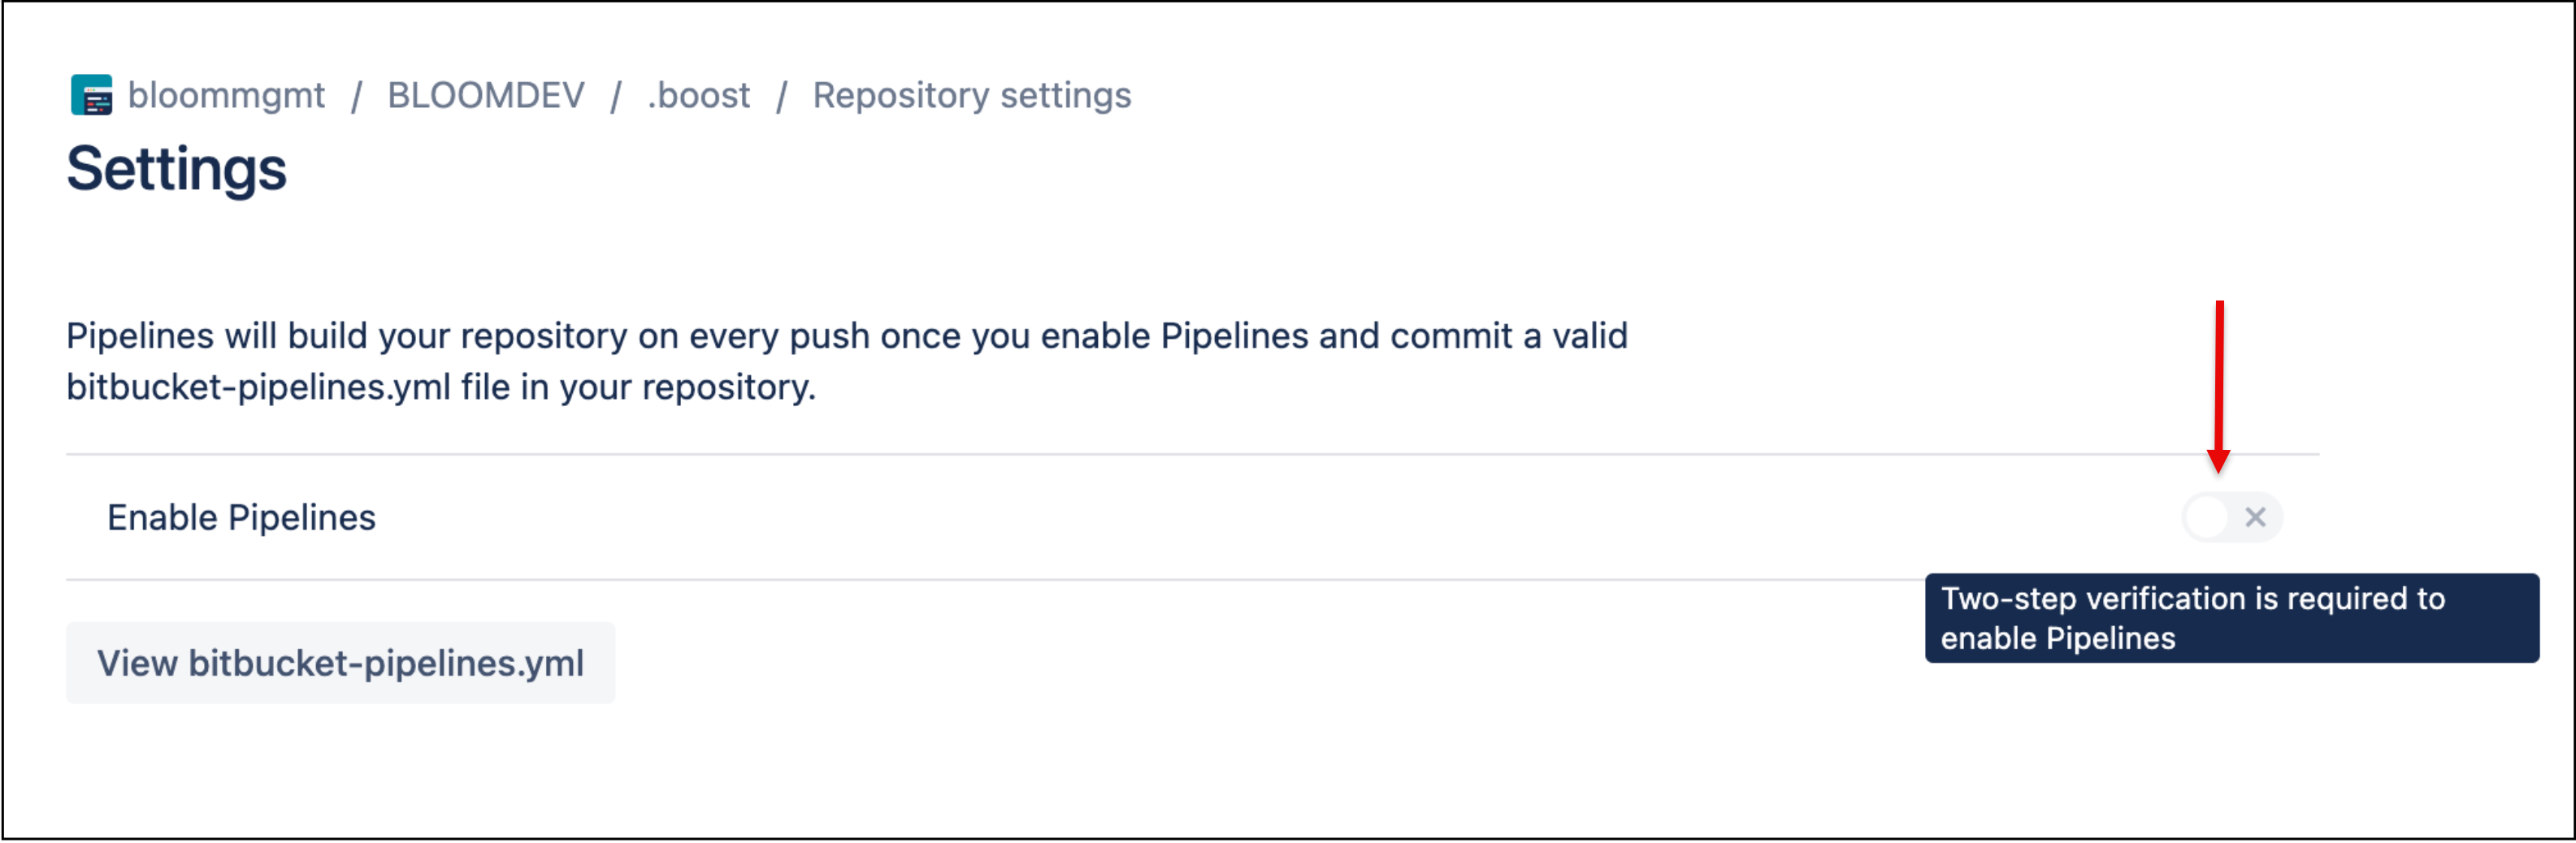
boostrepo in the Bitbucket organization. - Turned on the Enable Pipelines settings for your workspaces'
.boostrepository. You can do this by clicking the Enable Pipelines button.
Integration Steps
-
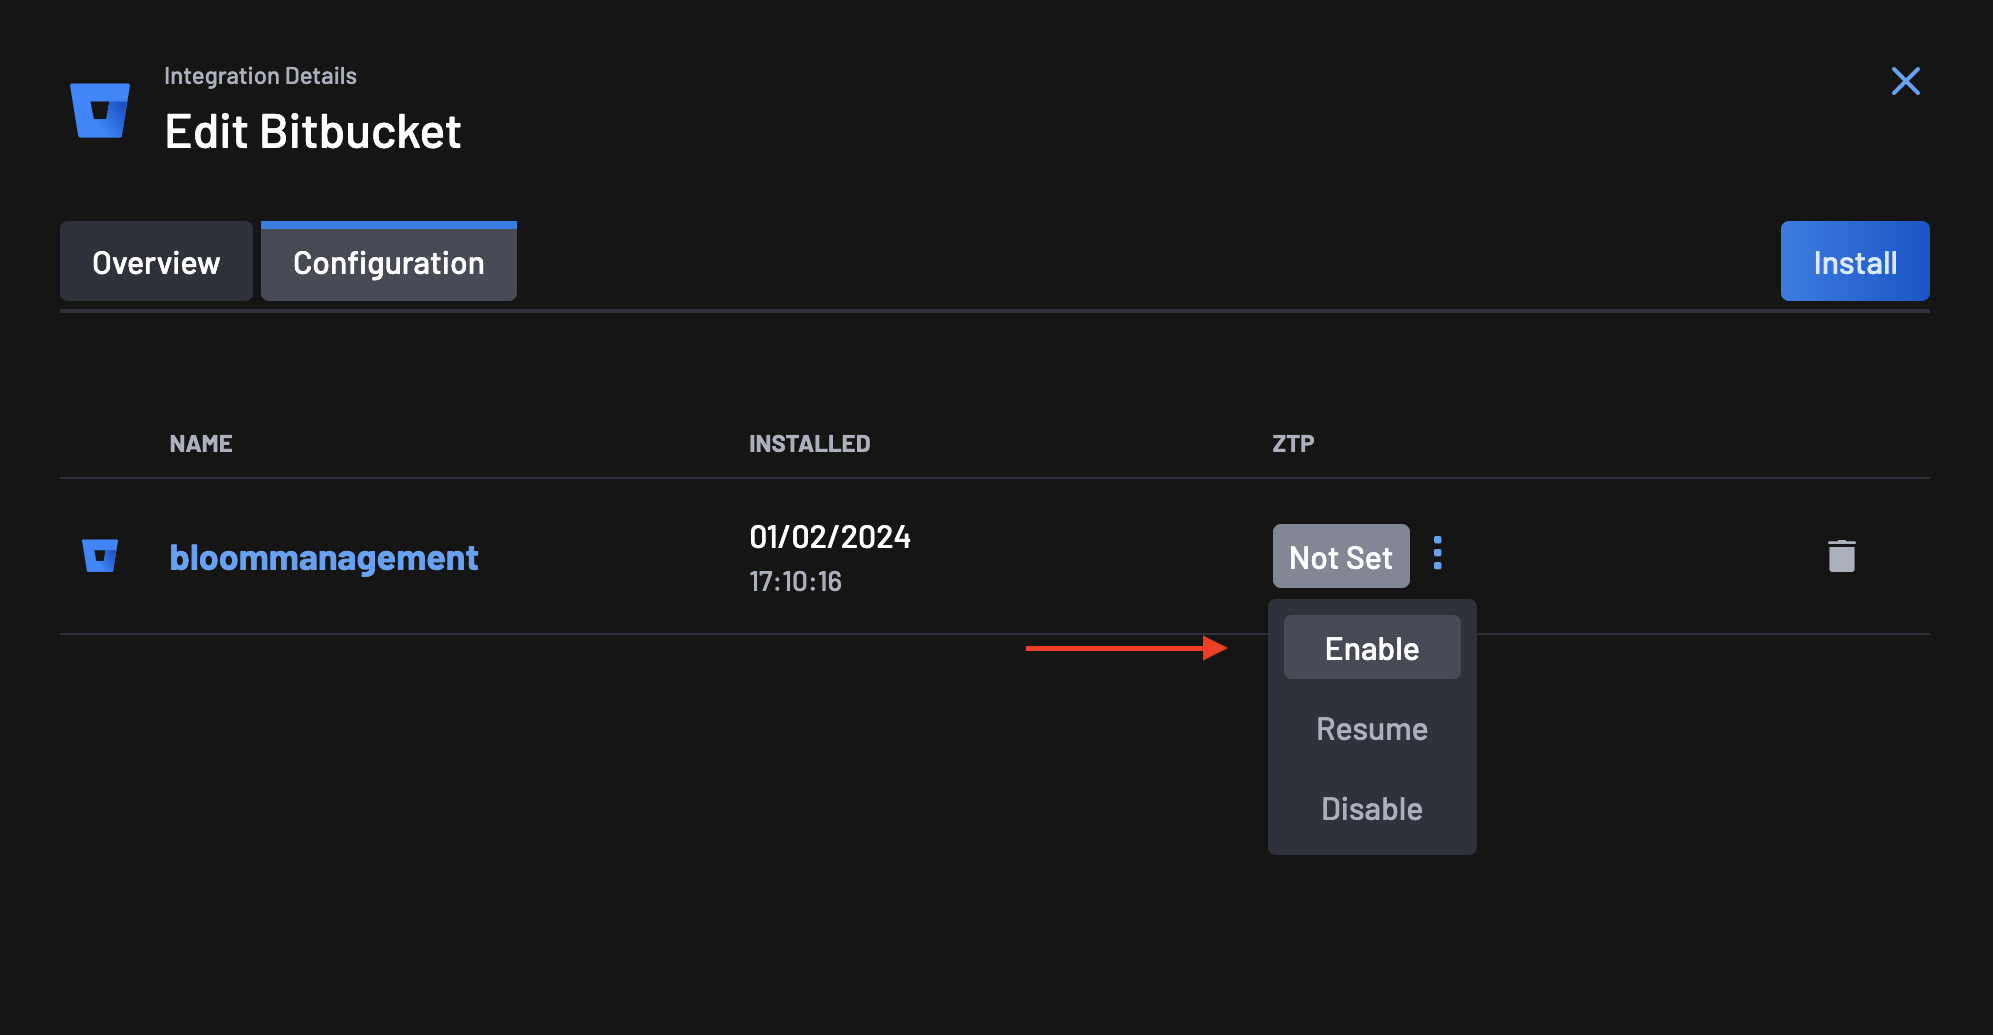
Go to the Integrations page, select your Bitbucket integration, and click on the configuration tab.
-
On the ZTP column, you will notice that the ZTP status is set to Not Set. Click on the actions menu next to the status and select Enable.
-
On the ZTP Wizard, the first step is to give Boost Security permissions for the Zero Touch Flow on your Bitbucket organization.
-
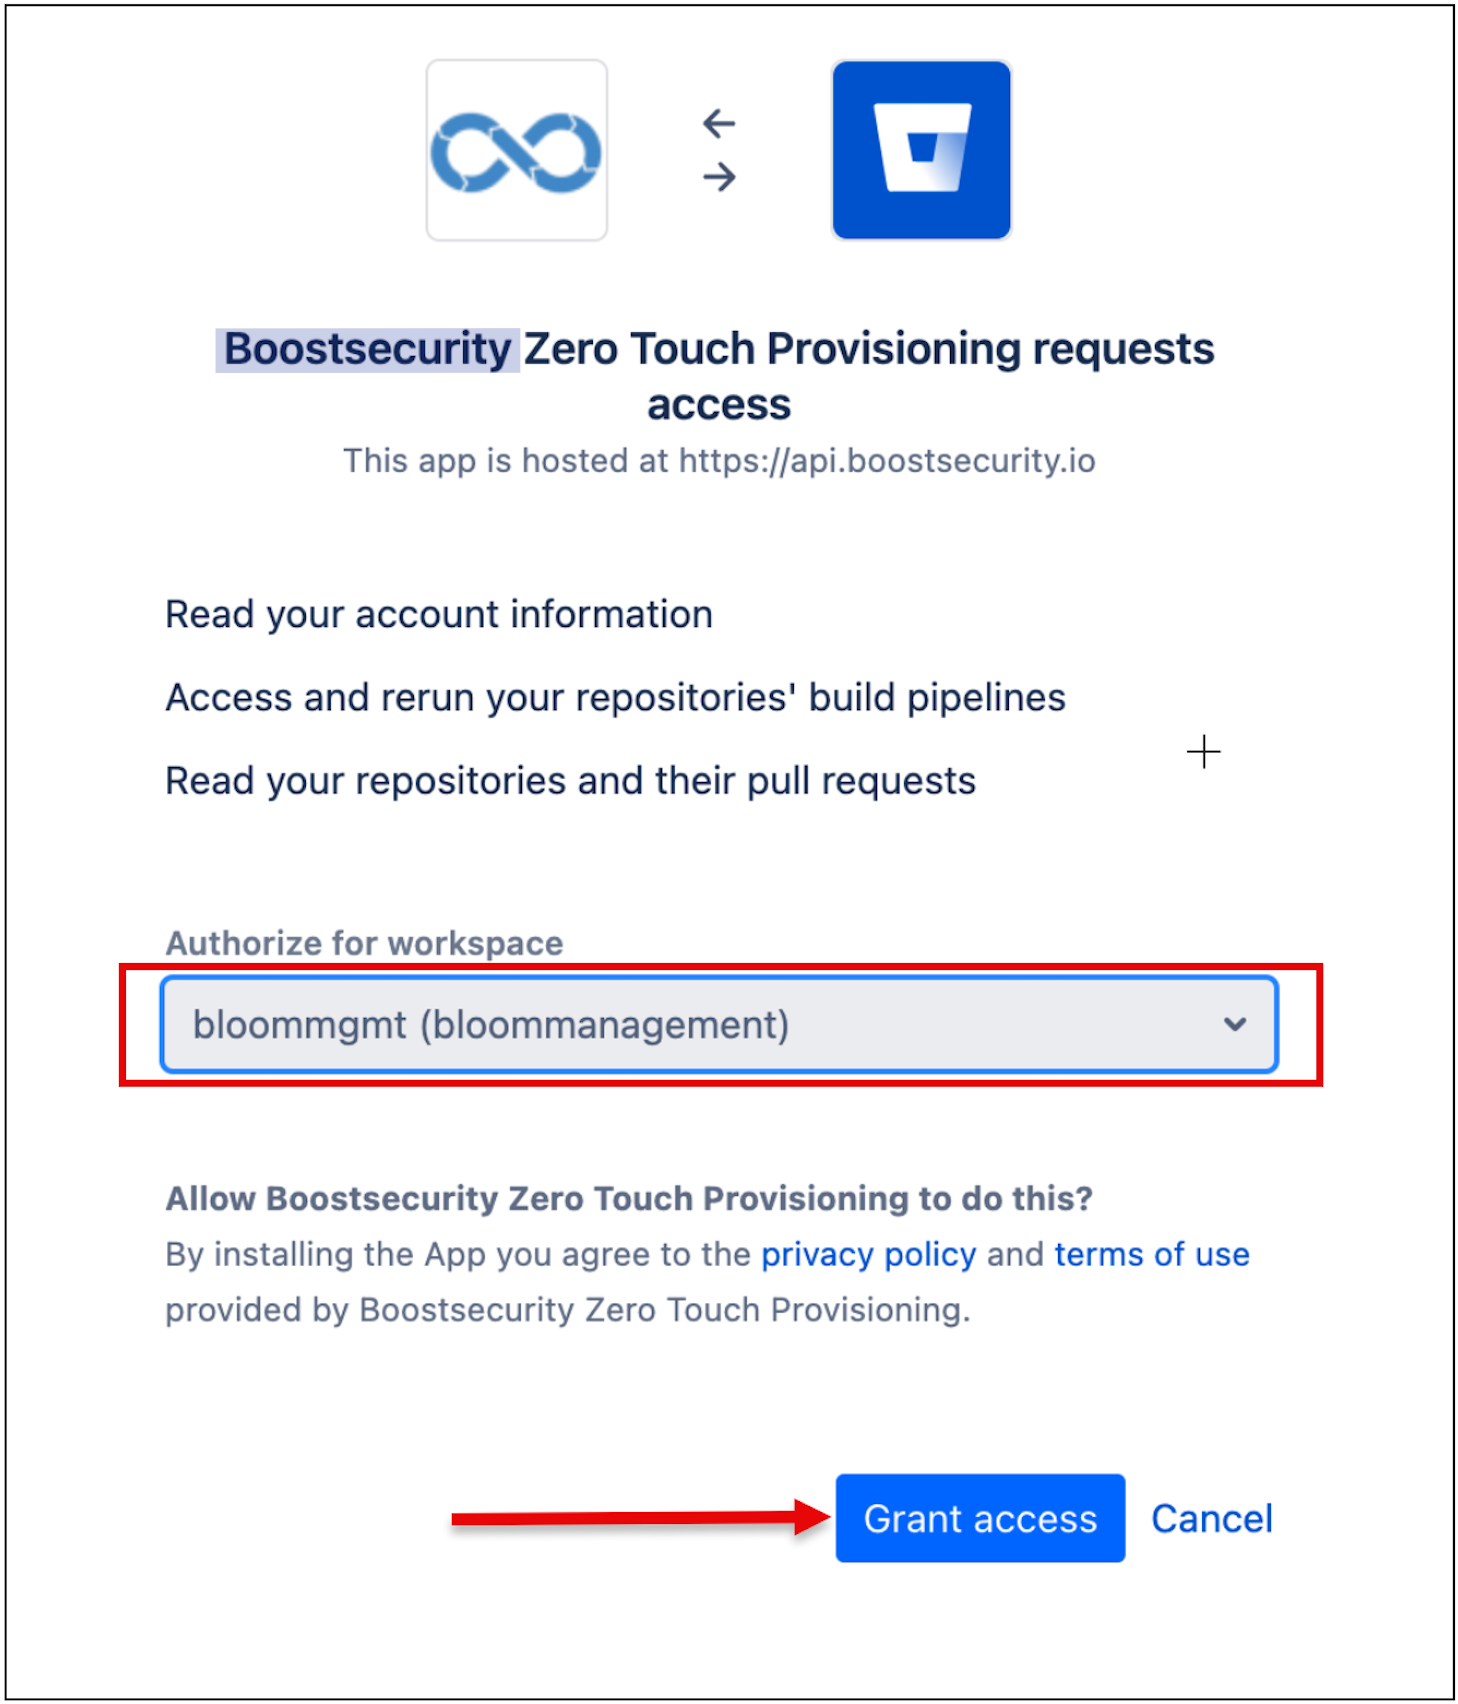
Click the Install ZTP Application button to redirect you to your Bitbucket organization.

-
Install and authorize the Boost Security Zero Touch provisioning on all repositories or you could choose which specific repos to install ZTP for. Installing organization-wide only ensures that all repos are covered and configured for ZTP. Click on the Grant Access button at the bottom of the page.
-
Boost Security configures the
.boostrepo on successful Boost Security Zero Touch Provisioning installation. -
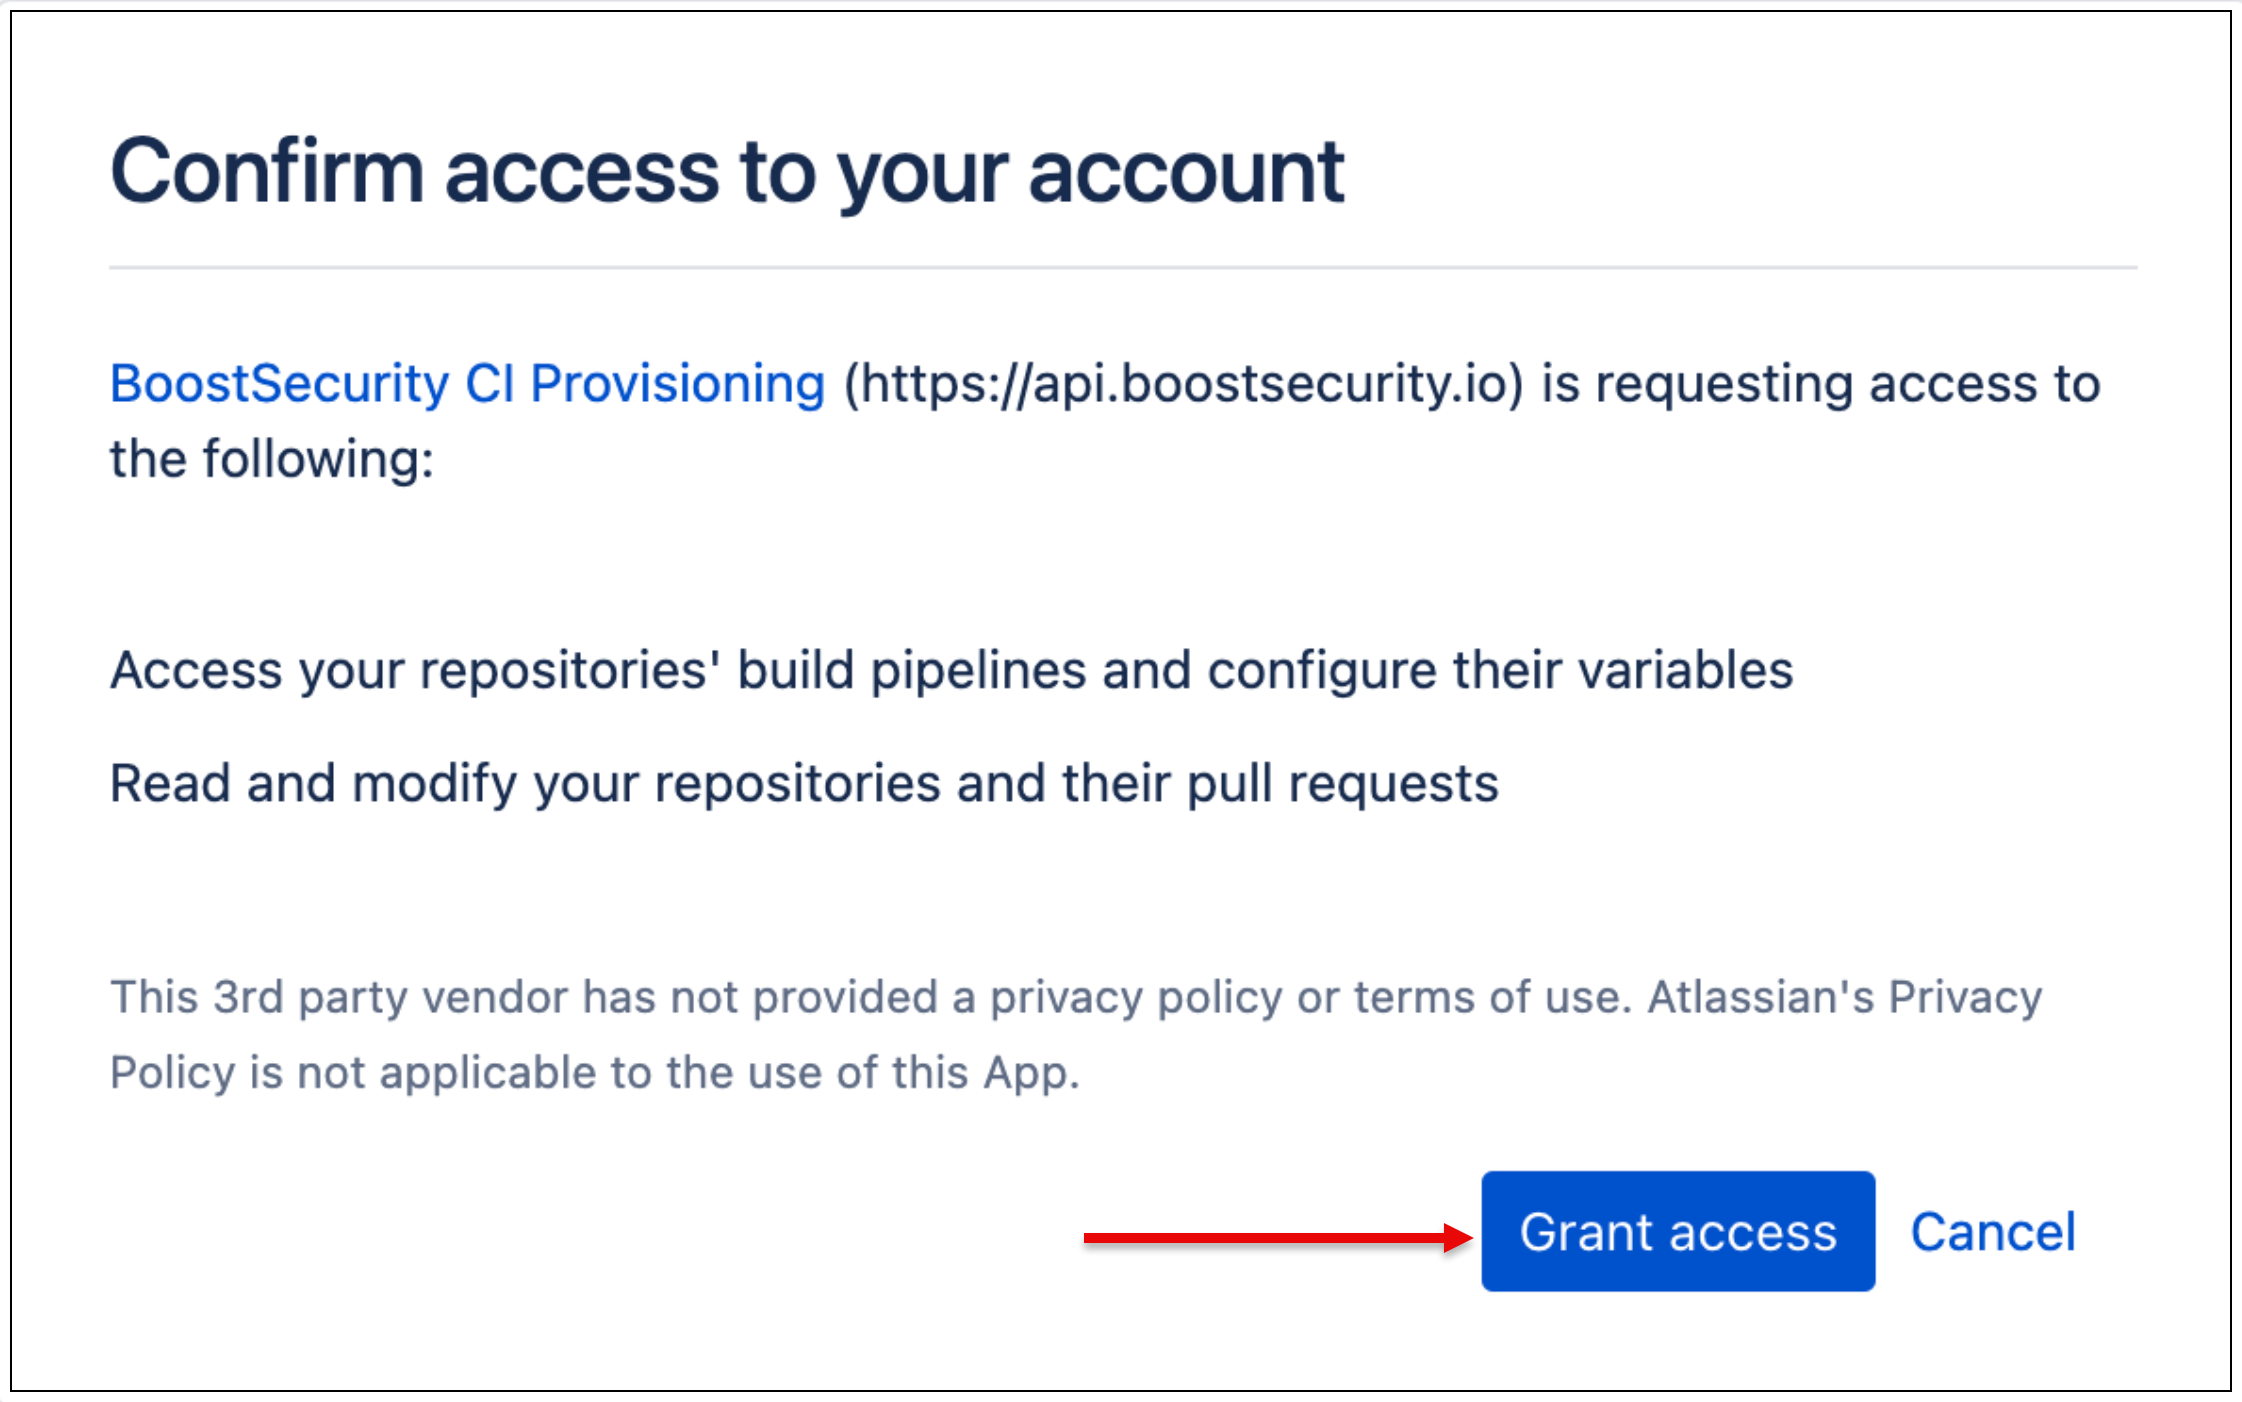
You are required to grant access to Boost Security CI provisioning on your account.
-
The pipeline configuration is ready after a successful CI pipeline configuration!
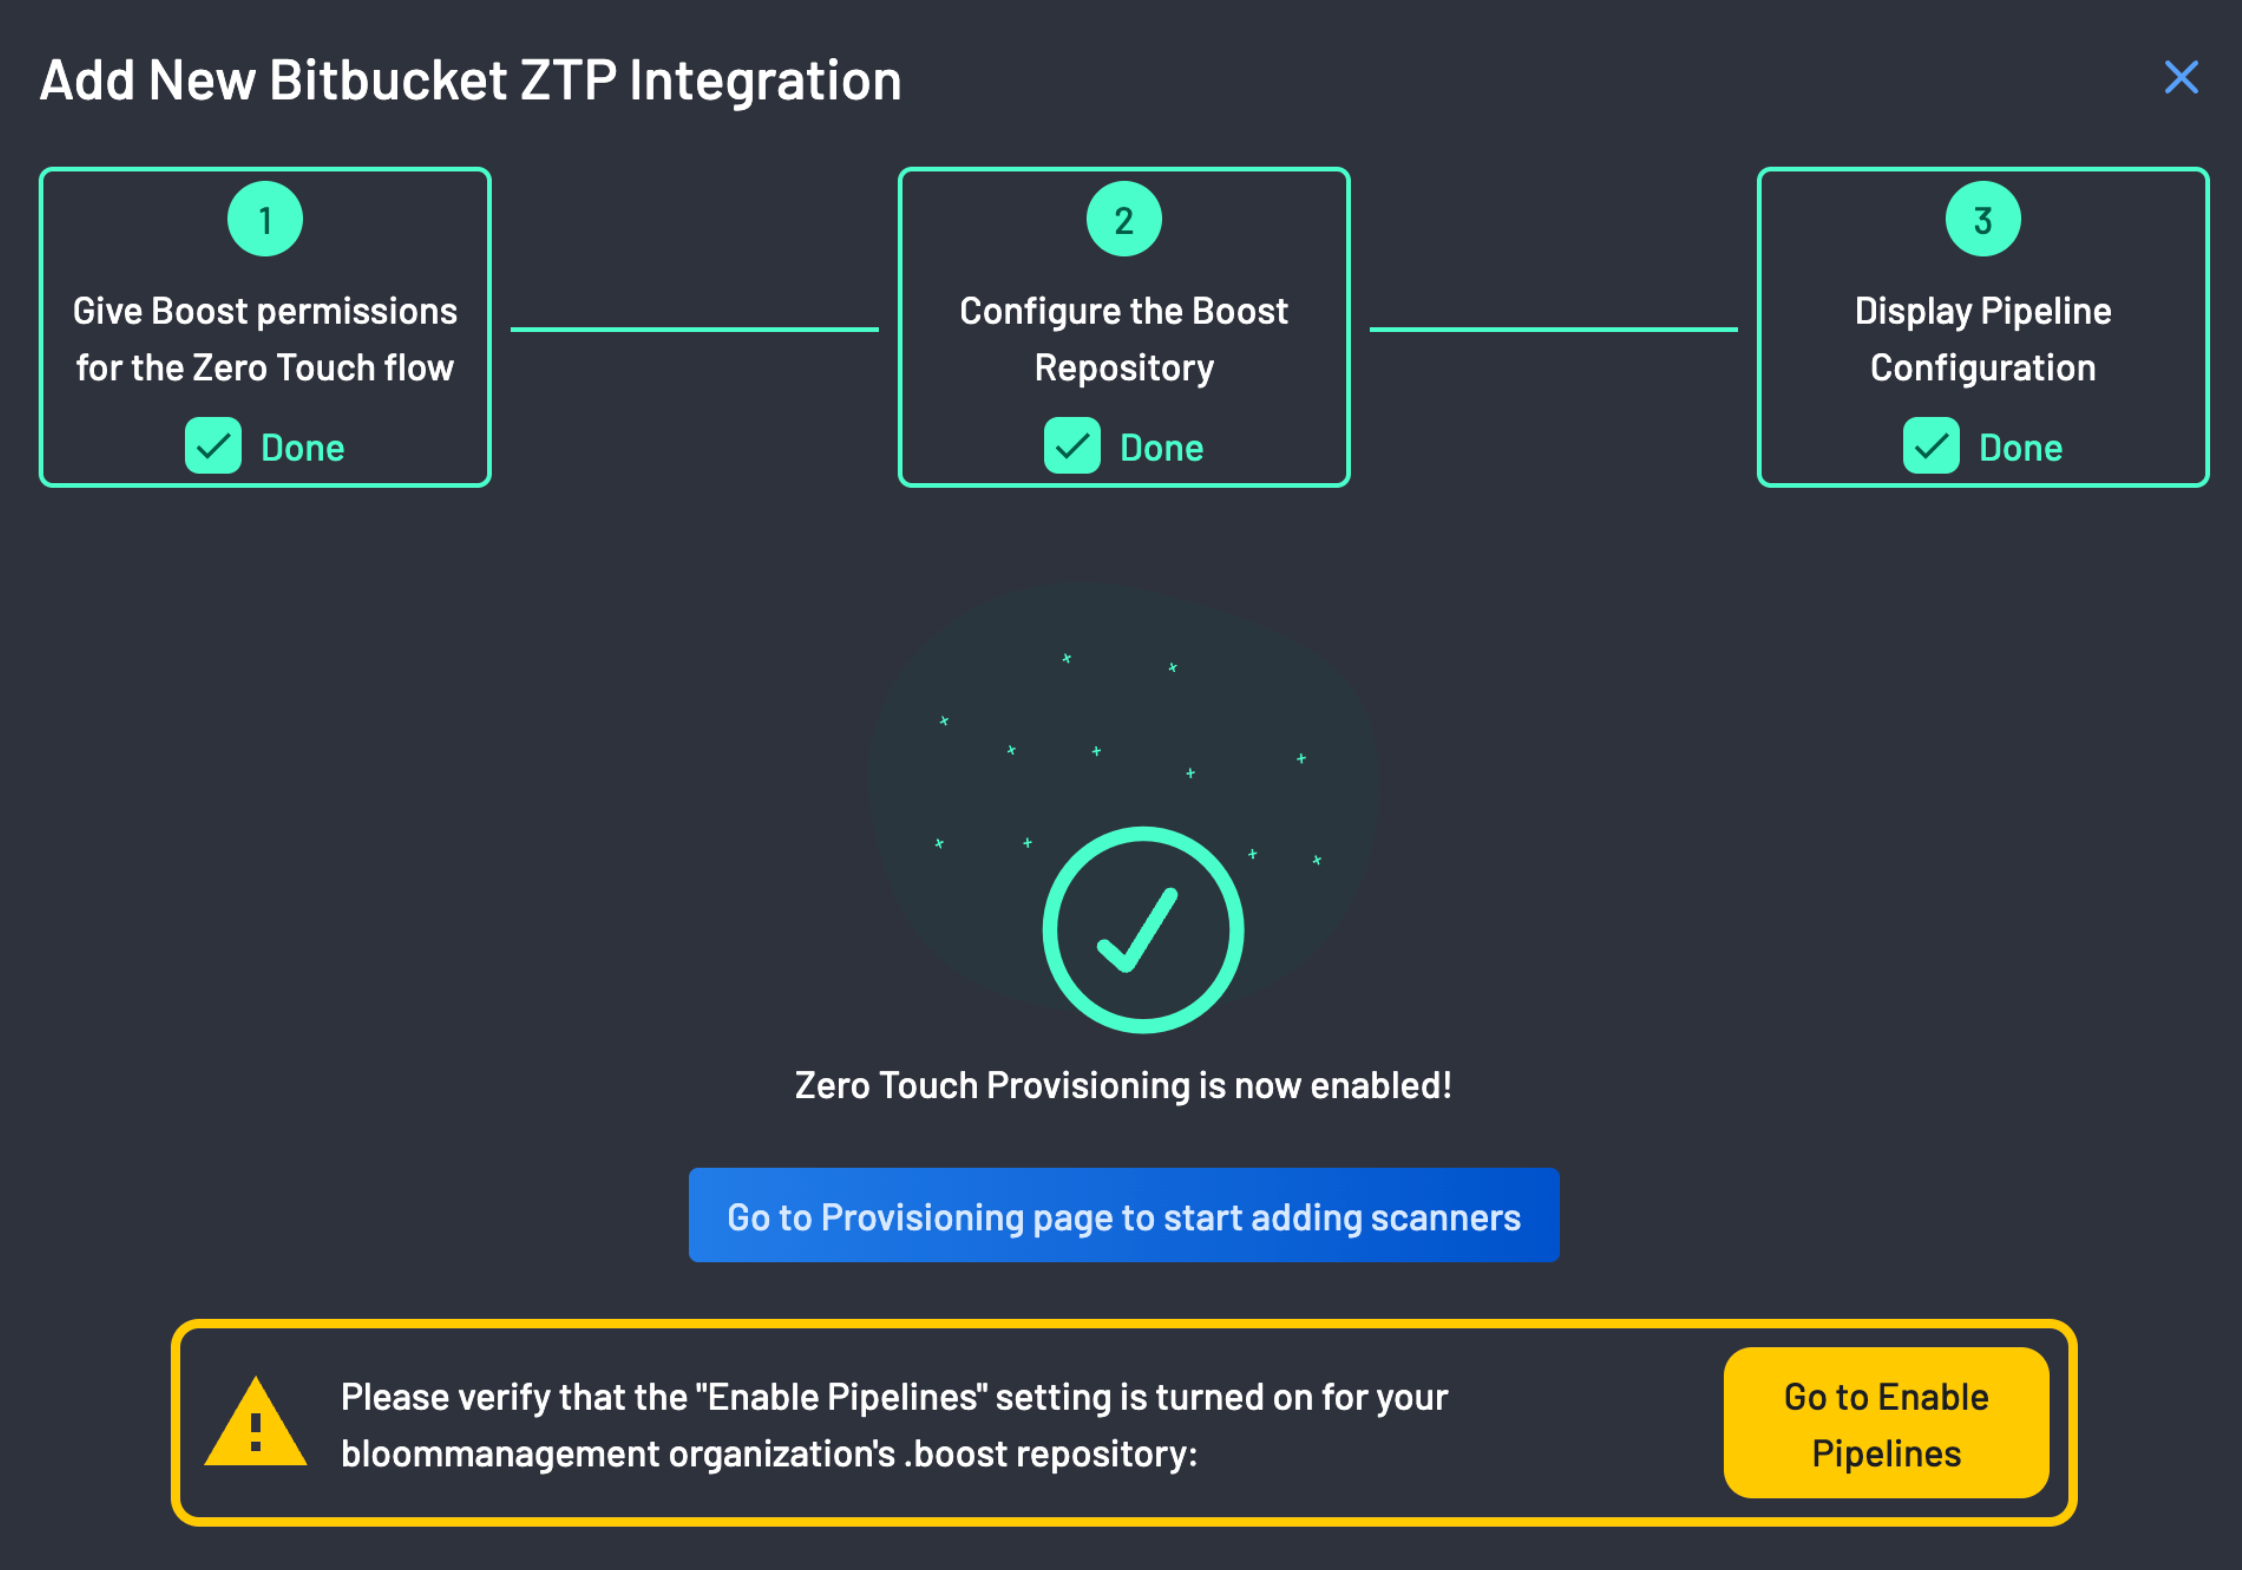
Zero Touch Provisioning is now enabled!!!