Endpoint Protection Policy
The Endpoint Protection Policy page allows security teams to define automated responses to malware detections and control which endpoint components are permitted or denied across the organization.
It is accessible from the Endpoint Protection navigation panel by selecting Policy.
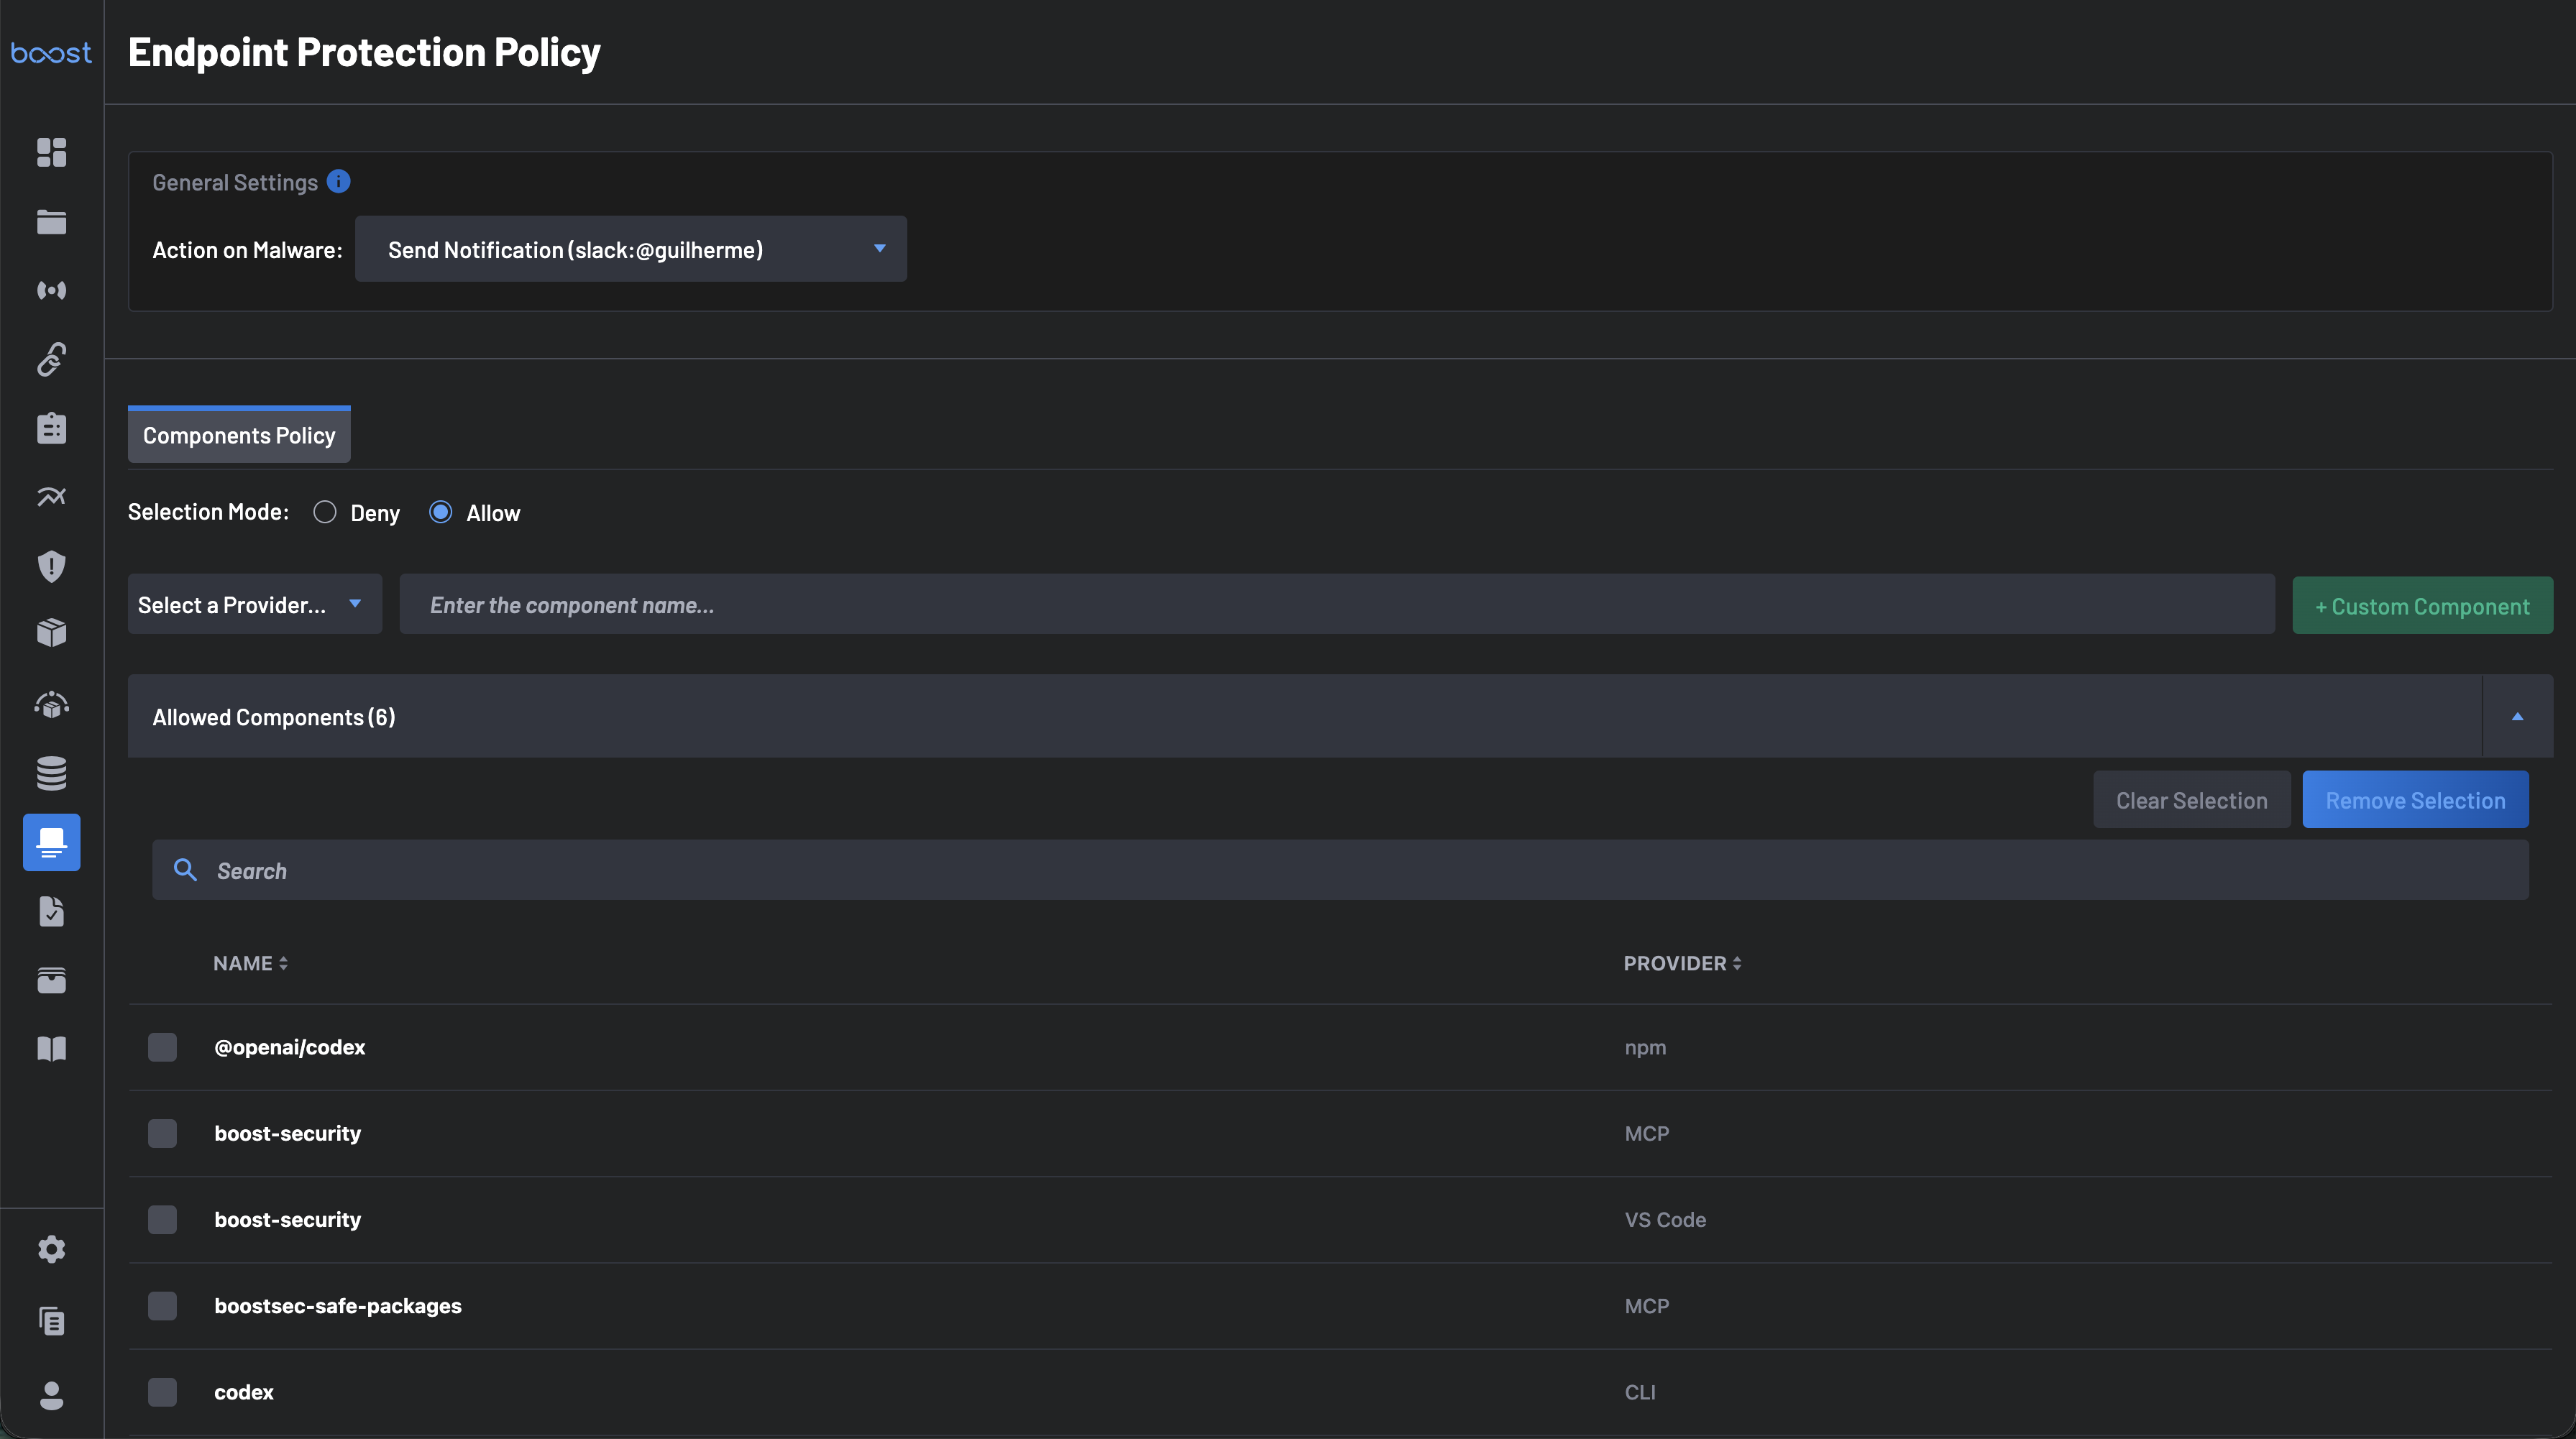
General Settings
The General Settings section defines the organization-wide response when a malware threat is detected on an endpoint.
Action on Malware
Use the Action on Malware dropdown to select what happens when a component is flagged as malware. Available actions include:
- Send Notification – Sends an alert to a configured notification channel (e.g., a Slack user or channel).
- None - Do nothing!
Tip
You can configure notification integrations (Slack, Teams, Webhook) from your organization's integration settings before setting up this action.
Components Policy
The Components Policy tab lets you define an allowlist or blocklist of endpoint components. This controls which tools, extensions, packages, and agents are considered authorized across developer endpoints.
Selection Mode
Choose how the policy enforces component governance:
- Allow – Only the components listed in the Allowed Components list are permitted. All other detected components will be flagged.
- Deny – All components are permitted except those listed in the Denied Components list.
Adding Components
You can add components to the policy list in two ways:
From the Inventory
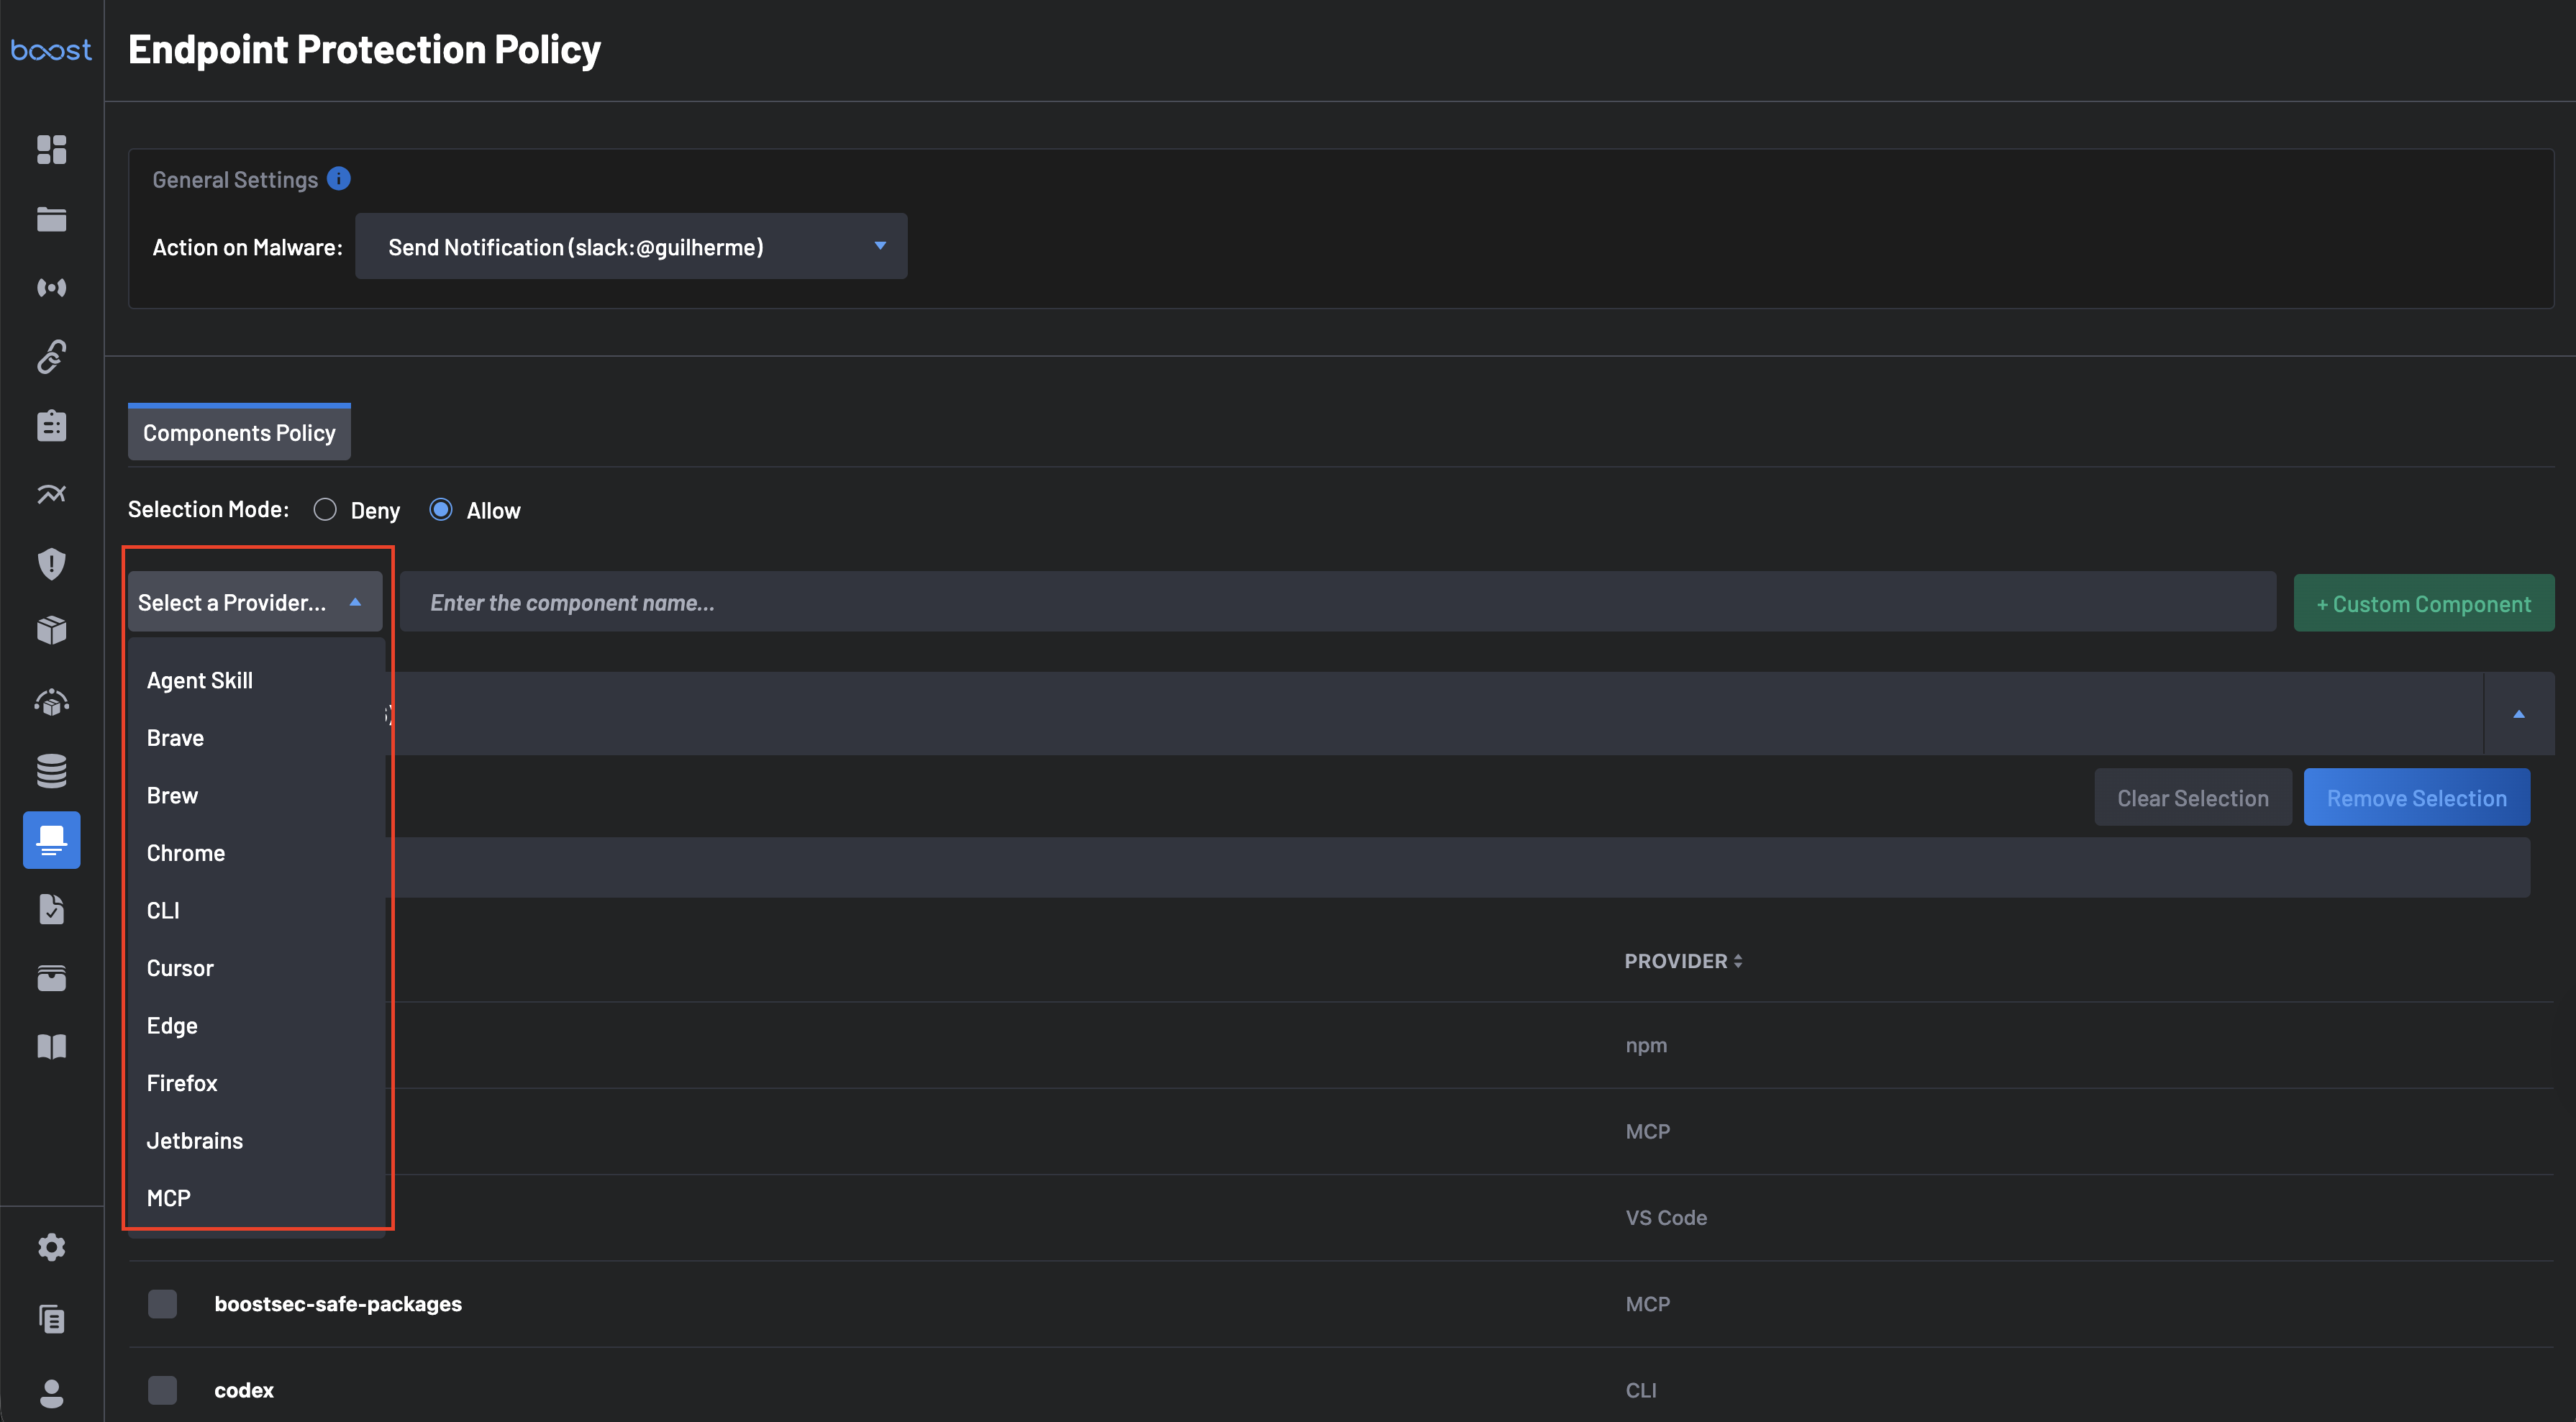
-
Select a Provider from the Select a Provider dropdown. Available providers include:
- Agent Skill
- Brave
- Brew
- Chrome
- CLI
- Cursor
- Edge
- Firefox
- Jetbrains
- MCP
- npm
- PyPI
- VS Code
- and more
-
Enter the component name in the Enter the component name field.
- Matching components will appear in the Available Components list at the bottom of the page.
- Select the desired components and click Save Selection to add them to your Allowed or Denied list.
As a Custom Component
Use this option to govern tools proactively, before they appear on any developer endpoint. Select a Provider, enter the component name in the Enter the component name field, and click + Custom Component to add it to the policy.
Allowed / Denied Components
This section displays the components currently configured in your policy, showing each component's Name and Provider.
- Use Clear Selection to deselect checked items.
- Use Remove Selection to remove checked items from the policy list.
- Use the Search bar to find specific components within the list.
Available Components
The Available Components list shows all components currently detected across your developer endpoints (pulled from the Inventory & Alerts page). This list includes the component Name and Provider.
- Use the Search bar to find a specific component.
- Select one or more components and click Save Selection to add them to your Allowed or Denied list.
- Click Clear Selection to deselect checked items without saving.
Note
The count shown next to Available Components reflects the total number of unique components detected across all developer endpoints in your organization.
Example: Configuring an Allowlist
The following example shows how to set up a policy that only permits a specific set of approved tools:
- Navigate to Endpoint Protection > Policy.
- Under General Settings, configure Action on Malware to Send Notification and select your notification channel.
- Under Components Policy, set Selection Mode to Allow.
- Use the Provider dropdown and component search to locate approved tools, or click + Custom Component to add them manually.
- Select the approved components from Available Components and click Save Selection. They will appear in the Allowed Components list.
- Save the policy.
Any component detected on a developer endpoint that is not in the Allowed Components list will be flagged as unauthorized.